Airbrush Phobia
In my last blog, I discussed how I wanted to improve both the quality and quantity of painting I’m doing for my hobby. Also, I’ve been told time and again that using an airbrush to paint my vehicles will improve the finished product no end. So isn’t it about time that I used one?
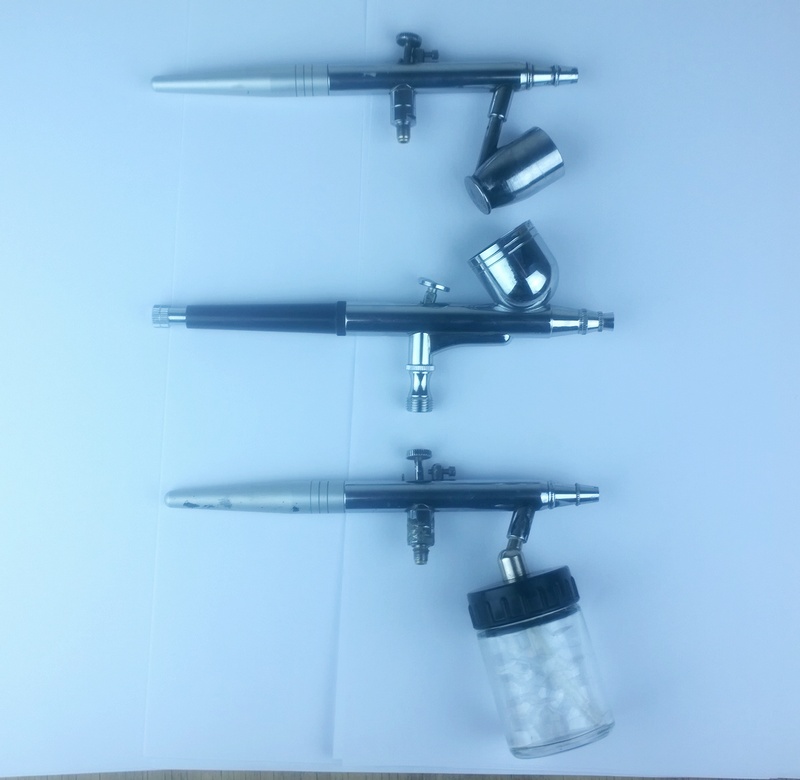
The thing is, I do own an airbrush and a compressor. Actually I have three, two syphon fed airbrushes were given to me by a friend and over a year ago, I bought a gravity-fed airbrush. Now I’ve had these airbrushes out once and a while, looked at them, and… then put them away. I really had a fear of using them, a fear of the unknown. Yesterday I decided it was time I bit the bullet and tried them out. After a little experimentation on some old kits, I was feeling more confident.
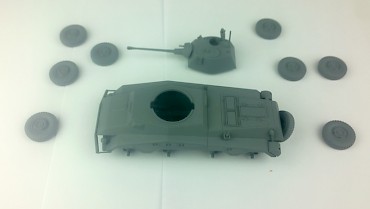
My intended ‘victim’ was a Warlord / Italieri plastic Sdkfz 234 armoured car (I’m playing Germans a lot in WW2 games these days as my regular opponent has a British army). I am using AMMO Mig Jiminez paints, partly because they are ideal (and made) for airbrushing. I will experiment with using other paints and thinners some other time, but for now I’ll use the dedicated stuff. I used the gravity-fed airbrush, but the results should be similar with the syphon. Here’s a link to a comparison in performance between the two.
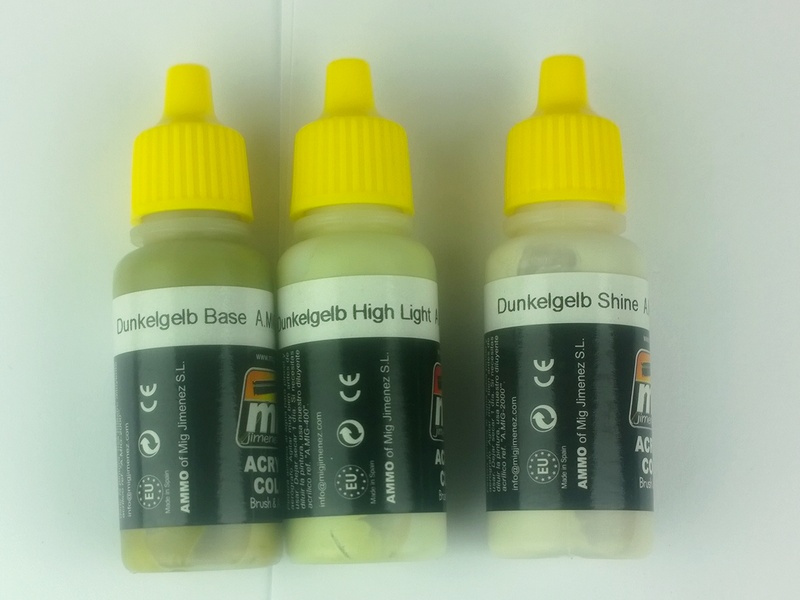
Okay. I fitted my hose to my compressor, selected 20 PSI as the optimal pressure and poured a small amount of the darker shade of Dunkelgelb into the pot. The airbrush is a so-called dual-action airbrush: press the trigger and air passes through. Then pull it back to release the paint. Push harder - get more air, pull it back further - get more paint. By keeping a constant airflow through the brush, there is less change of the paint drying and clogging the nozzle. I was pleasantly surprised how little time it took to cover the entire vehicle, although I had to be careful to apply a thin coat (to avoid pooling) and catch every angle, so no surface remained uncovered.

Overall I was very pleased with the results. Wile there was a certain amount of setting up to be done, the model was covered quickly and efficiently. The finished surface looked good, was well covered and with no brush marks (hurrah!). I immediately cleaned the airbrush afterwards, having a small pot of soapy water handy to wash out the remains of any paint and spraying the water onto newspaper to clean the brush head. Now that I have mastered the basics (I think), there’s plenty of tricks for me to try, such as doing camo patterns and trying shading with an airbrush…