Converting Hussars
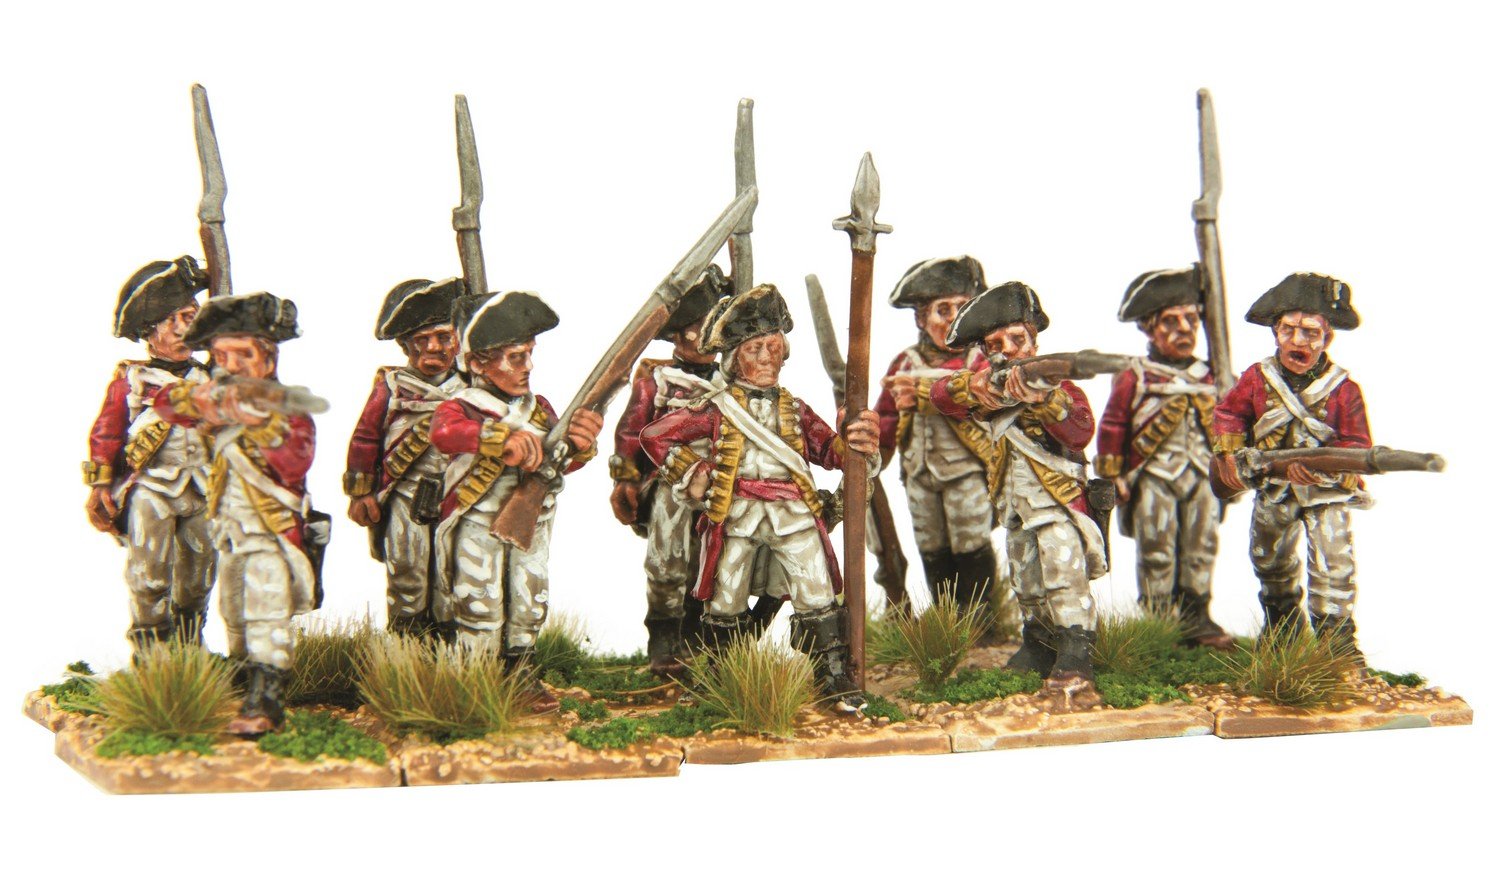
At Salute two weekends back, I picked up a box of the new plastic French hussars by Warlord Games. While I have more than a few hussars already, with several being converted to Prussian Hussars, I always like to see new releases and consider what they could be used for. Obviously doing so with further conversion possibilities in mind. From a converting perspective, the beautiful thing about hussars is that they tended to wear very similar uniforms. And thus I started to wonder if I could convert my new acquisition to the Russian variety…
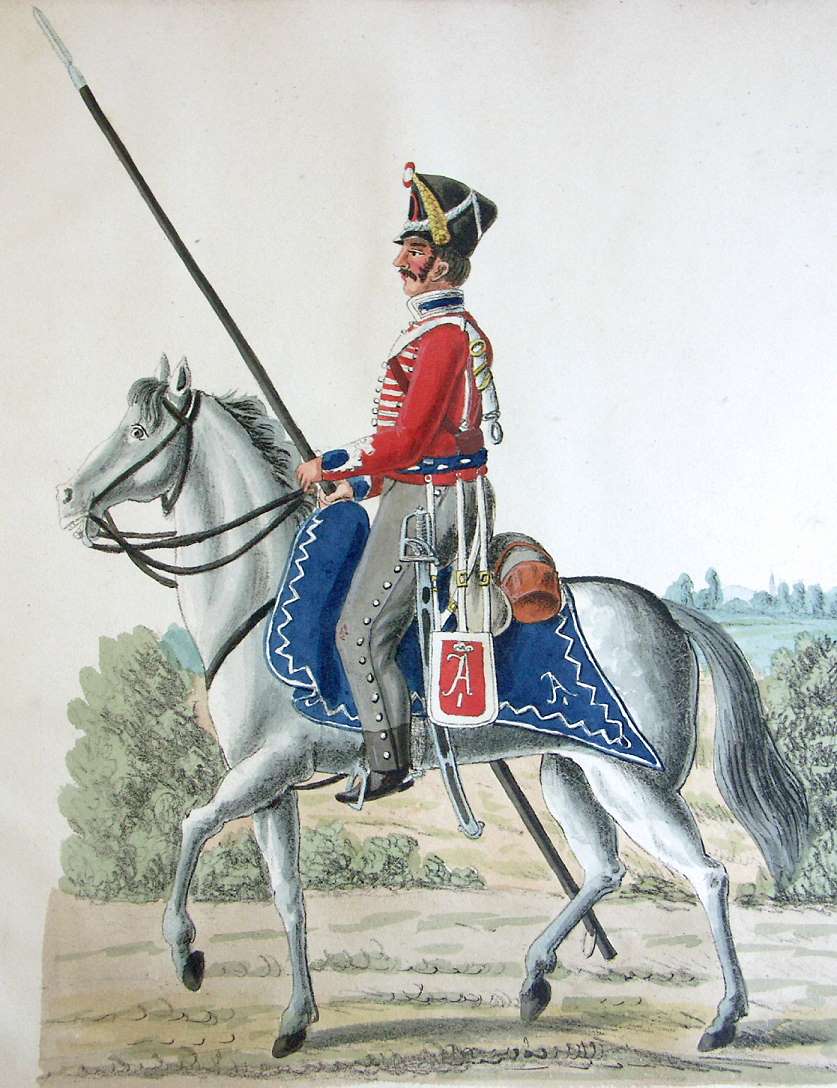
After a little research (using the power of Osprey and the art of Google Fu), I came up with my answer. While the French and Russian uniforms were indeed similar, the horse equipment was not. The most notable difference was the saddle blanket. The French used a sheepskin shabrack (saddle cloth), while the Russians used a cloth version, similar to the one used by officers in the French cavalry. Some minor conversion would be required to make the cavalry mounts useable.
Start with the rim of the blanket
I started by asking myself how easy this conversion would be. If it was going to take too long, or be too complex, the easier solution would be to buy metal Russian hussars. Then again, where would the fun be in that? I was determined to give it a try and so reached for the milliput. I started by putting a small line of putty around the existing saddle which would help mask it and make it easier to attach more milliput.
Next I added more milliput and shaped it with the flat of a blade to the right shape. I had an illustration of the side view of a hussar in front of me to guide the process at all times. The first saddle blanket took a little time to make it ‘look right’, but as I went on, the process became much easier and quicker. For further efficiency, I decided to do my horses in batches. I shaped the blankets on one side first, letting the putty dry before turning them over and starting on the other side.
Once the millput had dried and both sides had been done, I went over the surfaces with a knife to gently cut and smooth out any bumps on the blanket. The final results were satisfactory. The conversions hadn’t taken too long and the finished horse look the part. I checked each one after spraying to see if minor adjustments were necessary.
Ok, so now I’ve done the horse, how about the rider and giving them a lick of paint? I’ll leave that for my next blog entry, so tune in next time folks! 🙂