French horse artillery (Part 1)
 As part of our Project Ligny for 2015, I’m painting a lot of French. A lot. I’m even beginning to dream in French uniforms, waking up in a sweat while trying to remember if I have the right shade of uniform or the right cuffs for light infantry.
To keep the painting fresh for our project, our club has been holding a monthly competition. Previously we did command bases, so for January we decided on the best-painted artillery model. I wanted something dynamic, so I chose French horse artillery.
I’m an admitted fan of the work of the Perrys, so I chose the Foundry Horse Artillery set (FN 319) with a 6” Howitzer (FNGUN 2). I picked these models because they depict a lovely action scene, with the gunners desperately wheeling their gun into place.
My painting style is admittedly not the best. I’m not as studious as some people I know and just simply not as good. However, I need quantity at the cost of some quality – if i can produce a large number of miniatures to a reasonable standard and at a good rate, this will satisfy me more than a few very well painted models. I mainly use Vallejo colours. However, there are several alternatives if you don’t have these exact paints.
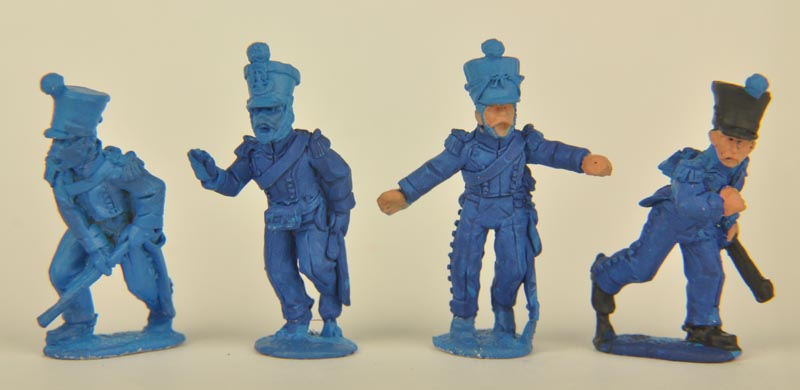
For the horse artillery, I used the same technique as for my French infantry. The models were sprayed with a base coat of Army Painter Crystal Blue, which was then given a wash of Vallejo Prussian Blue (965). The finished models would be too dark with a further black wash, so I chose to instead use the Prussian Blue over the Dark Prussian Blue, as I didn’t want the finished models to appear too dark.
 Next, I added the flesh tones, followed by a dark grey (Vallejo Black Grey 862) for the boots, shako, and black leather. In hindsight, the skin would work better with a white undercoat before adding the flesh shade, so I will do this on future models. For some of the Shako covers, I used a buff colour.
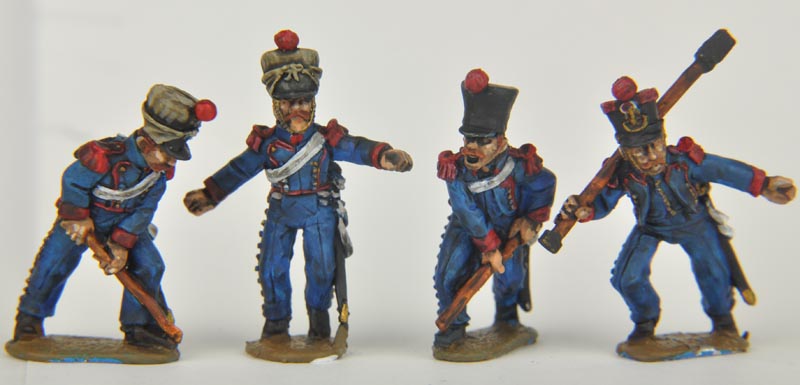
I then added the white, which would make up the majority of the belts and straps on the models, plus form a base for the parts I would later paint red (piping and epaulettes) or brown (wood). I used several types of white (including Citadel Skull White, an old favourite), but really anything with good coverage will do (I hate having to go over a section twice). Finally, I added the red, brown and brass (for the buttons). The models were then given a dark wash (I used Army Painter Dark Tone ink).
To finish, I highlighted a few of the lighter areas (namely the face with a lighter flesh tone and the strapping with an off-white). A few stripes of buff were added to the shako covers and the tricolor rosette added to the shakos where visible. While they’re not master quality, I am happy with the results - quick and effective.
In the next blog, I’ll look at how I painted the artillery piece and did the basing (always my bane: good basing!).