Painting a whoooooole bunch of French infantry … again! Part 1.
As the deadline for our Ligny game draws ever nearer, I find myself painting Prussian and French units like crazy to meet our deadline of June 20th. When we were nearing 6000 likes on Facebook, Jasper said we should do something like last time, an all day ‘Paint-a-thon’, as it was very popular. We both agreed that it’d be fine to paint up some more French - variety would have been good (we’ll do something else next time, roll on 7000 likes), but painting something I really needed was ok. Handy if you can set the rules yourself… 😉

I was keen to see what difference painting the greatcoated infantry would make in comparison with the original French line infantry. I chose Warlord as it’s what I had to hand, although dividing up a Perry boxed set and painting the greatcoated figures would have resulted in a similar speed. My bet was that the greatcoats would be significantly faster. The day I’d chosen, May 1st turned out to be a day of ‘curses’, and I only managed to get seven hours painting done. Even so I had 19 ‘almost finished’ models. Here is how I did them.
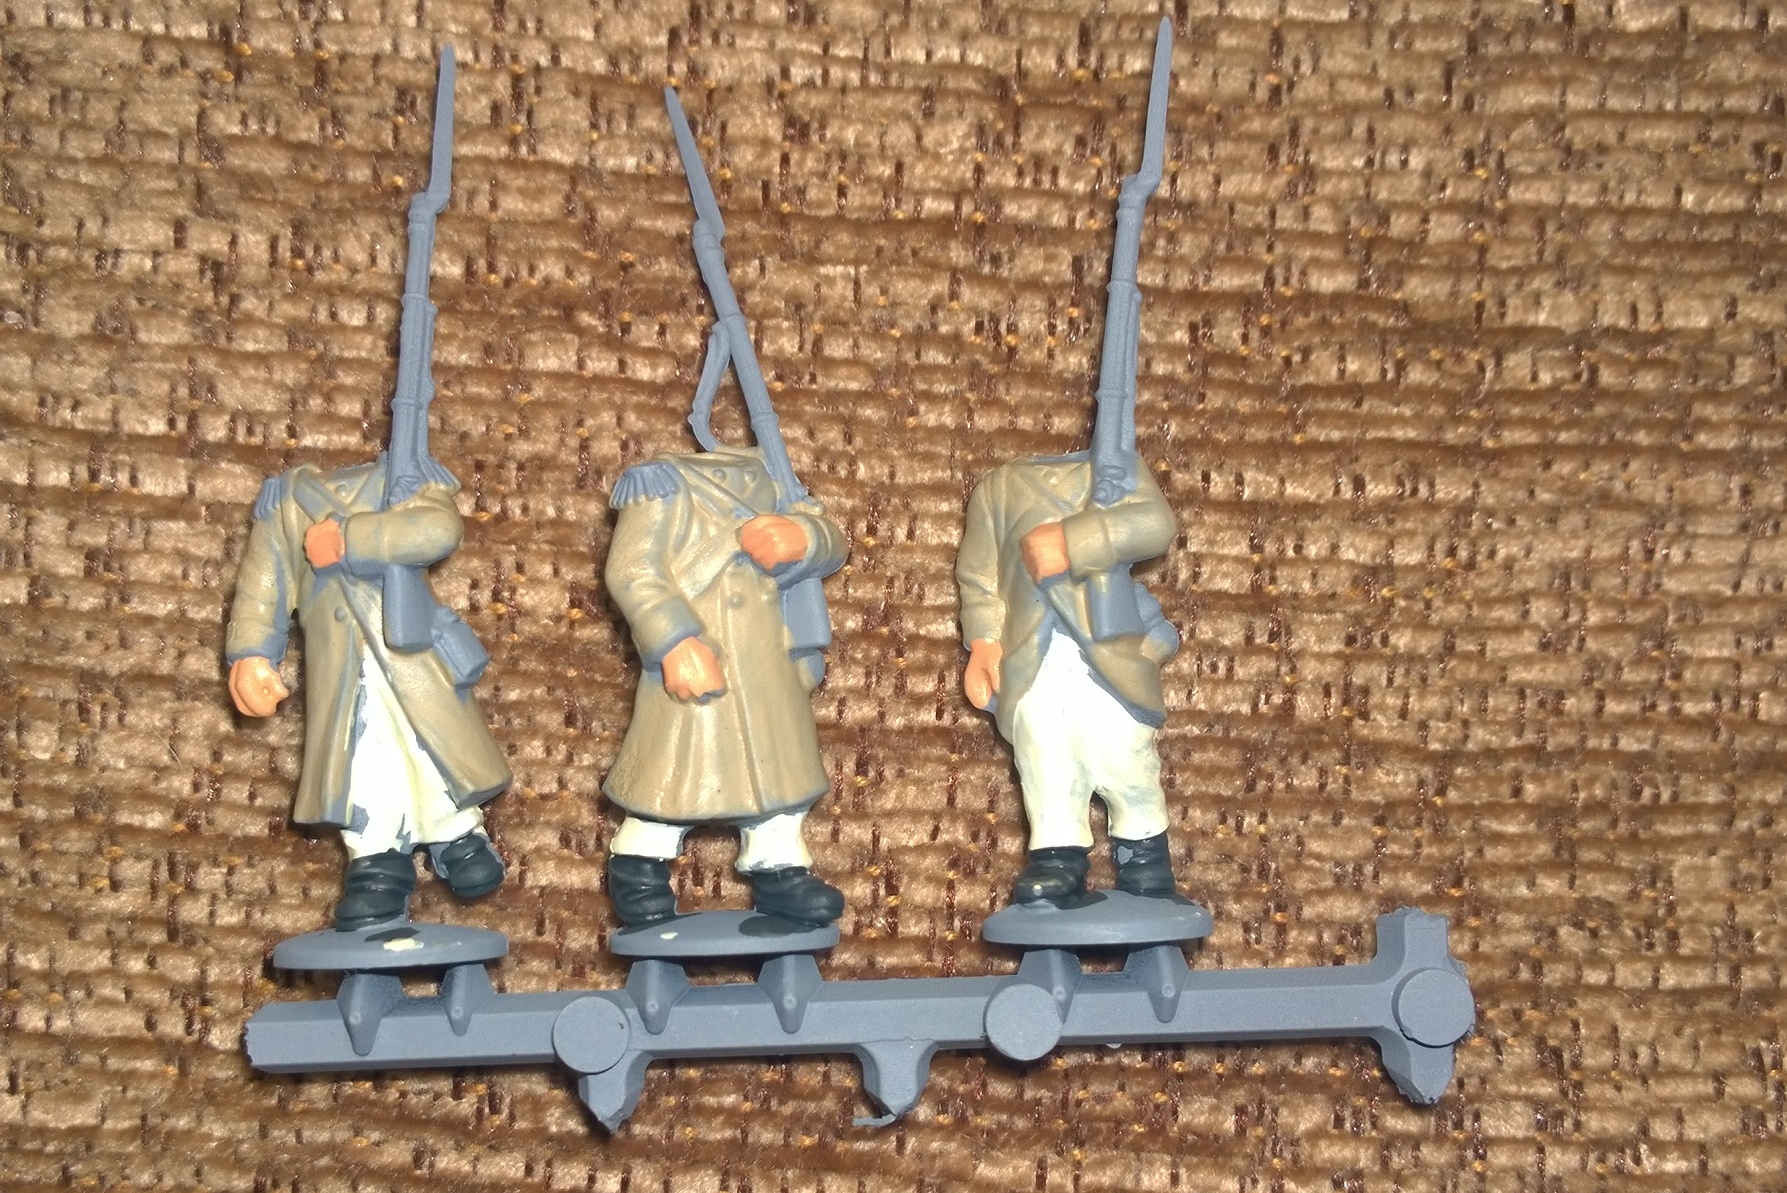
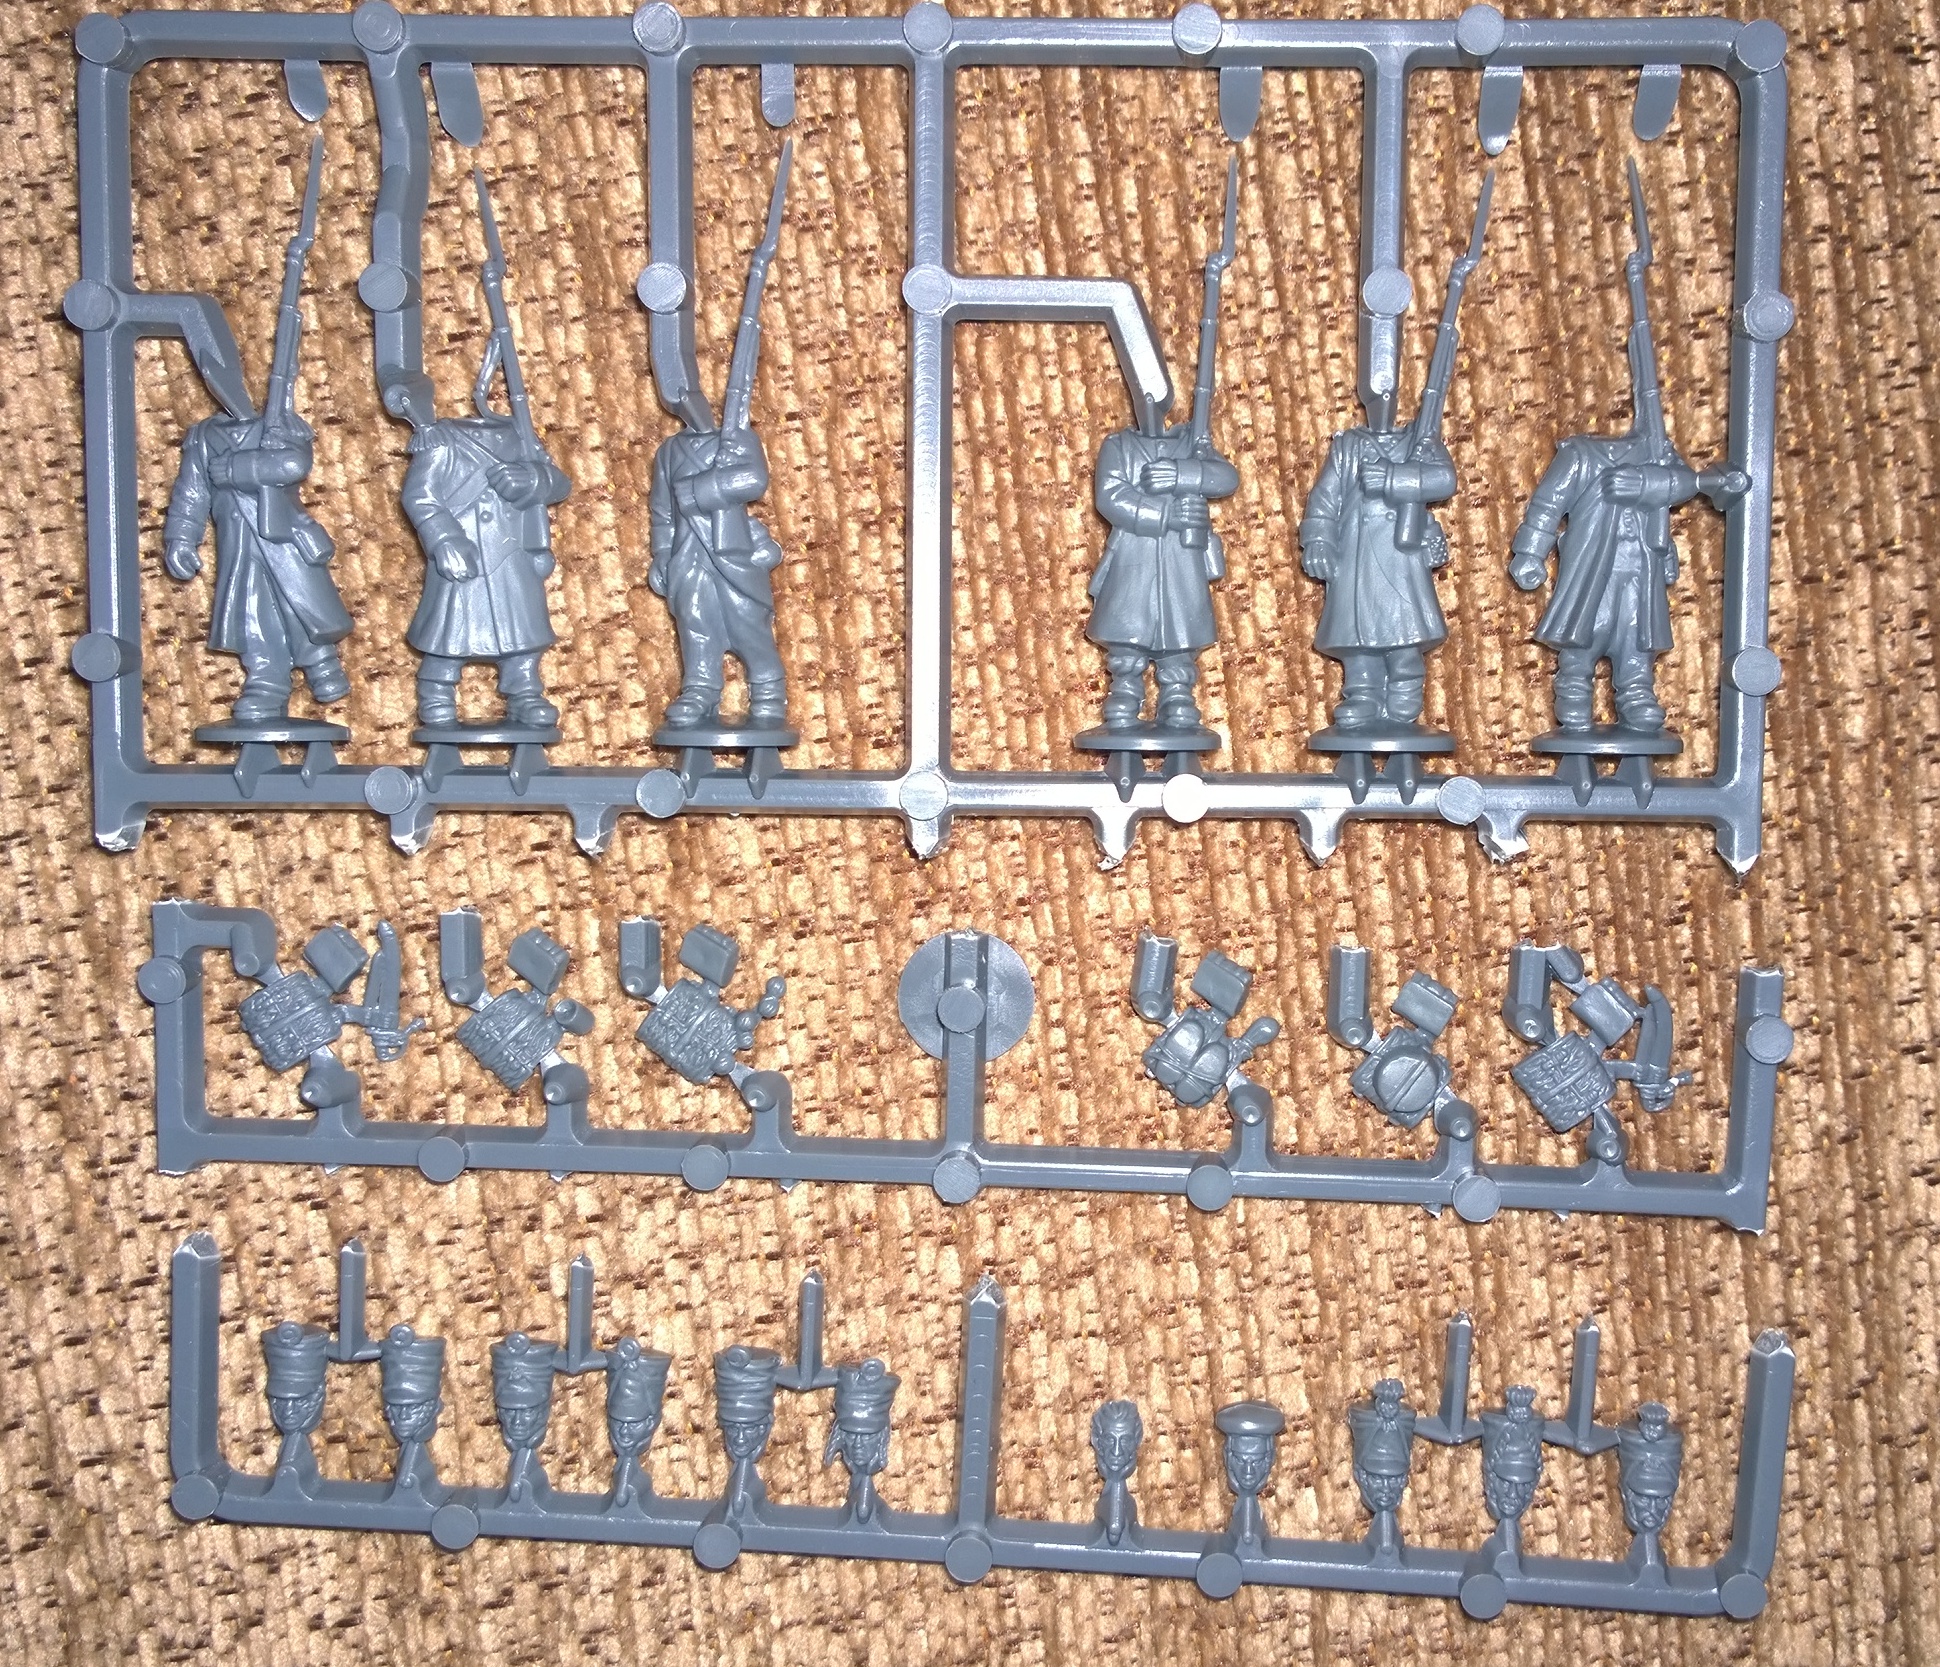 First, I divided up the sprues for spraying. I sprayed the bodies and heads grey and the backpacks white. Had I a Khaki or Brown spray, I’d have been tempted to do the basic greatcoat colour on separate sprues to speed up the process.
Next up: the basic block colours. Here I’ve used a khaki colour for the greatcoats (old Citadel Kommando Khaki!) and an ivory, off-white for the trousers. All the blacks are ‘VMC 862 Black Grey’, as nothing is ever really black and this very dark grey takes washes well. I can’t say I was neat about it and my eyesight is not what it used to be! I’m gradually going long sighted - I don’t need reading glasses yet, but it’s only a matter of time… But bear with me, you may find the results surprising!
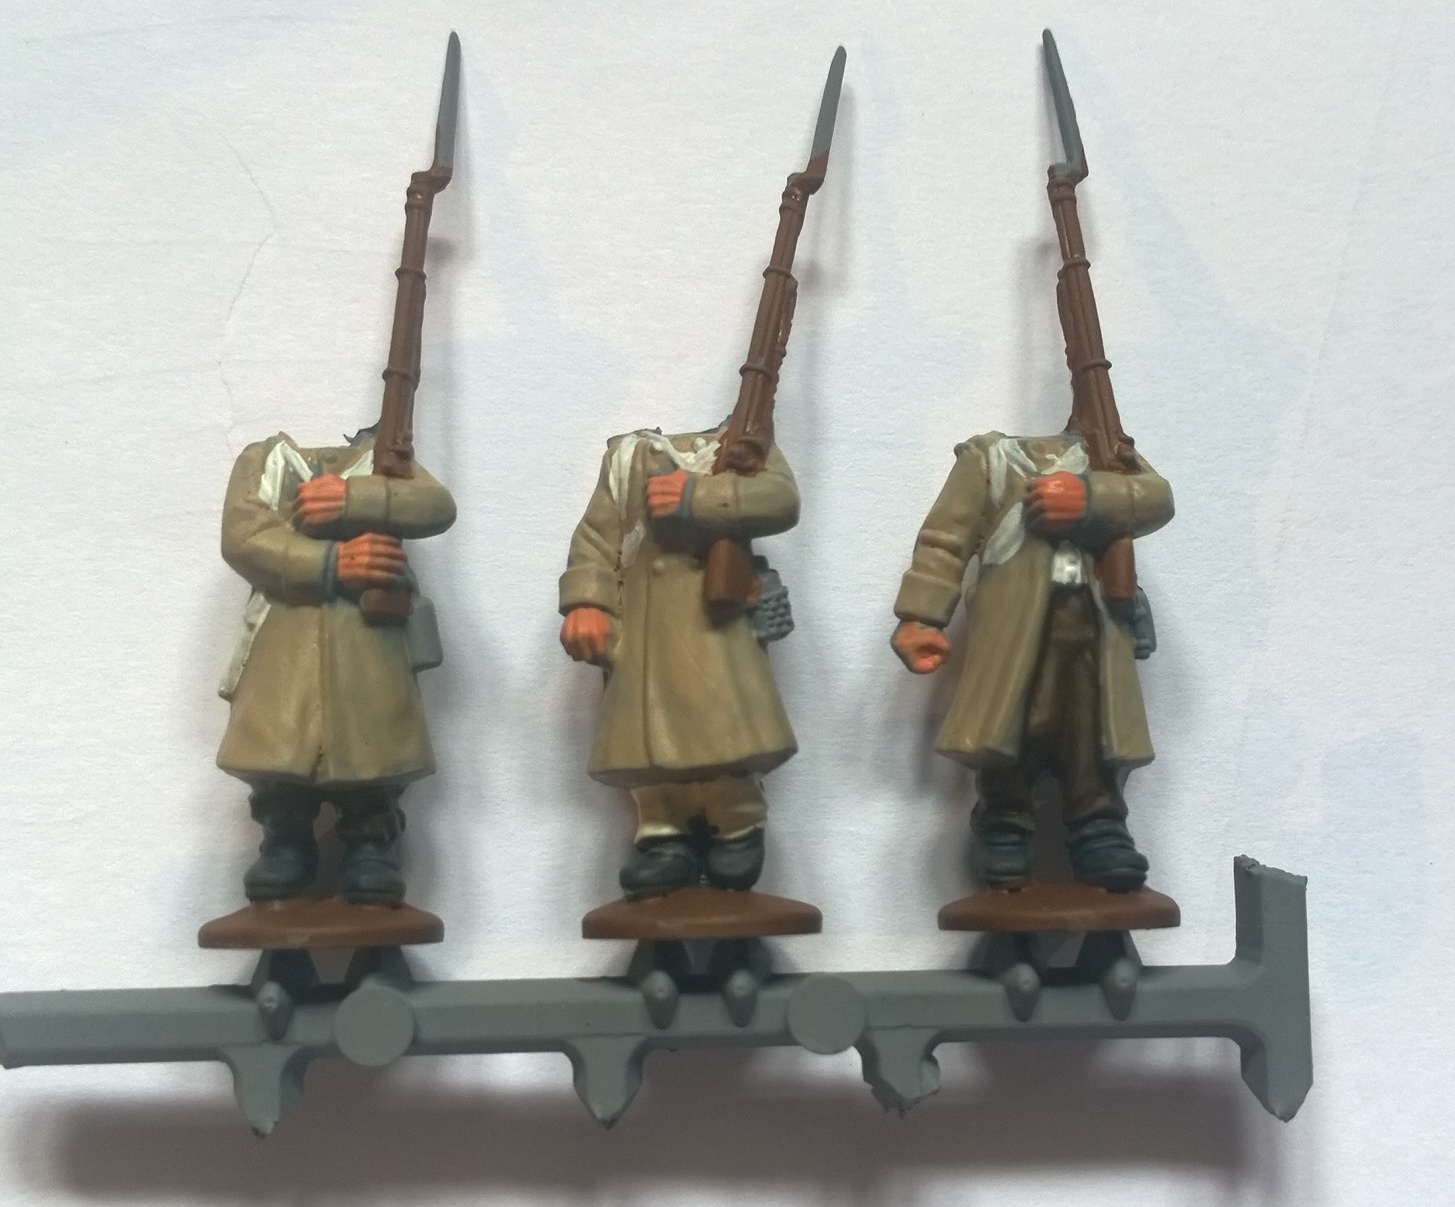
Then I added the cross belts, the wood effect and iron in turn (wood first, as its easier to paint over the wood to add the ironwork of the gun). In the meantime the backpacks were simply done by using a diluted wash of a strong brown colour on the white backpacks (instant shading!). Other details, such as the cartridge box (and cap underneath) were added along with white lining for the backpack.

The heads were done in a mix of Khaki and Black Grey representing the different shako covers used - which will break up the uniformity of the French unit nicely along with the different greatcoats. The 1815 campaign army was not all neat and tidy, so I like the lack of uniformity. I was careful glueing the heads on, having learnt from painful experience that too much glue would spill onto the painted model, causing ‘issues’. The method I used was putting head and body together at the front and then slowly pressing the neck. Any excess glue then ended up going out onto the back where any marks would be concealed by the backpack.
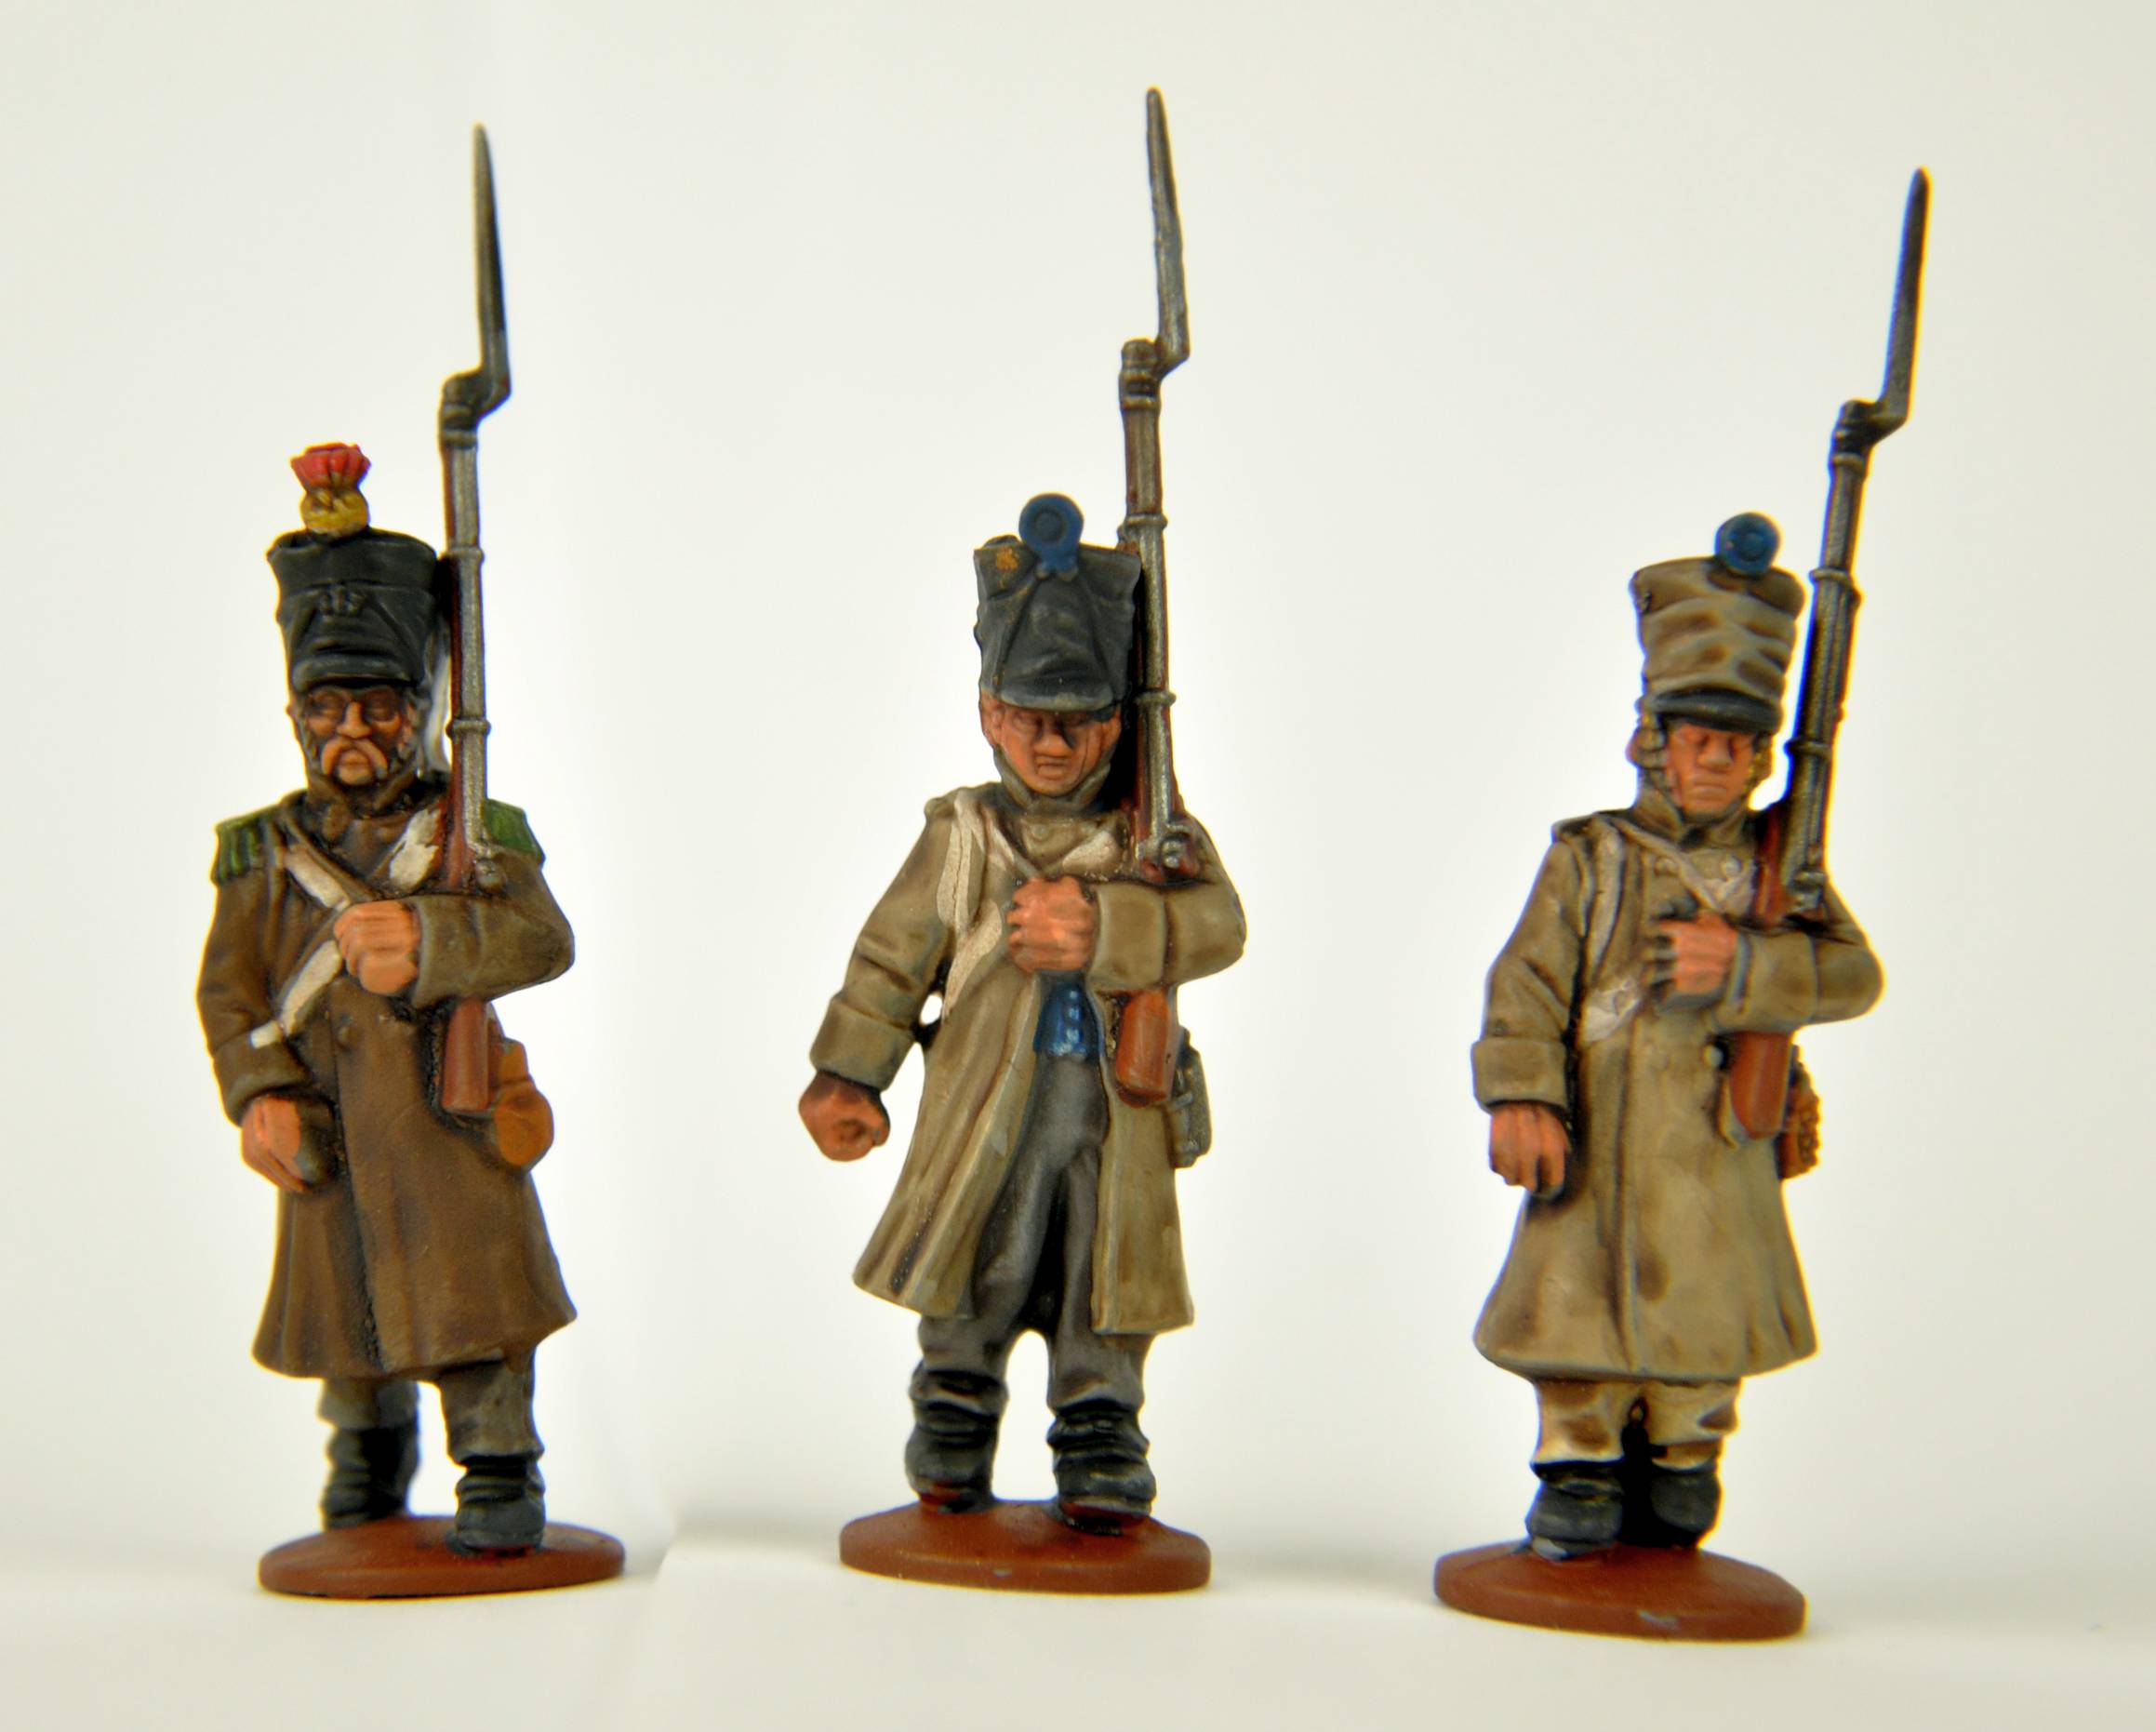
Once assembled, I let the glue dry before using a wash. I used Army Painter Strong Tone on the flesh and clothing. The Army Painter Dark Tone was reserved for the musket, black shako and boots. Now so far we have some ‘ok’ models, but hardly anything to write home about. Next time I’ll show what a little simple highlighting will do to make these models shine. The total time taken for 19 models was 7 hours, working out at 19 minutes a model.