Hetzers gonna hetz
 With apologies for the corny title, but it had to be done. At Salute this year, I picked up a Rubicon 1:56 Hetzer kit from The Plastic Soldier Company. It’s a very nice kit that comes with parts and instructions to make (one of) four different versions of this vehicle: Early, Middle, and Late models, as well as the flamethrower version.
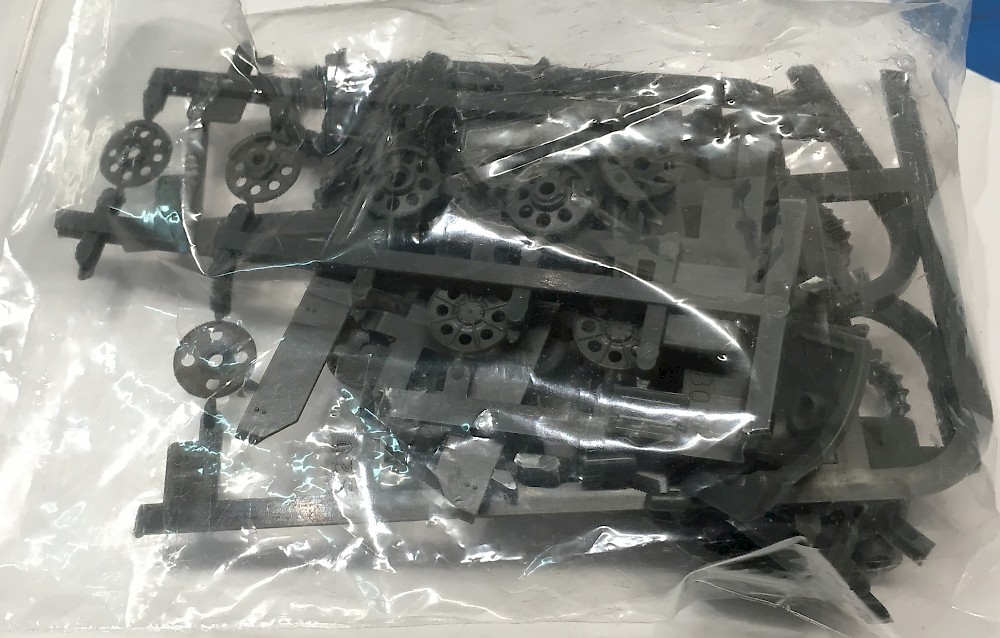
Comparing it to earlier Rubicon kits, I think it’s fair to say they’ve come far in barely eighteen months. The detail and fit are impressive, but I can’t help fiddling a bit more with the kit, just as Guy can’t withstand the temptation to convert infantry. In this case, I mostly mixed and matched parts a bit. Unlike other German tanks, e.g. the Panther, which have very distinct versions (though with continuous alterations as well), the changes which make up an Early, Mid and Late production Hetzer seem to have been introduced gradually.
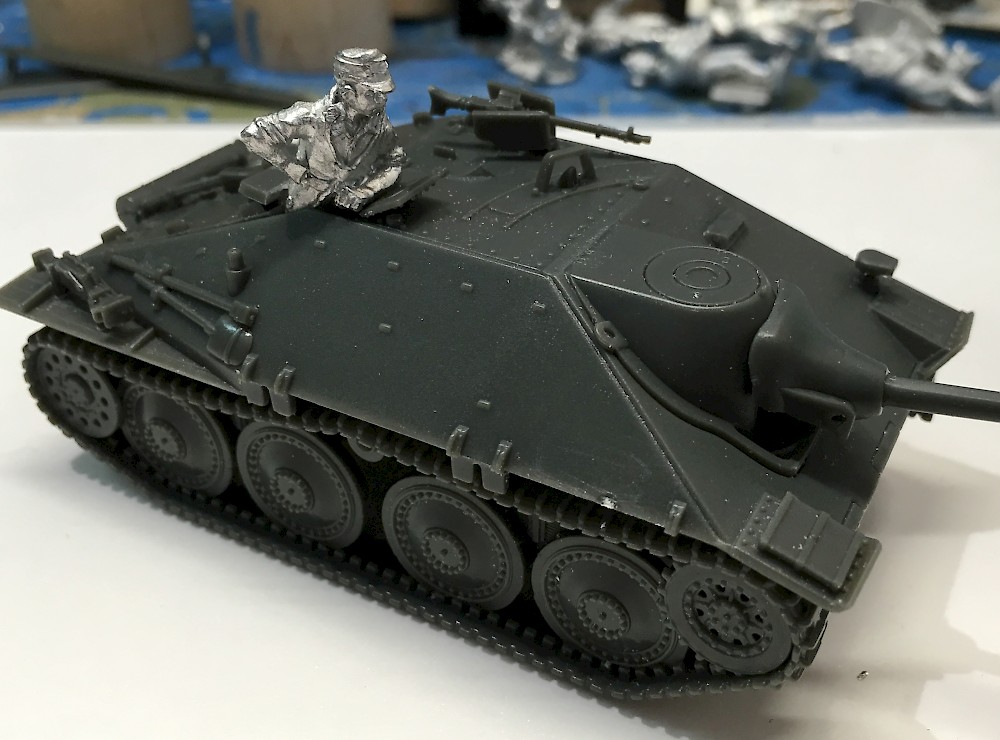
So I grabbed my trusty Spielberger volume and decided on a July 1944 model: pretty early, but with a few mid-production features. *rivet-counter alert* Strictly speaking, you’d have to shave off the three circular ‘Pilzen’ mounts for the 2t crane which were introduced that month if you wanted to maken an earlier version *end alert* The running gear was entirely built according to the instructions for an Early model. Before fitting the hull top, however, I cut a piece of plasticard to size to blank off the hull sides where they overhang the tracks. It’s unlikely you’ll be able to see anything, especially if you mount the side-skirts, but I know it’d bother me if I knew there were big, gaping holes there…
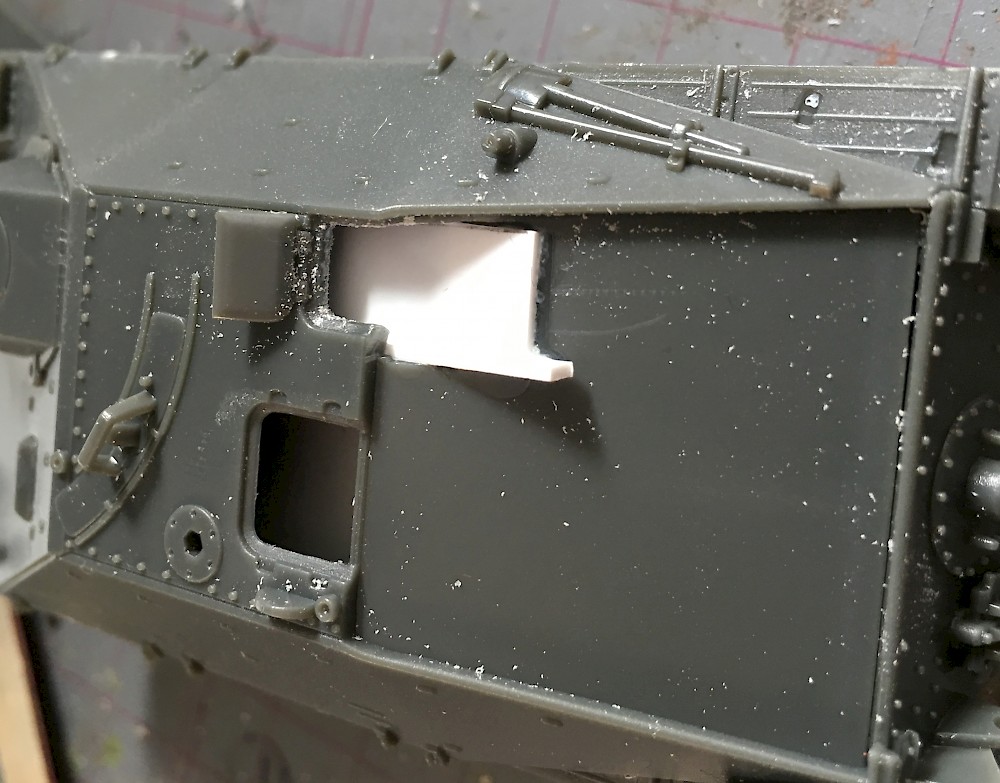
I used the Early model lower-rear plate, though with hindsight that should probably have been the later version. The difference is minimal though. For the upper-rear hull plate, I used the later version, but the drawing in Spielberger shows that this model did not yet have the hatch in the lower left-hand corner. So I shaved the detail off and filled in the recesses. Before glueing it down though, I carefully cut out the small commander’s hatch. I also cut a hole in the hull top and cut out the plastic blank under the commander’s hatch in the top. I then glued some plastic sheet in the hole to support a half figure. 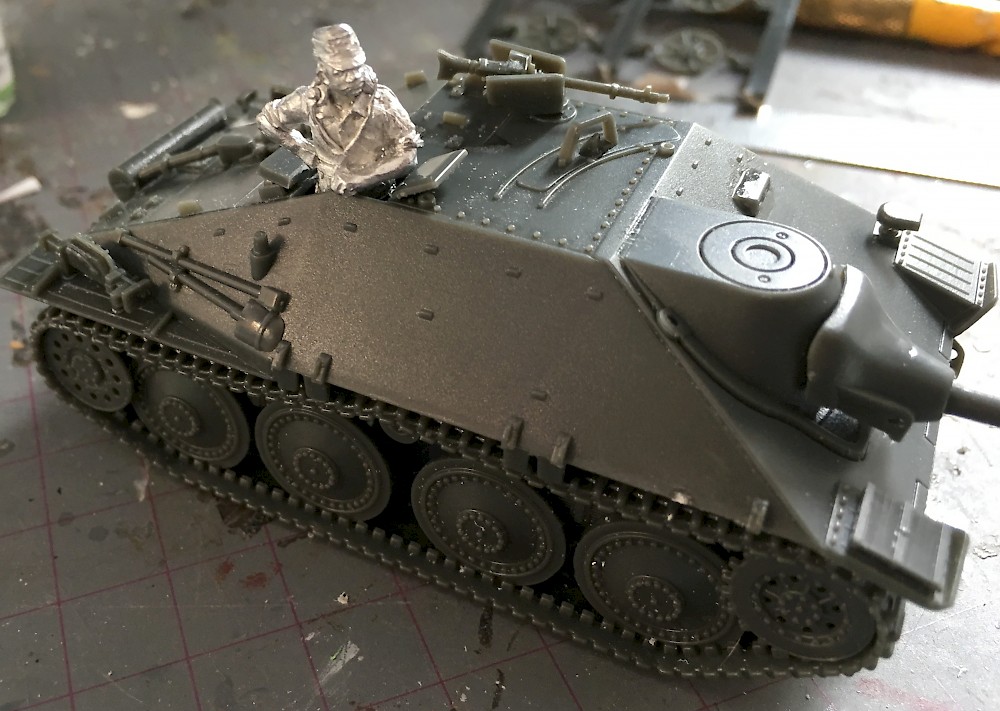 A (slender) Perry Miniatures Tank crewman fits the tiny hatch perfectly. He’s in Africa-style shirtsleeves, so it’ll have to be a vehicle that went right to the front in the summer of 1944. Finally, I drilled out the barrel and selected the second model gun mantle - the first model seems to have been used for only a very small number of vehicles - the perforated style of toolbox, and the second model of exhaust without the perforated sheet around it. I’ll leave the side-skirts off for painting, but that’s for another time. For now, this model is done. It’s an easy, accurate build, leaves you with a lot of spare parts, and highly recommended!