Basing - my bane (part 1)
I have one bane when it comes to gaming - basing my miniatures. No matter what I do, I can’t seem to get it right. Maybe it’s the perfectionist in me (yes there is one, Jasper!) or maybe it’s a lack of confidence. Whatever it is, basing is the one thing which vexes me in the entire process of getting miniature to tabletop. Now you’d think with several good modelling articles in previous issues of Wargames, Soldiers and Strategy, that I’d just follow them. There was Simon Miller’s Basing with the Bat in WSS 64, Paul Cubbin’s Base the Final Frontier in WSS 68 and Stephen Tunmore’s Building Better Terrain in WSS 74. There’s also among Christy’s excellent Youtube videos, one on basing. To a certain extent I do follow these, each article has inspired me to do more with my basing.
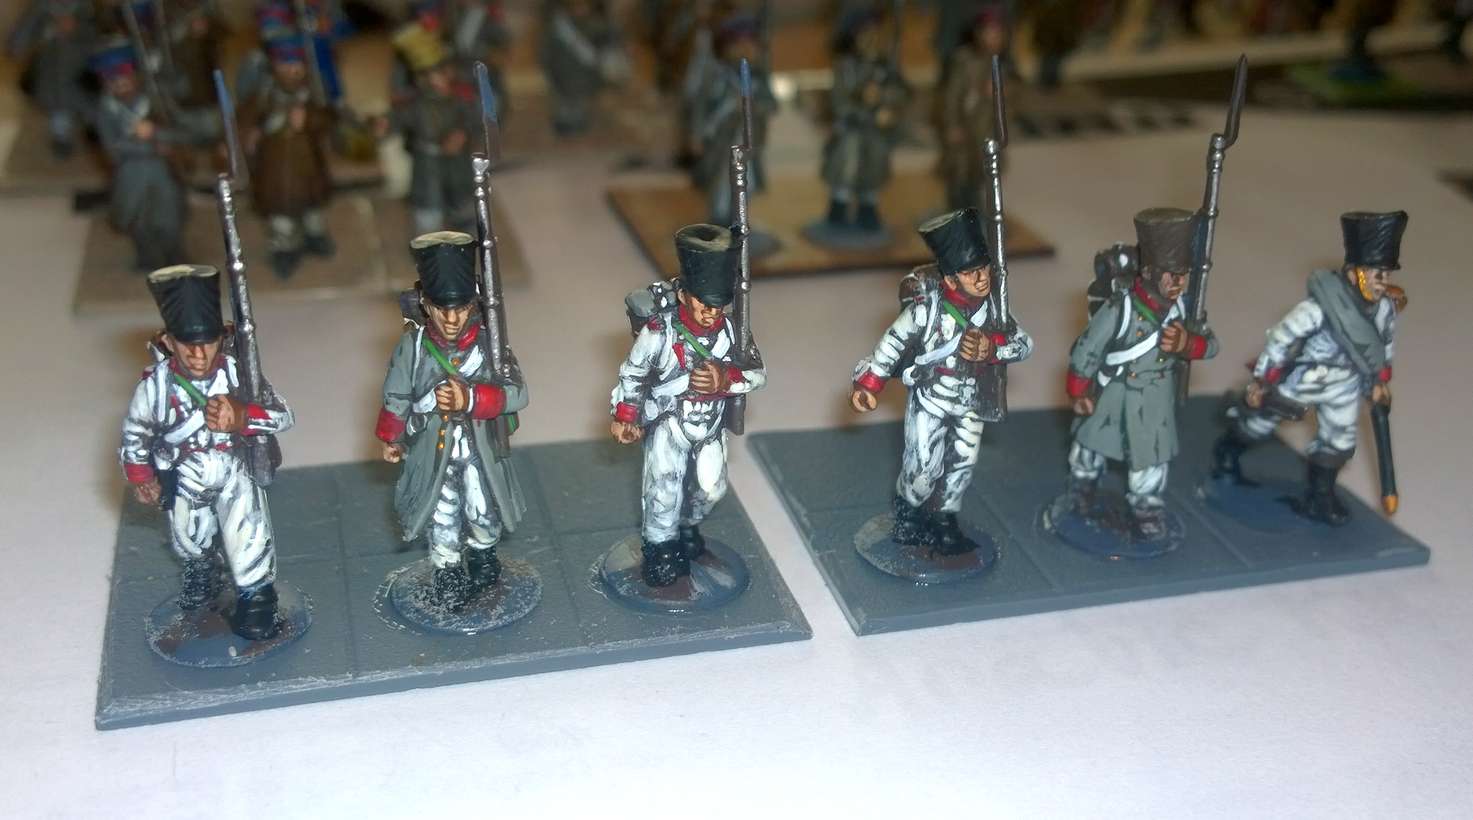
For the Ligny game, I have a fair bit of basing to do, and I hopefully practice makes perfect. We’ll see! This time, I’m prepared and armed with a plethora of tools including static grass and tufts! Now I’ve tried other methods of basing with limited success - there was my attempt at using PVA glue and then sprinkling with sand but that only ended up with both sand and glue stuck to my model! So here is my, admittedly imperfect, method of basing. I’m using models painted and converted by David Davies for this blog - he’s done an excellent job on these 29th Infantry Regiment Prussians (Prussian infantry in French style white uniforms - lovely!).
I’m basing my models for Black Powder and we use … units of 24 … please don’t hate me, it wasn’t my idea for Warlord to restructure their packs! Using 24 or 36 figures for a unit seems to be a hot topic right now - some people only use 12! - thankfully there’s all sorts of leeway in the game. We decided long ago to stick to 24 as it meant a good compromise between unit size on the table and not having to paint too much per unit. But I digress… First off, I ensure all the bases of the models have been painted in the final base colour. Inspired by Simon’s article, I use a mixture of Burnt Umber with a touch of Pale Umber (2 or 3 to 1 mix), which gives a colour close to a Flat Earth (old GW Graveyard Earth or Vallejo Flat Earth). I use Windsor and Newton or similar acrylics, as they are much cheaper than using a score of GW or Vallejo paint pots.
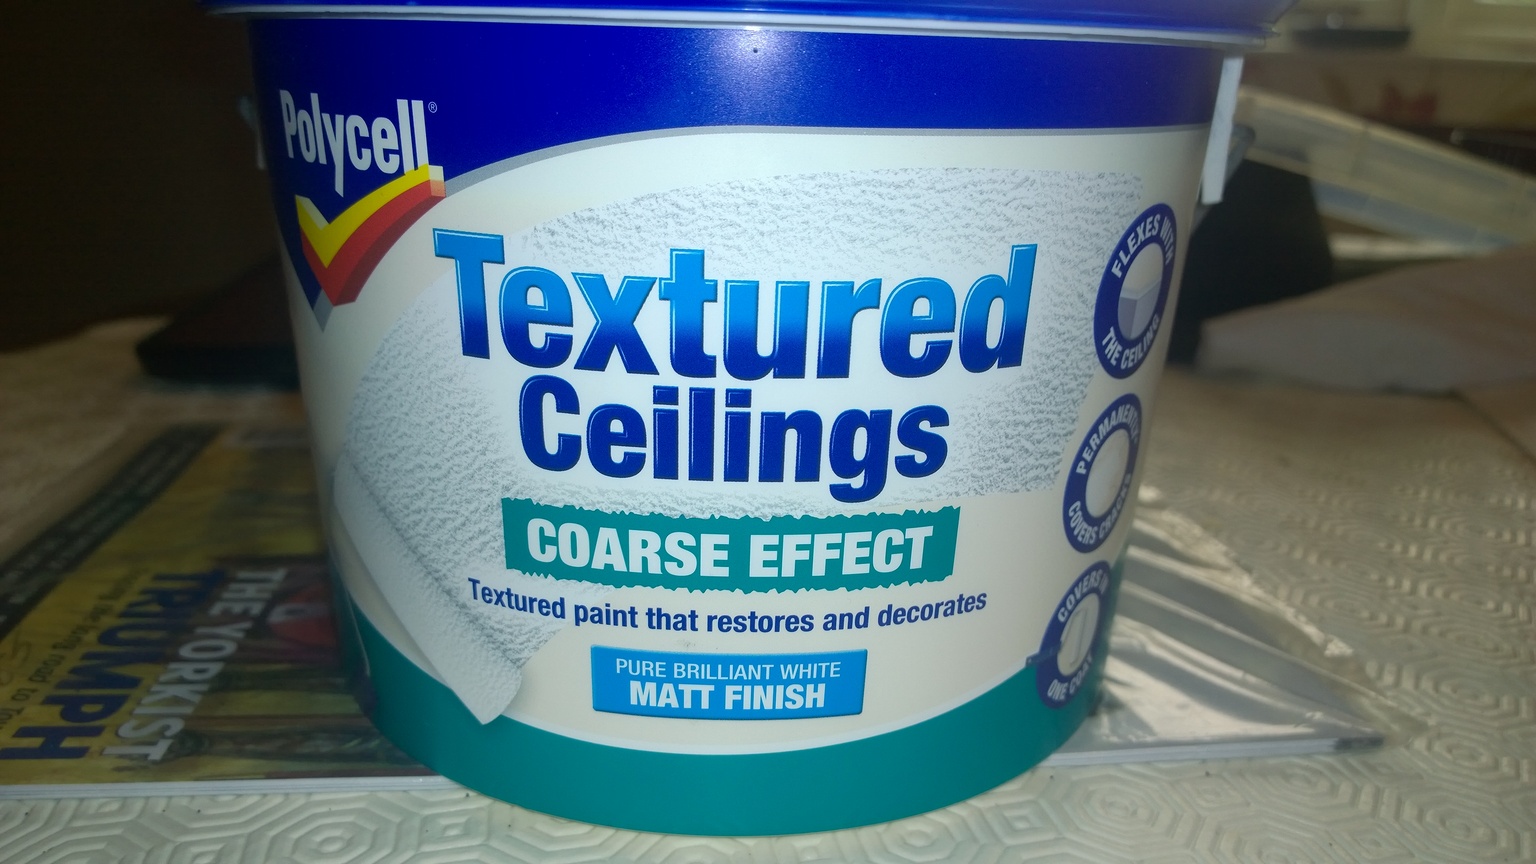
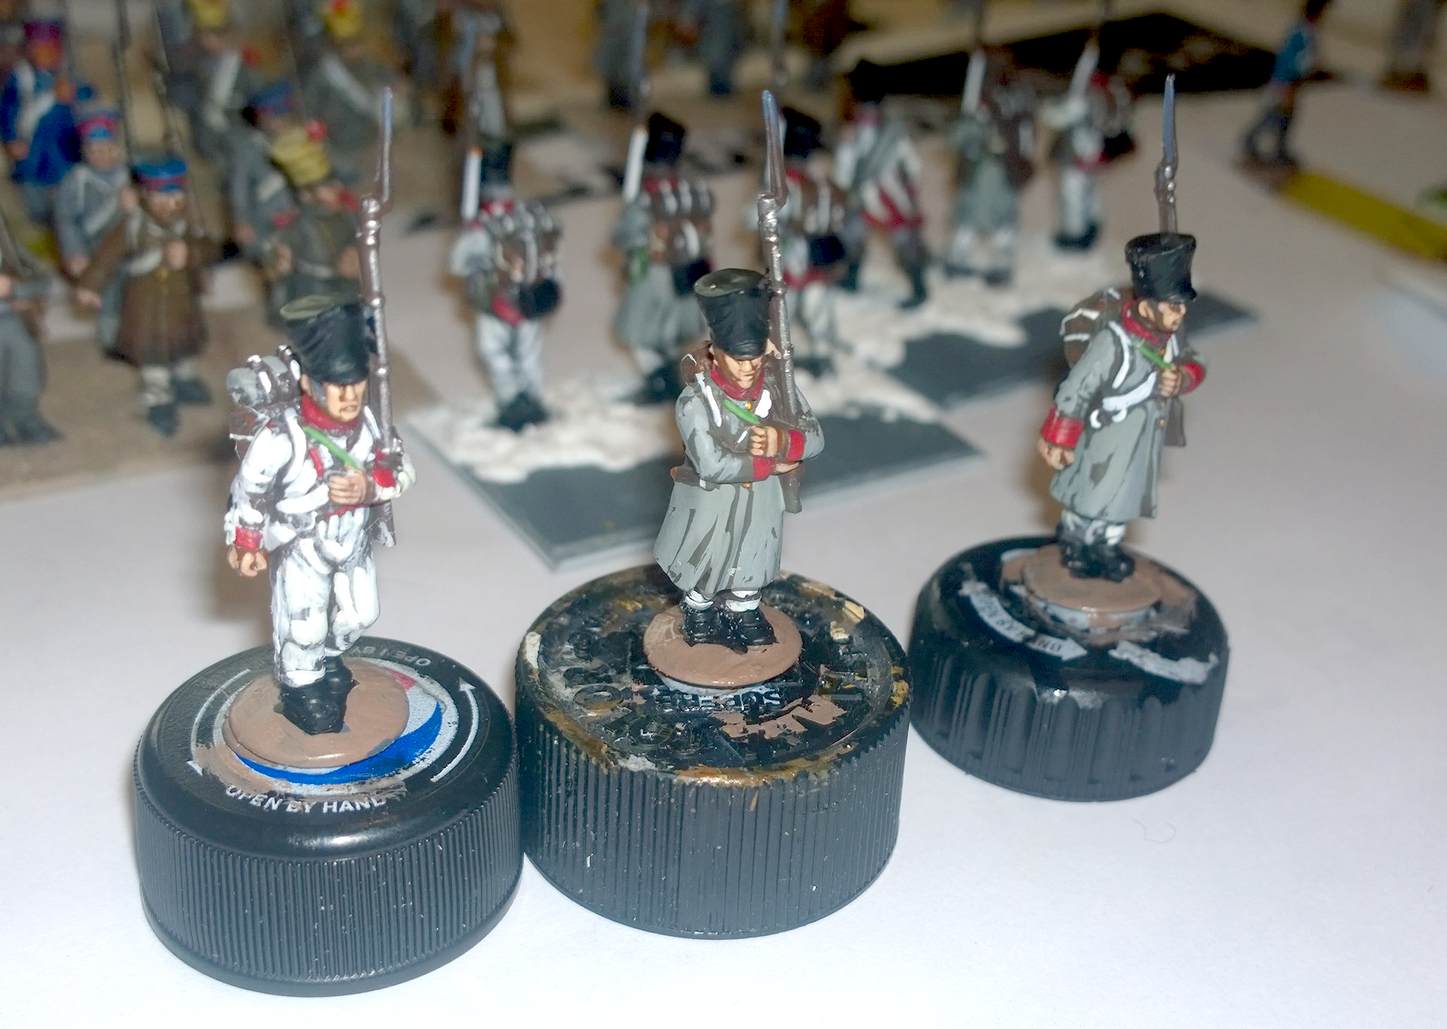
I first glue the front rank in place and then apply the basing material. I use coarse textured ceiling paint as a base as it is flexible, takes paint very well and has good gap filling qualities; just what I need to blend-in the model’s round bases to the main square base.
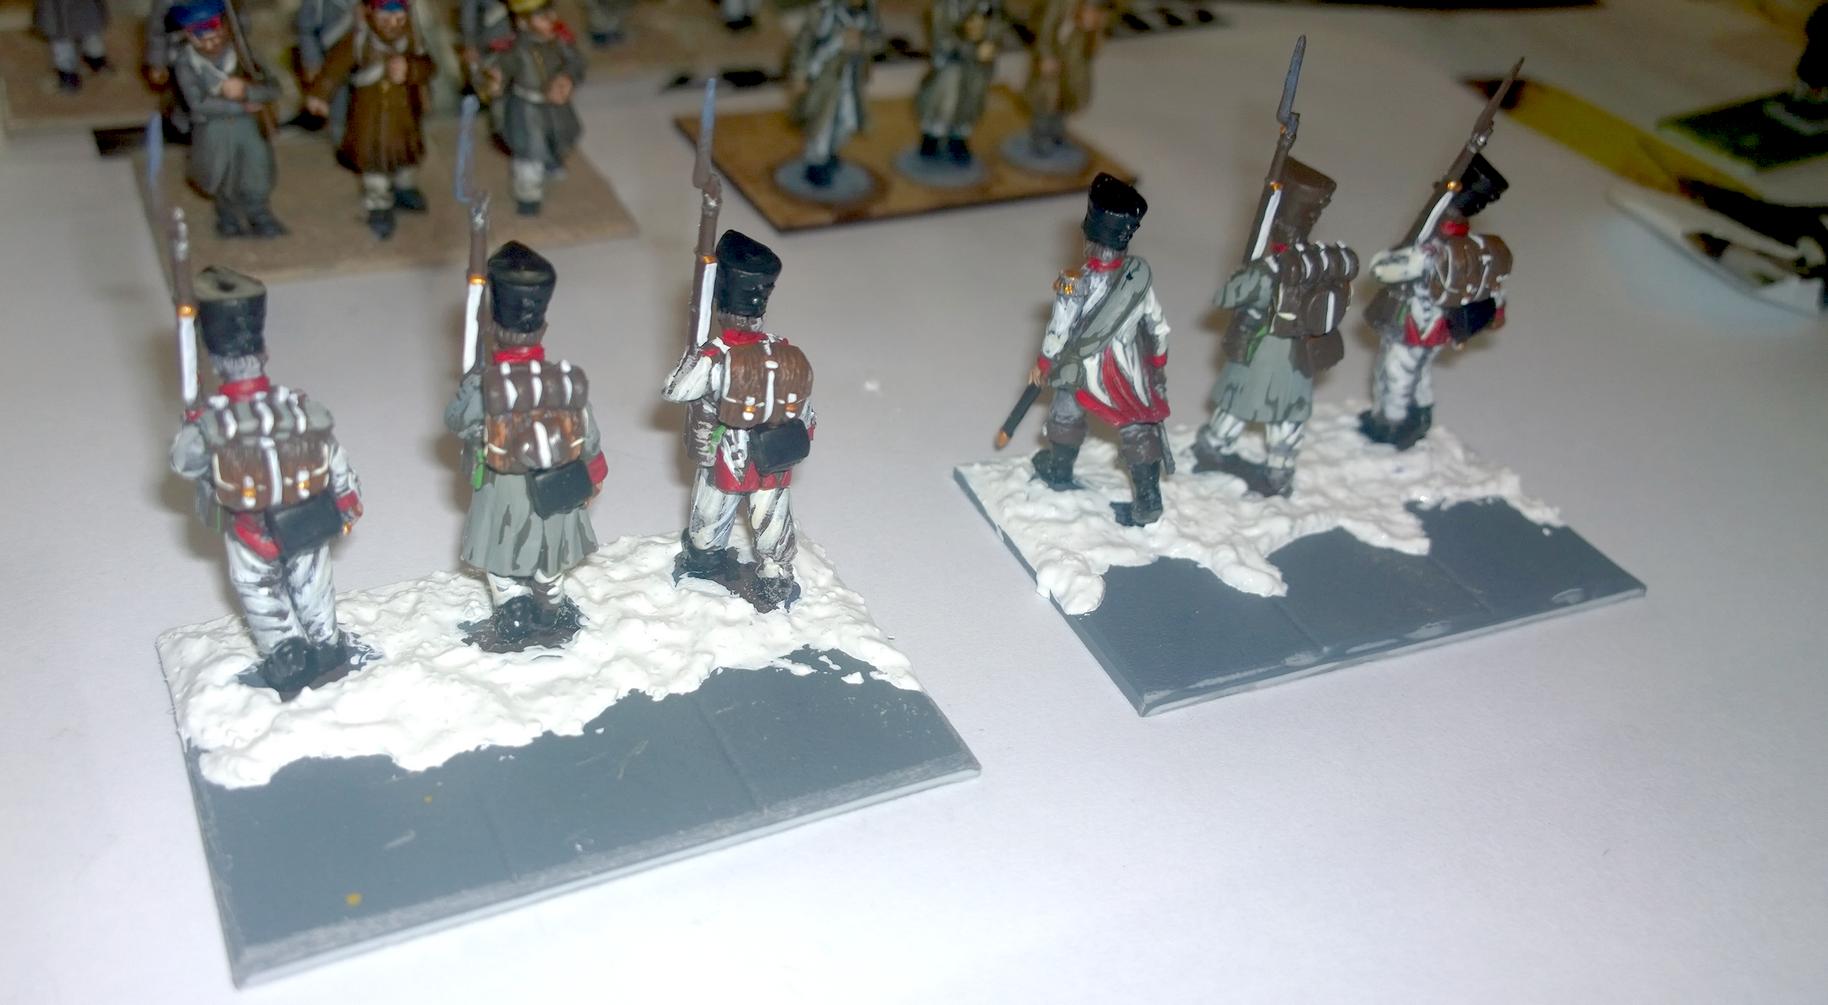
Once I’ve put enough on, I put a small surplus of material at the back in preparation to phase two: adding the back row. Once the second row has been glued in place, I simply have to tidy up the middle by moving the basing material in contact with the new bases. I then add on some extra basing material to the back. Once dried, I’ll use a wash of the burnt Umber mix around the base and add flock, but that is something for my second blog!
