1940 Campaign French - Part 2: A Vos Bases, Mes Amis!

This chap has just had his filler freshly dipped in sand.
5) Once dry, use an old brush to paint with brown paint. 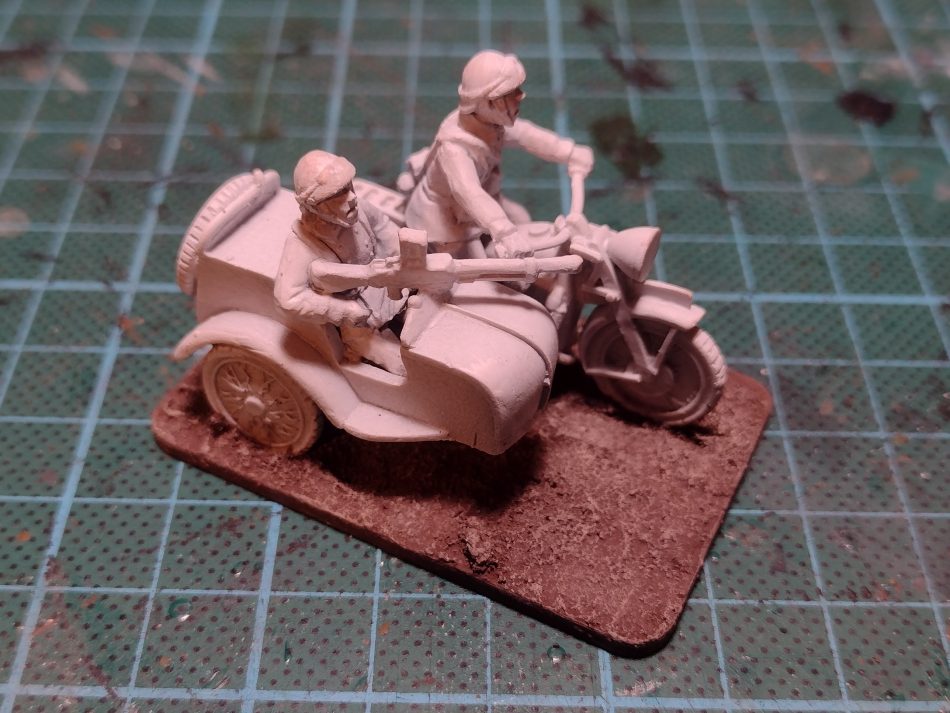
Here, the bike on the right has had its textured filler overpainted with the same household brown paint (still wet; not gloss!) 6) Once dry, drybrush with cream (Skeleton Bone) This bike's base has been drybrushed - it's more apparent in some of the other pics below.Two batch-working pics follow - the first after re-painting over the filler and sand; the second after drybrushing: 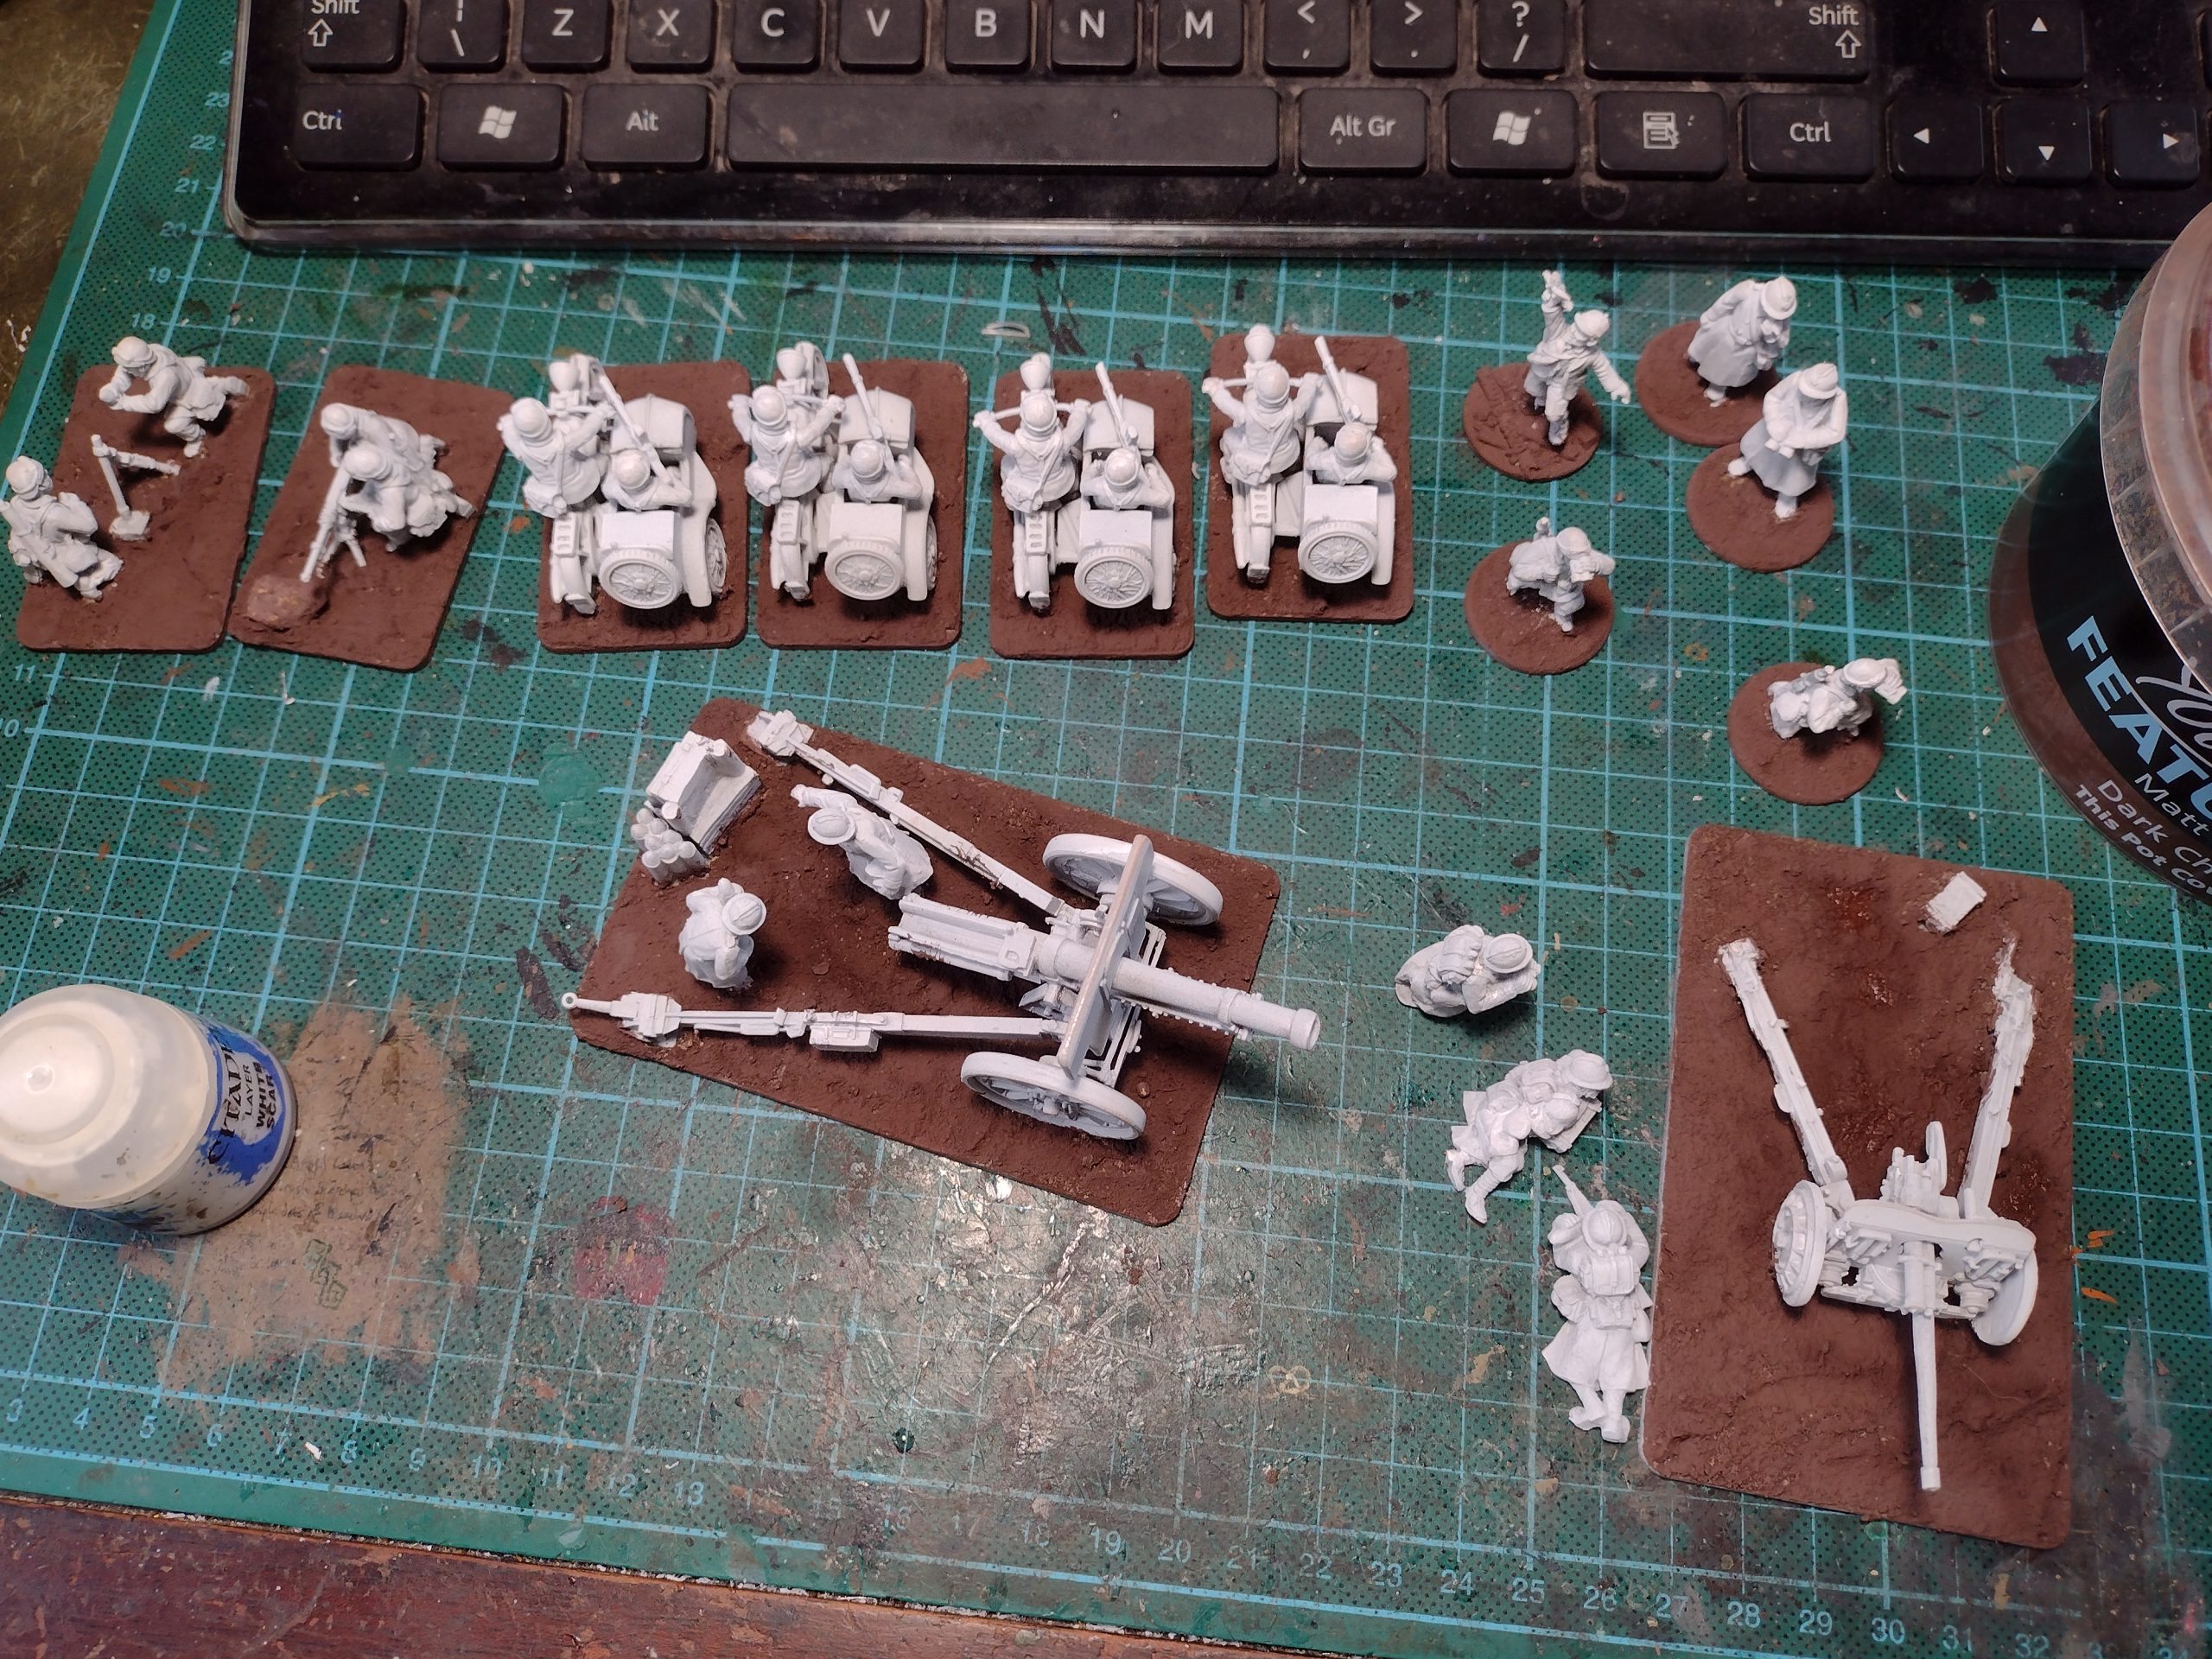
...and I'll cover the fun of adding static grass and foliage in a future post. Now for some more notes on the units: Firstly, some more of the beautifully characterful motorcycle troops from Crusader (courtesy of North Star) - in this case an LMG and VUB trooper alongside a couple of lovely HQ models:
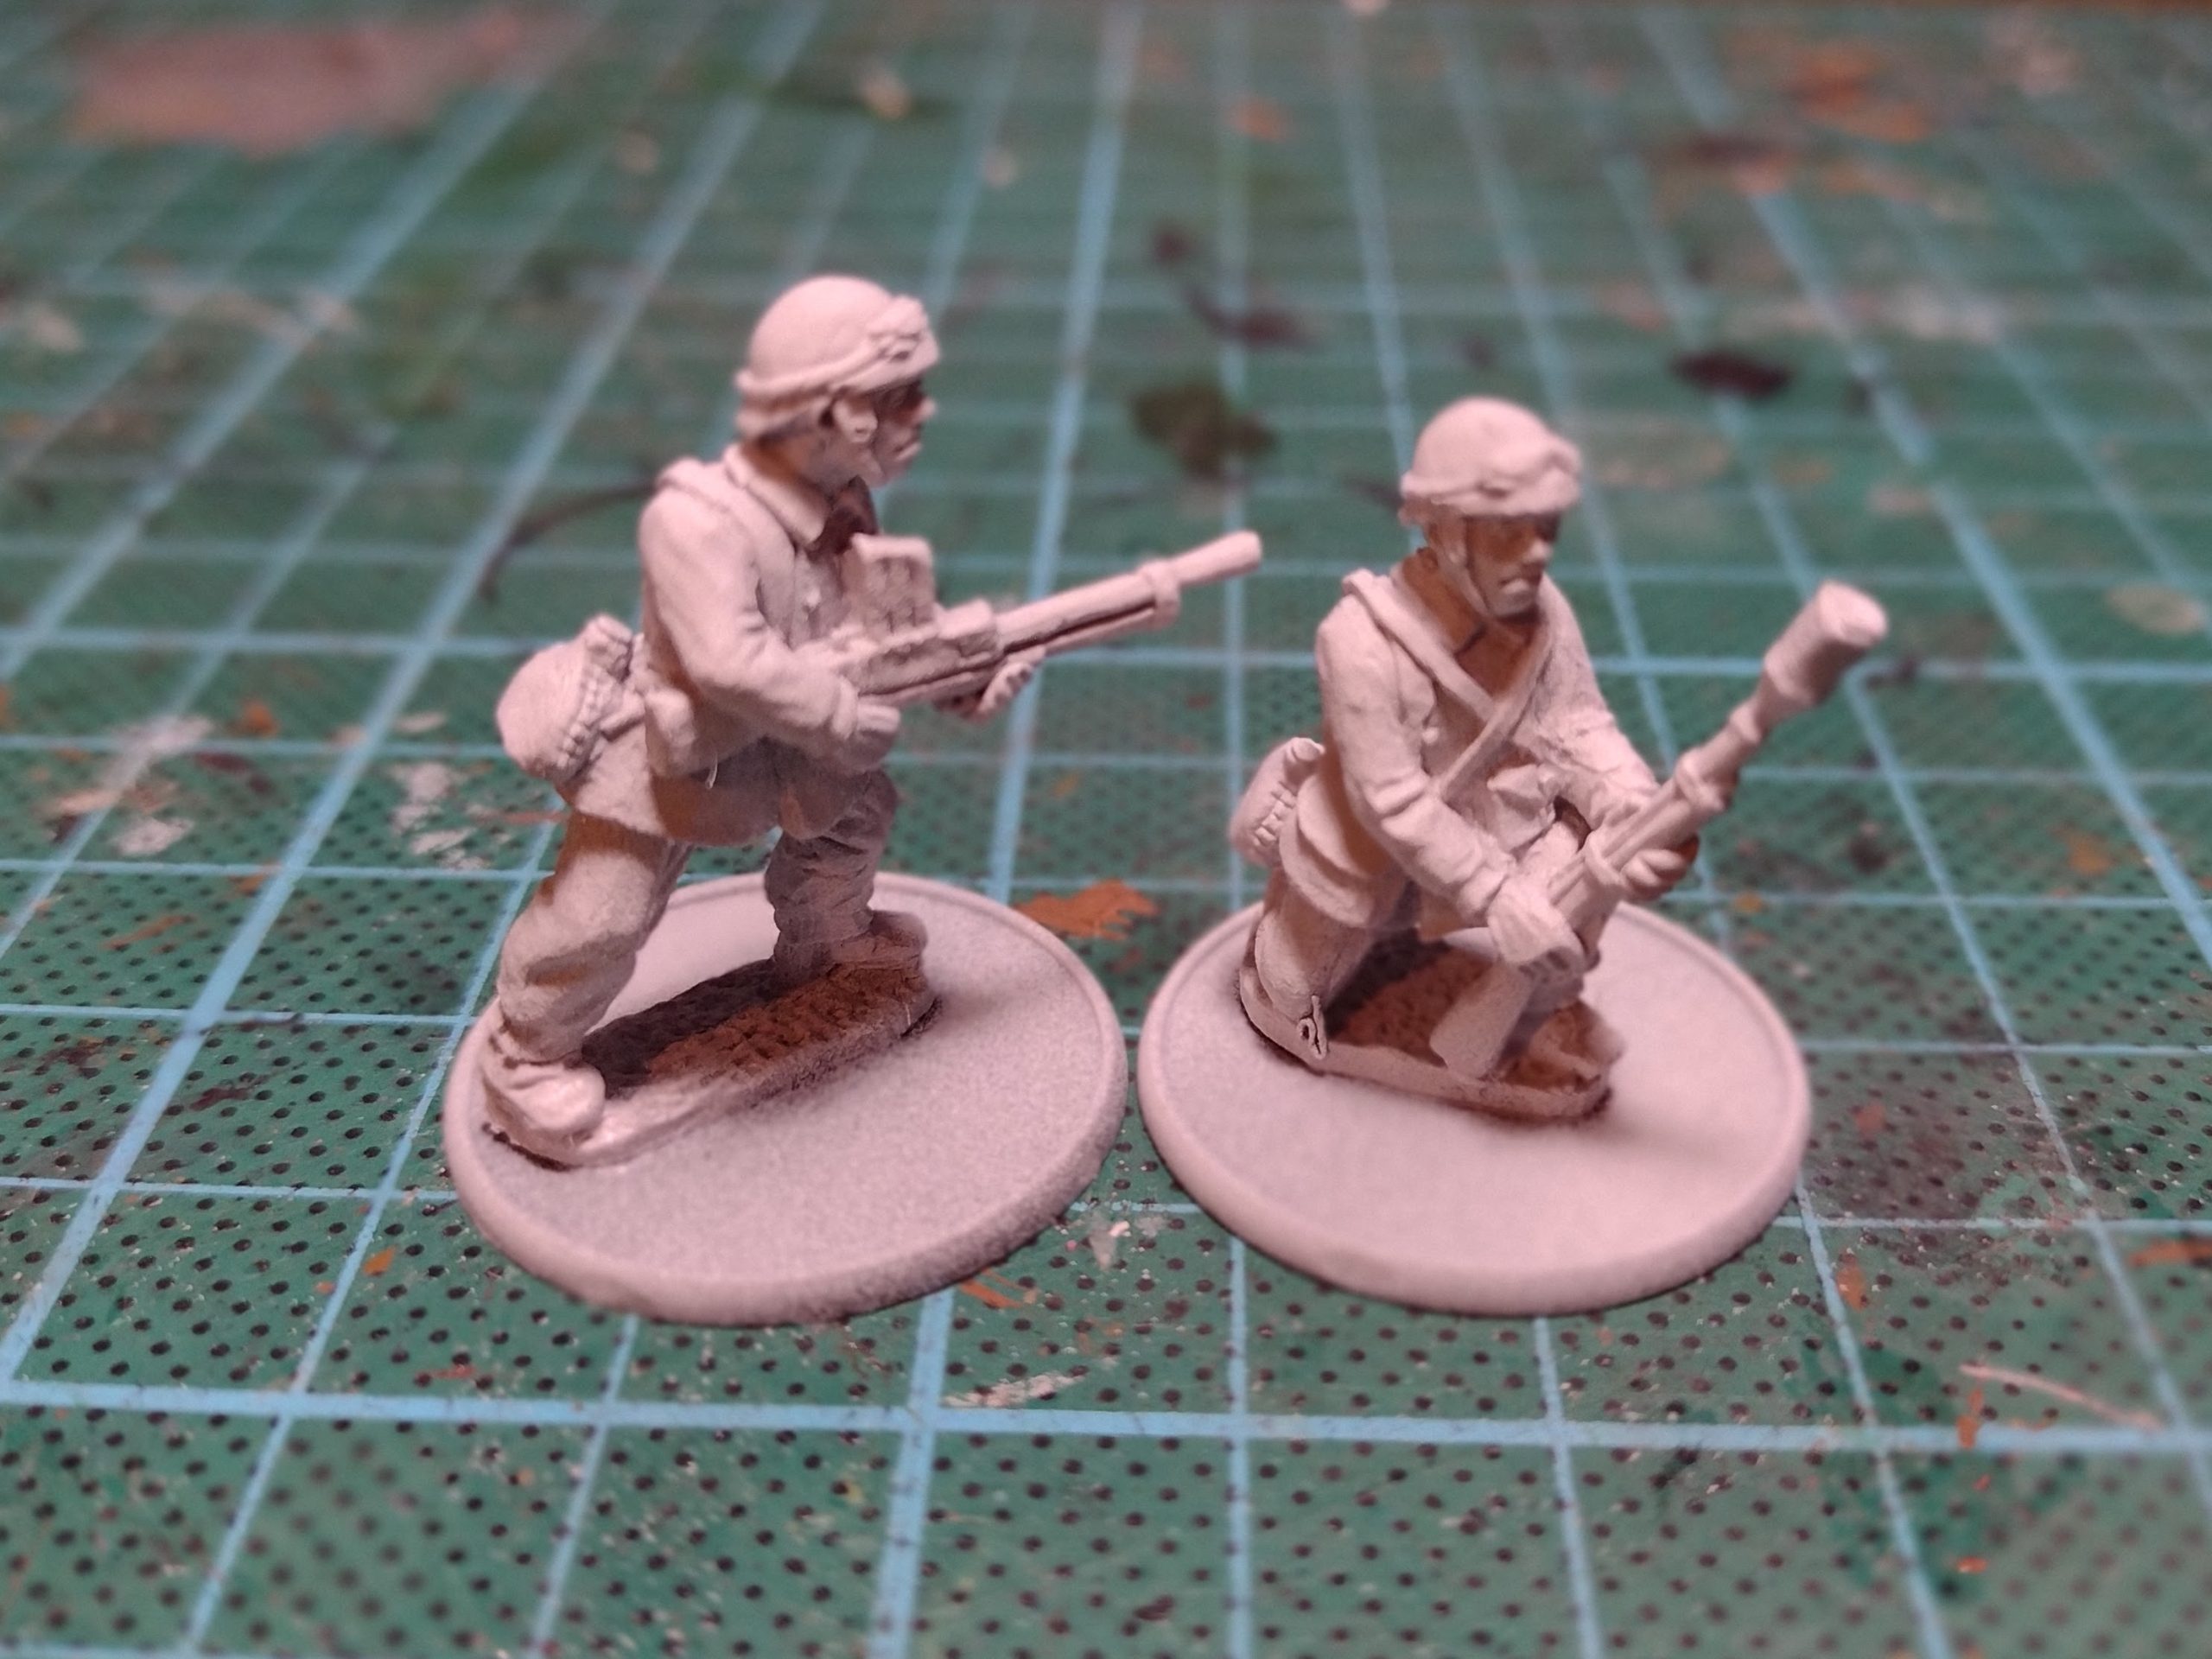
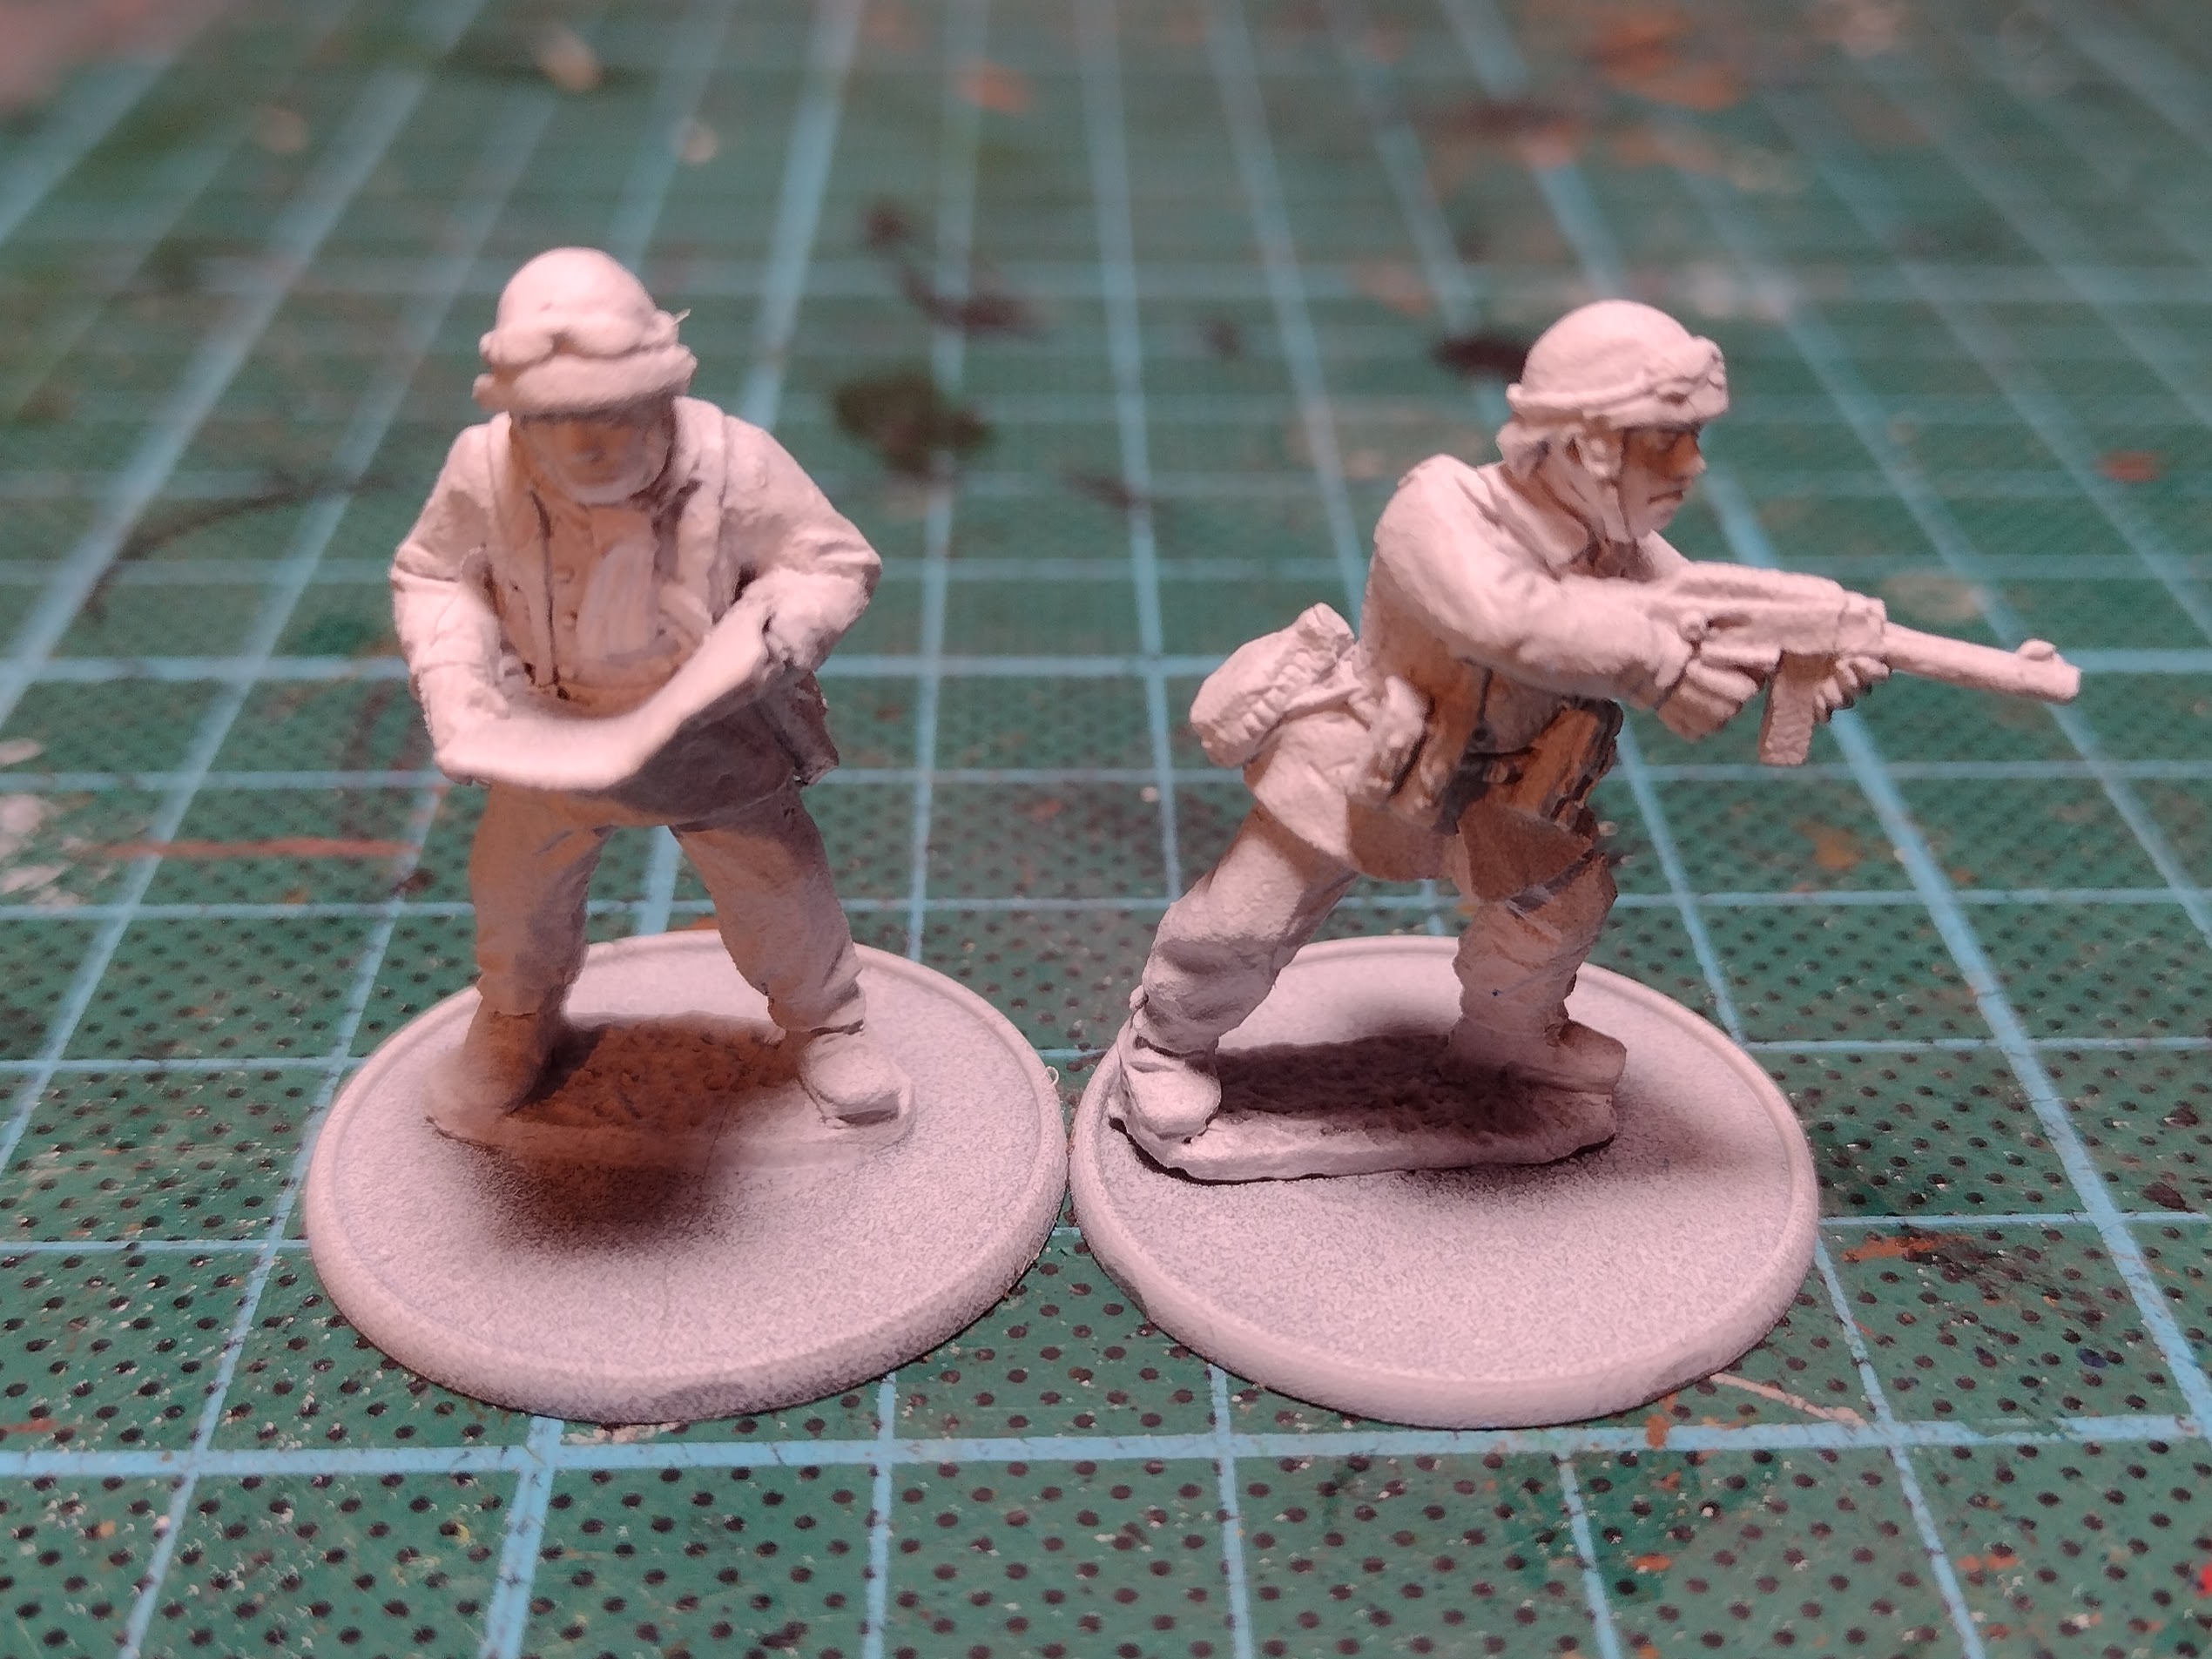
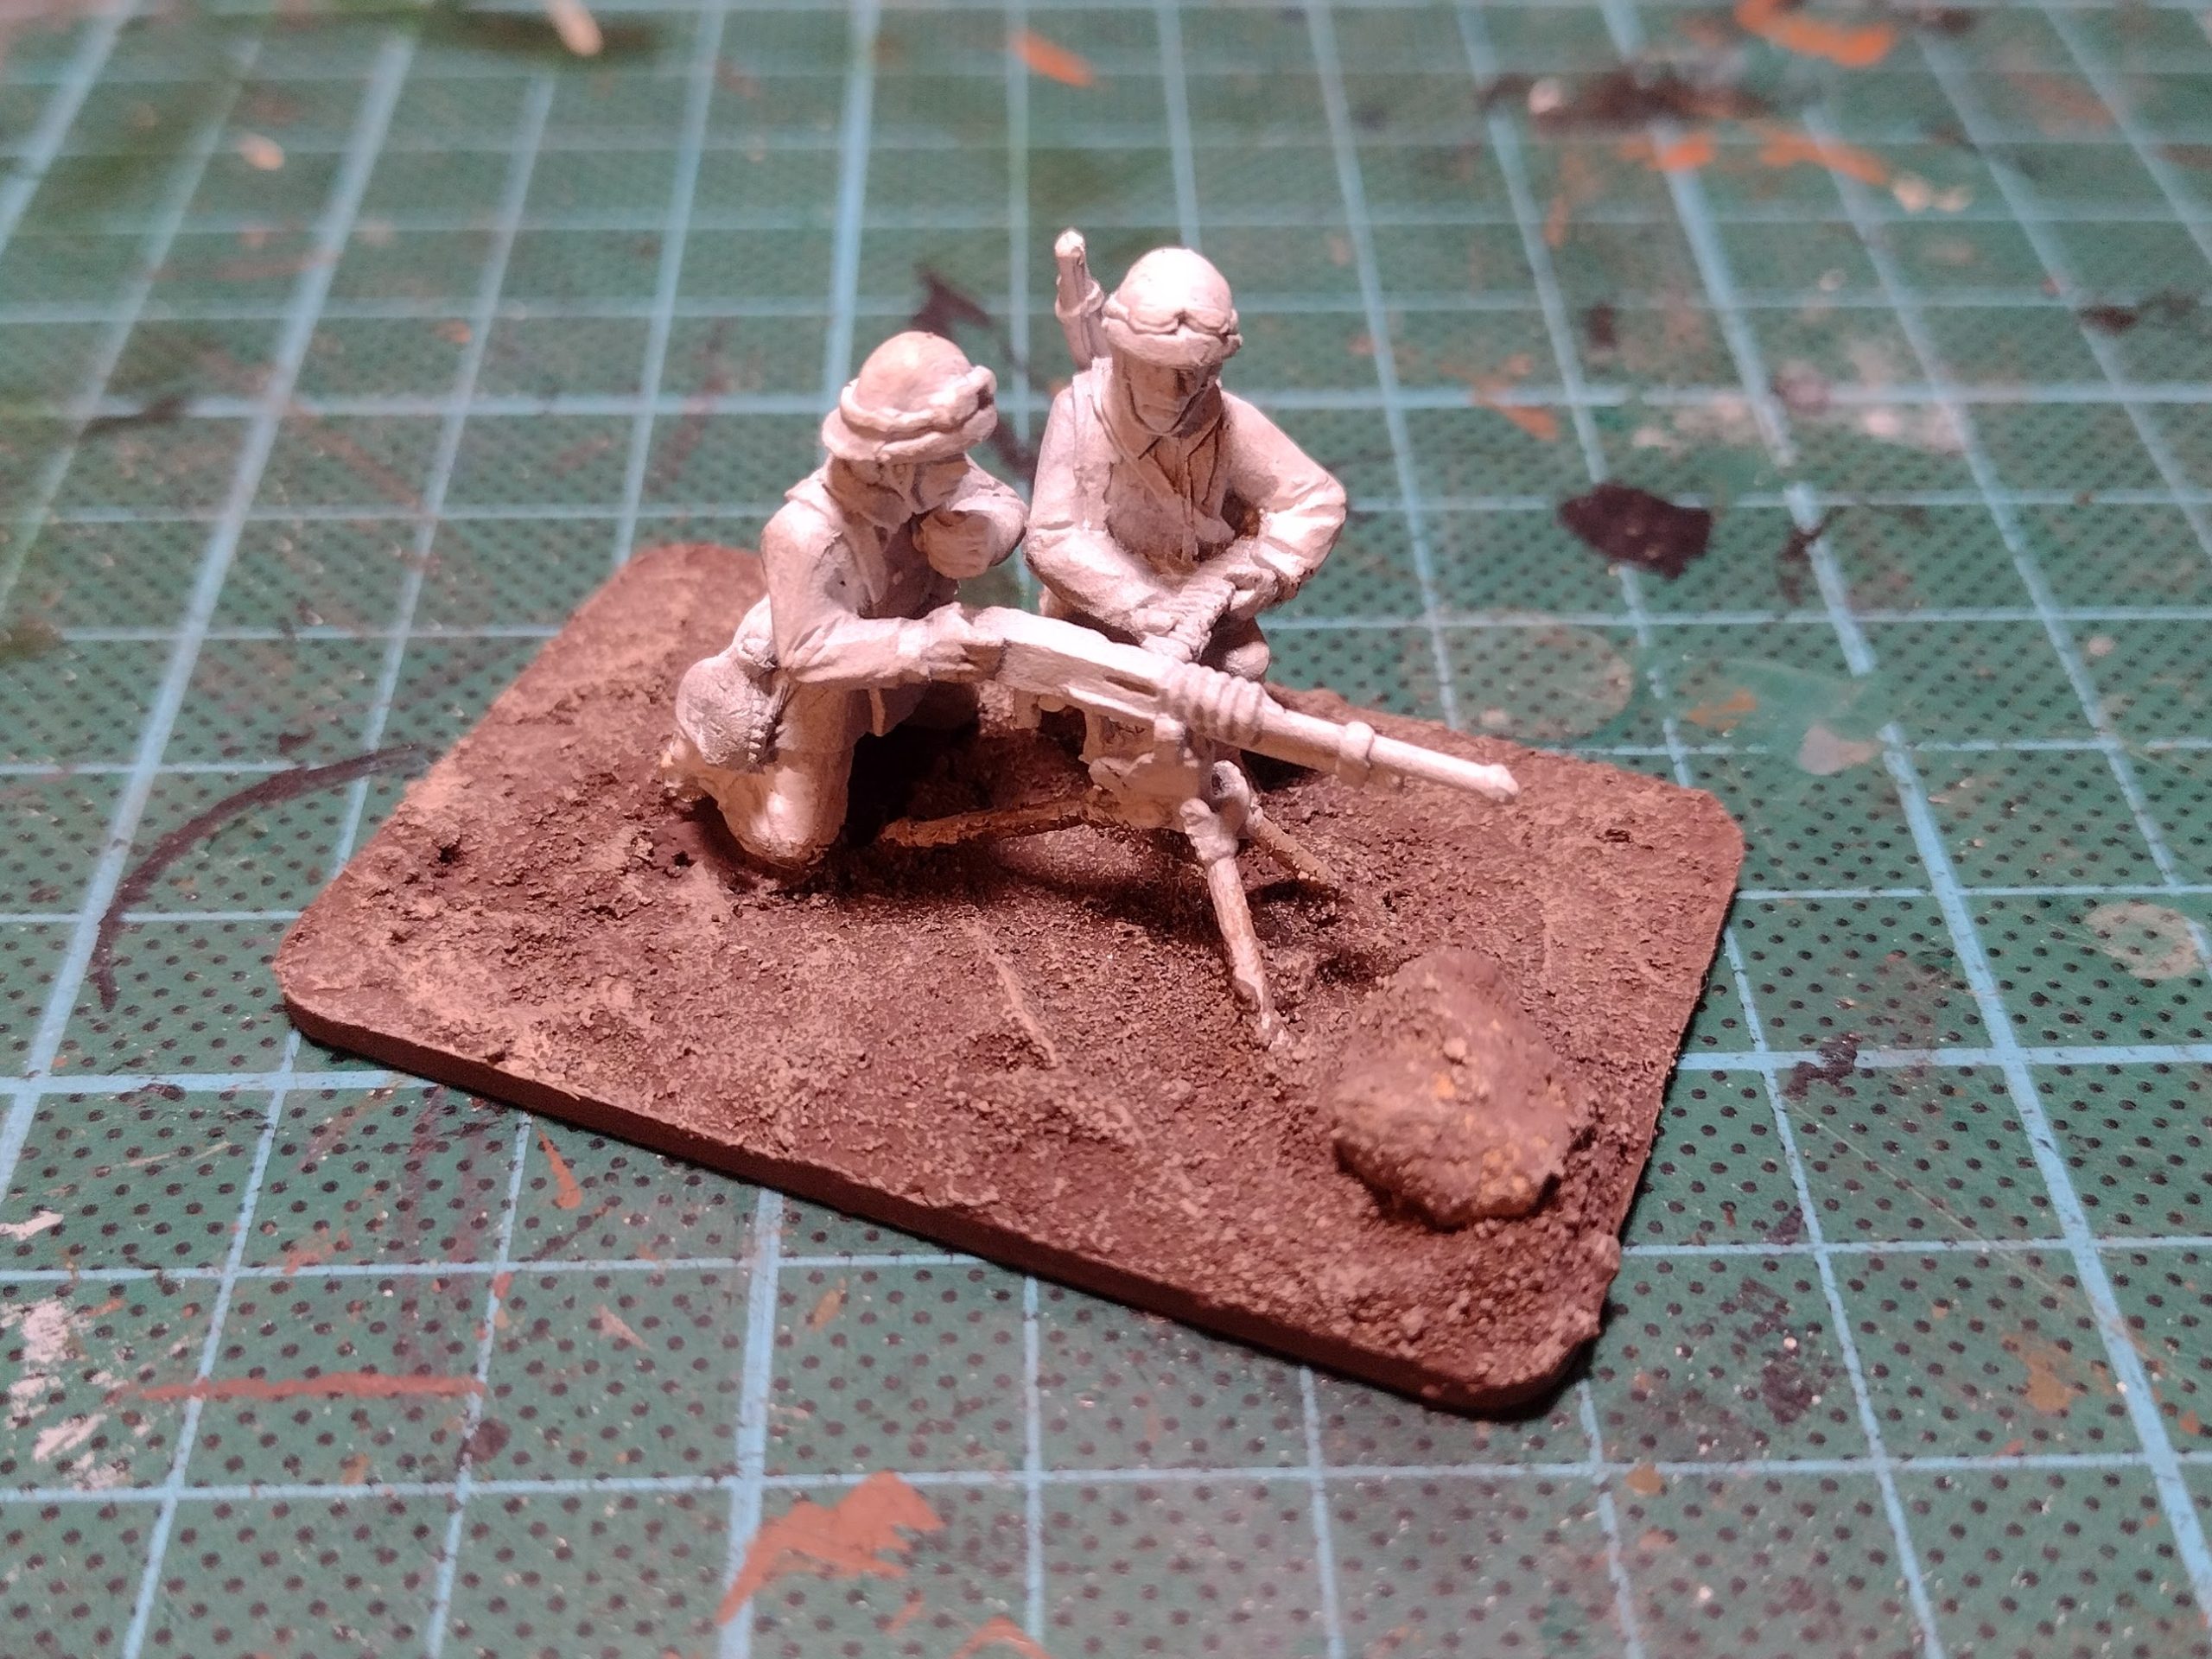
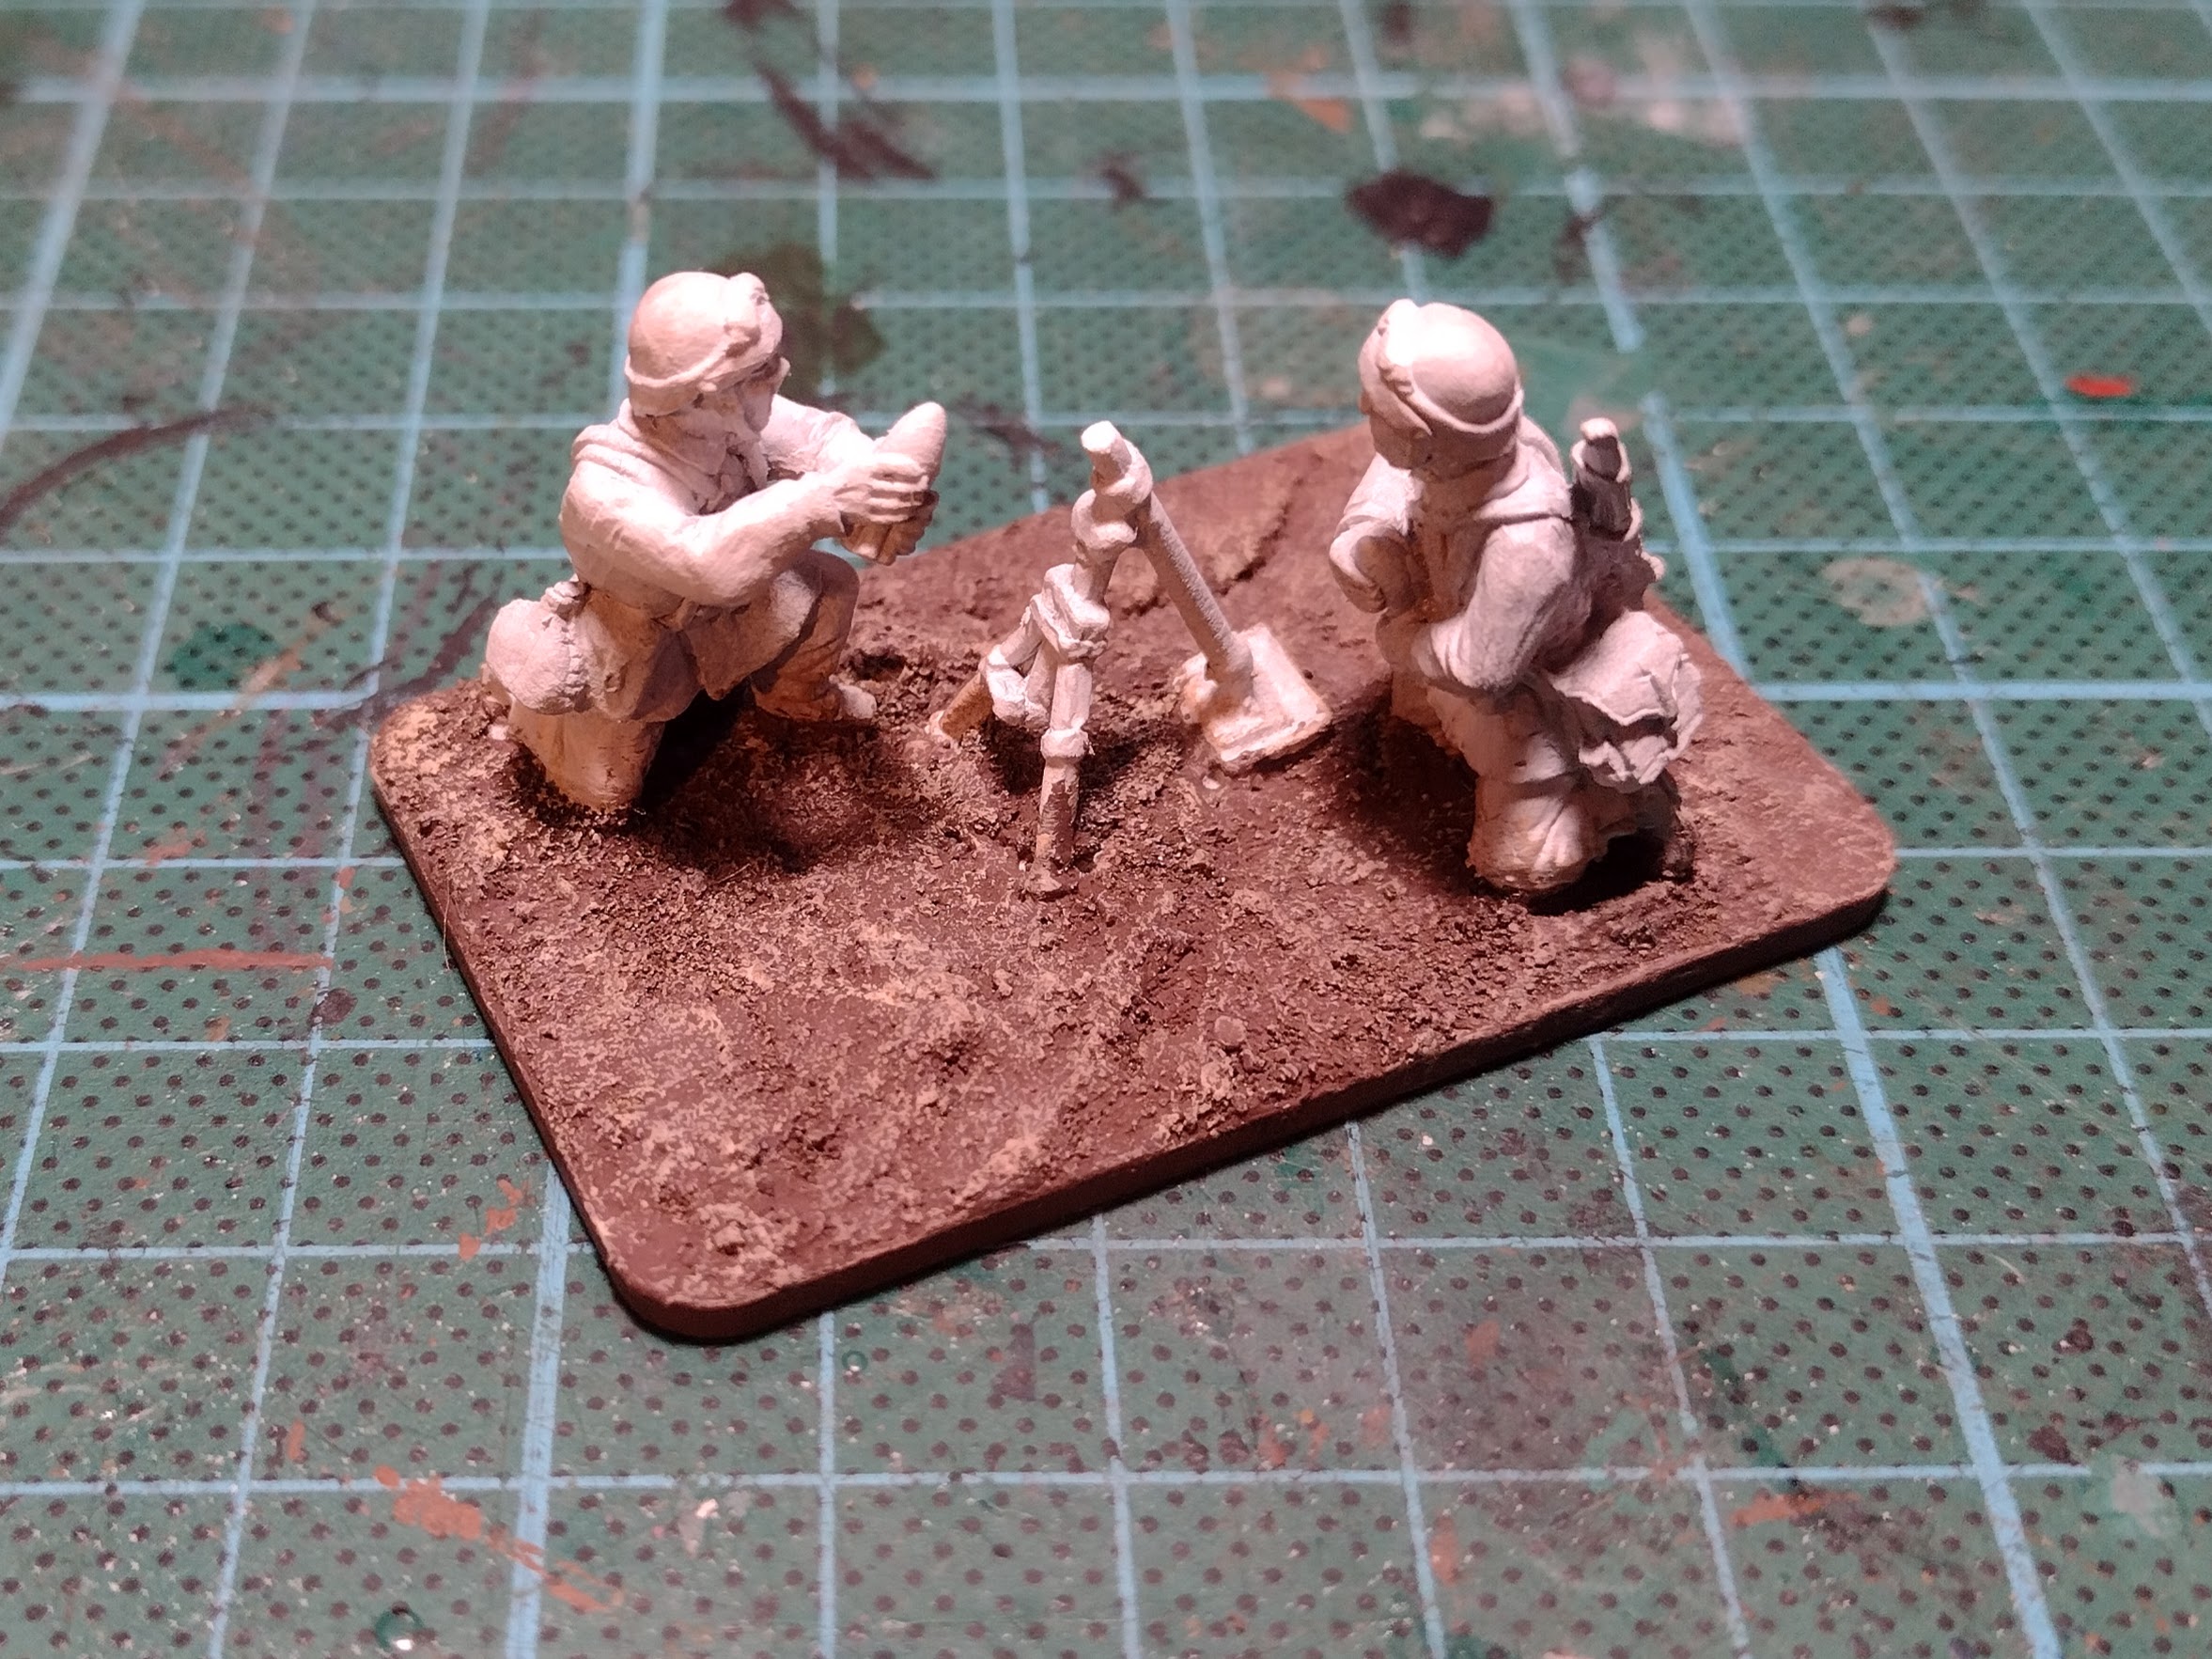
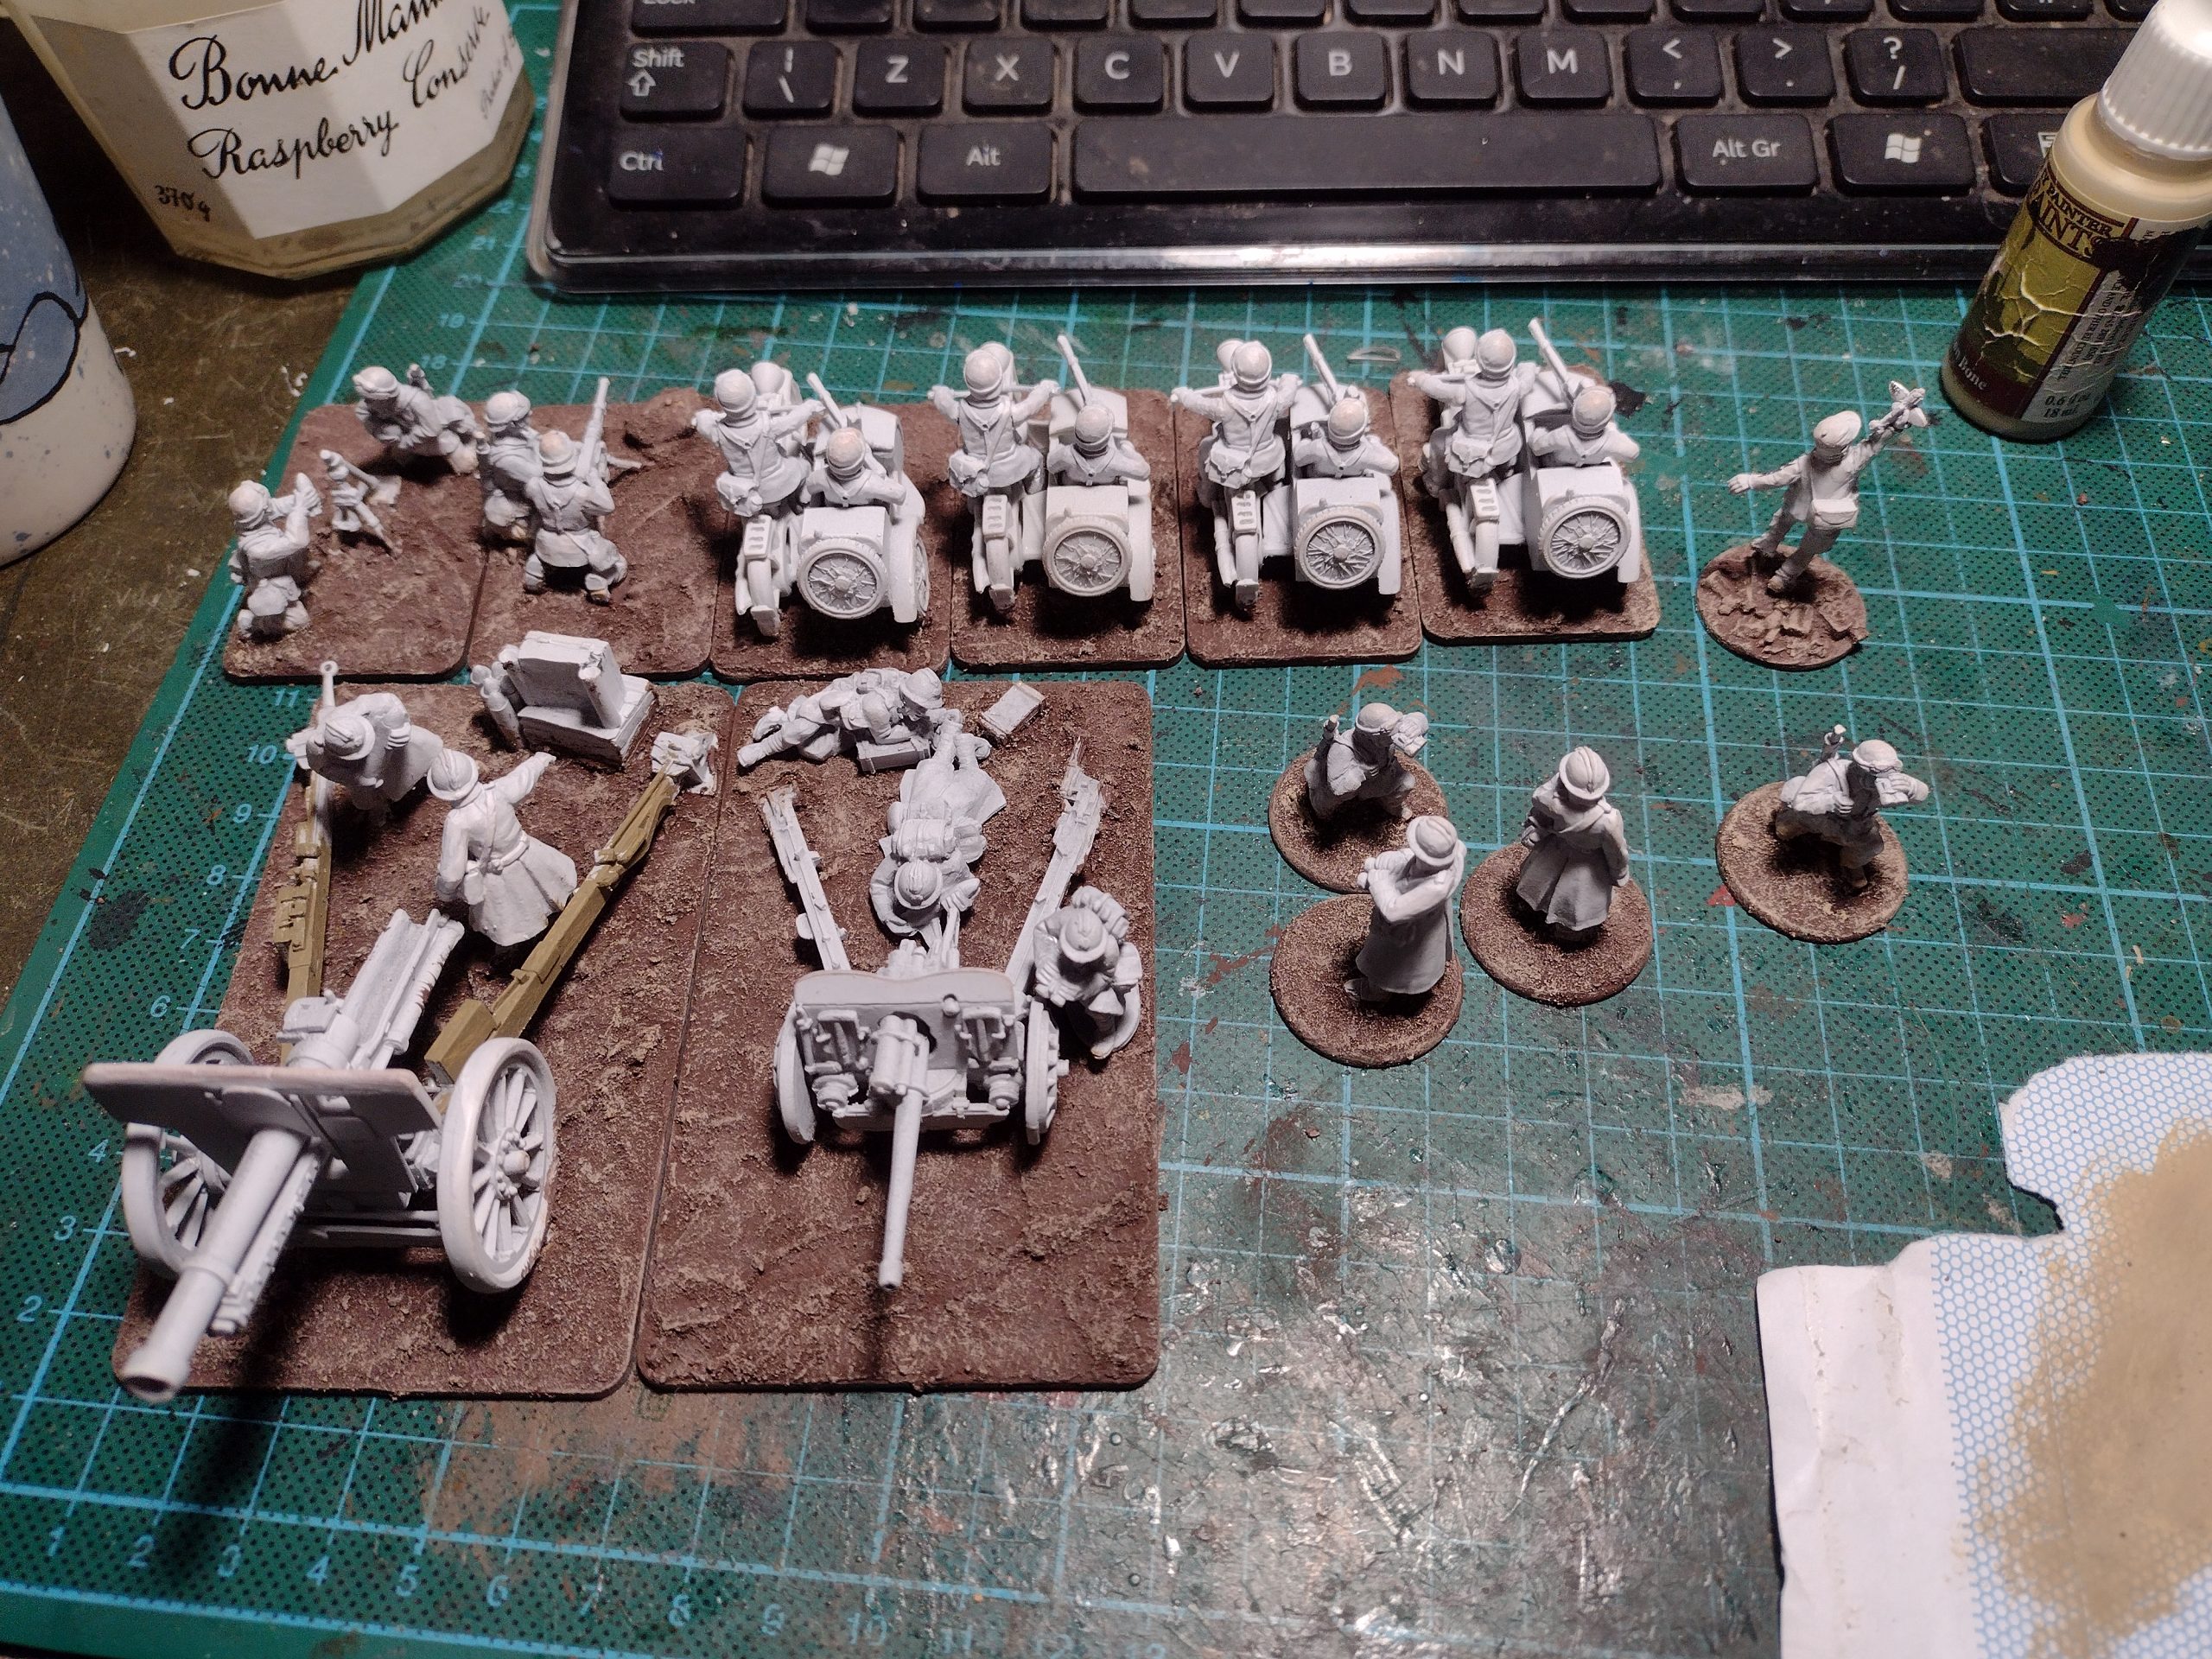
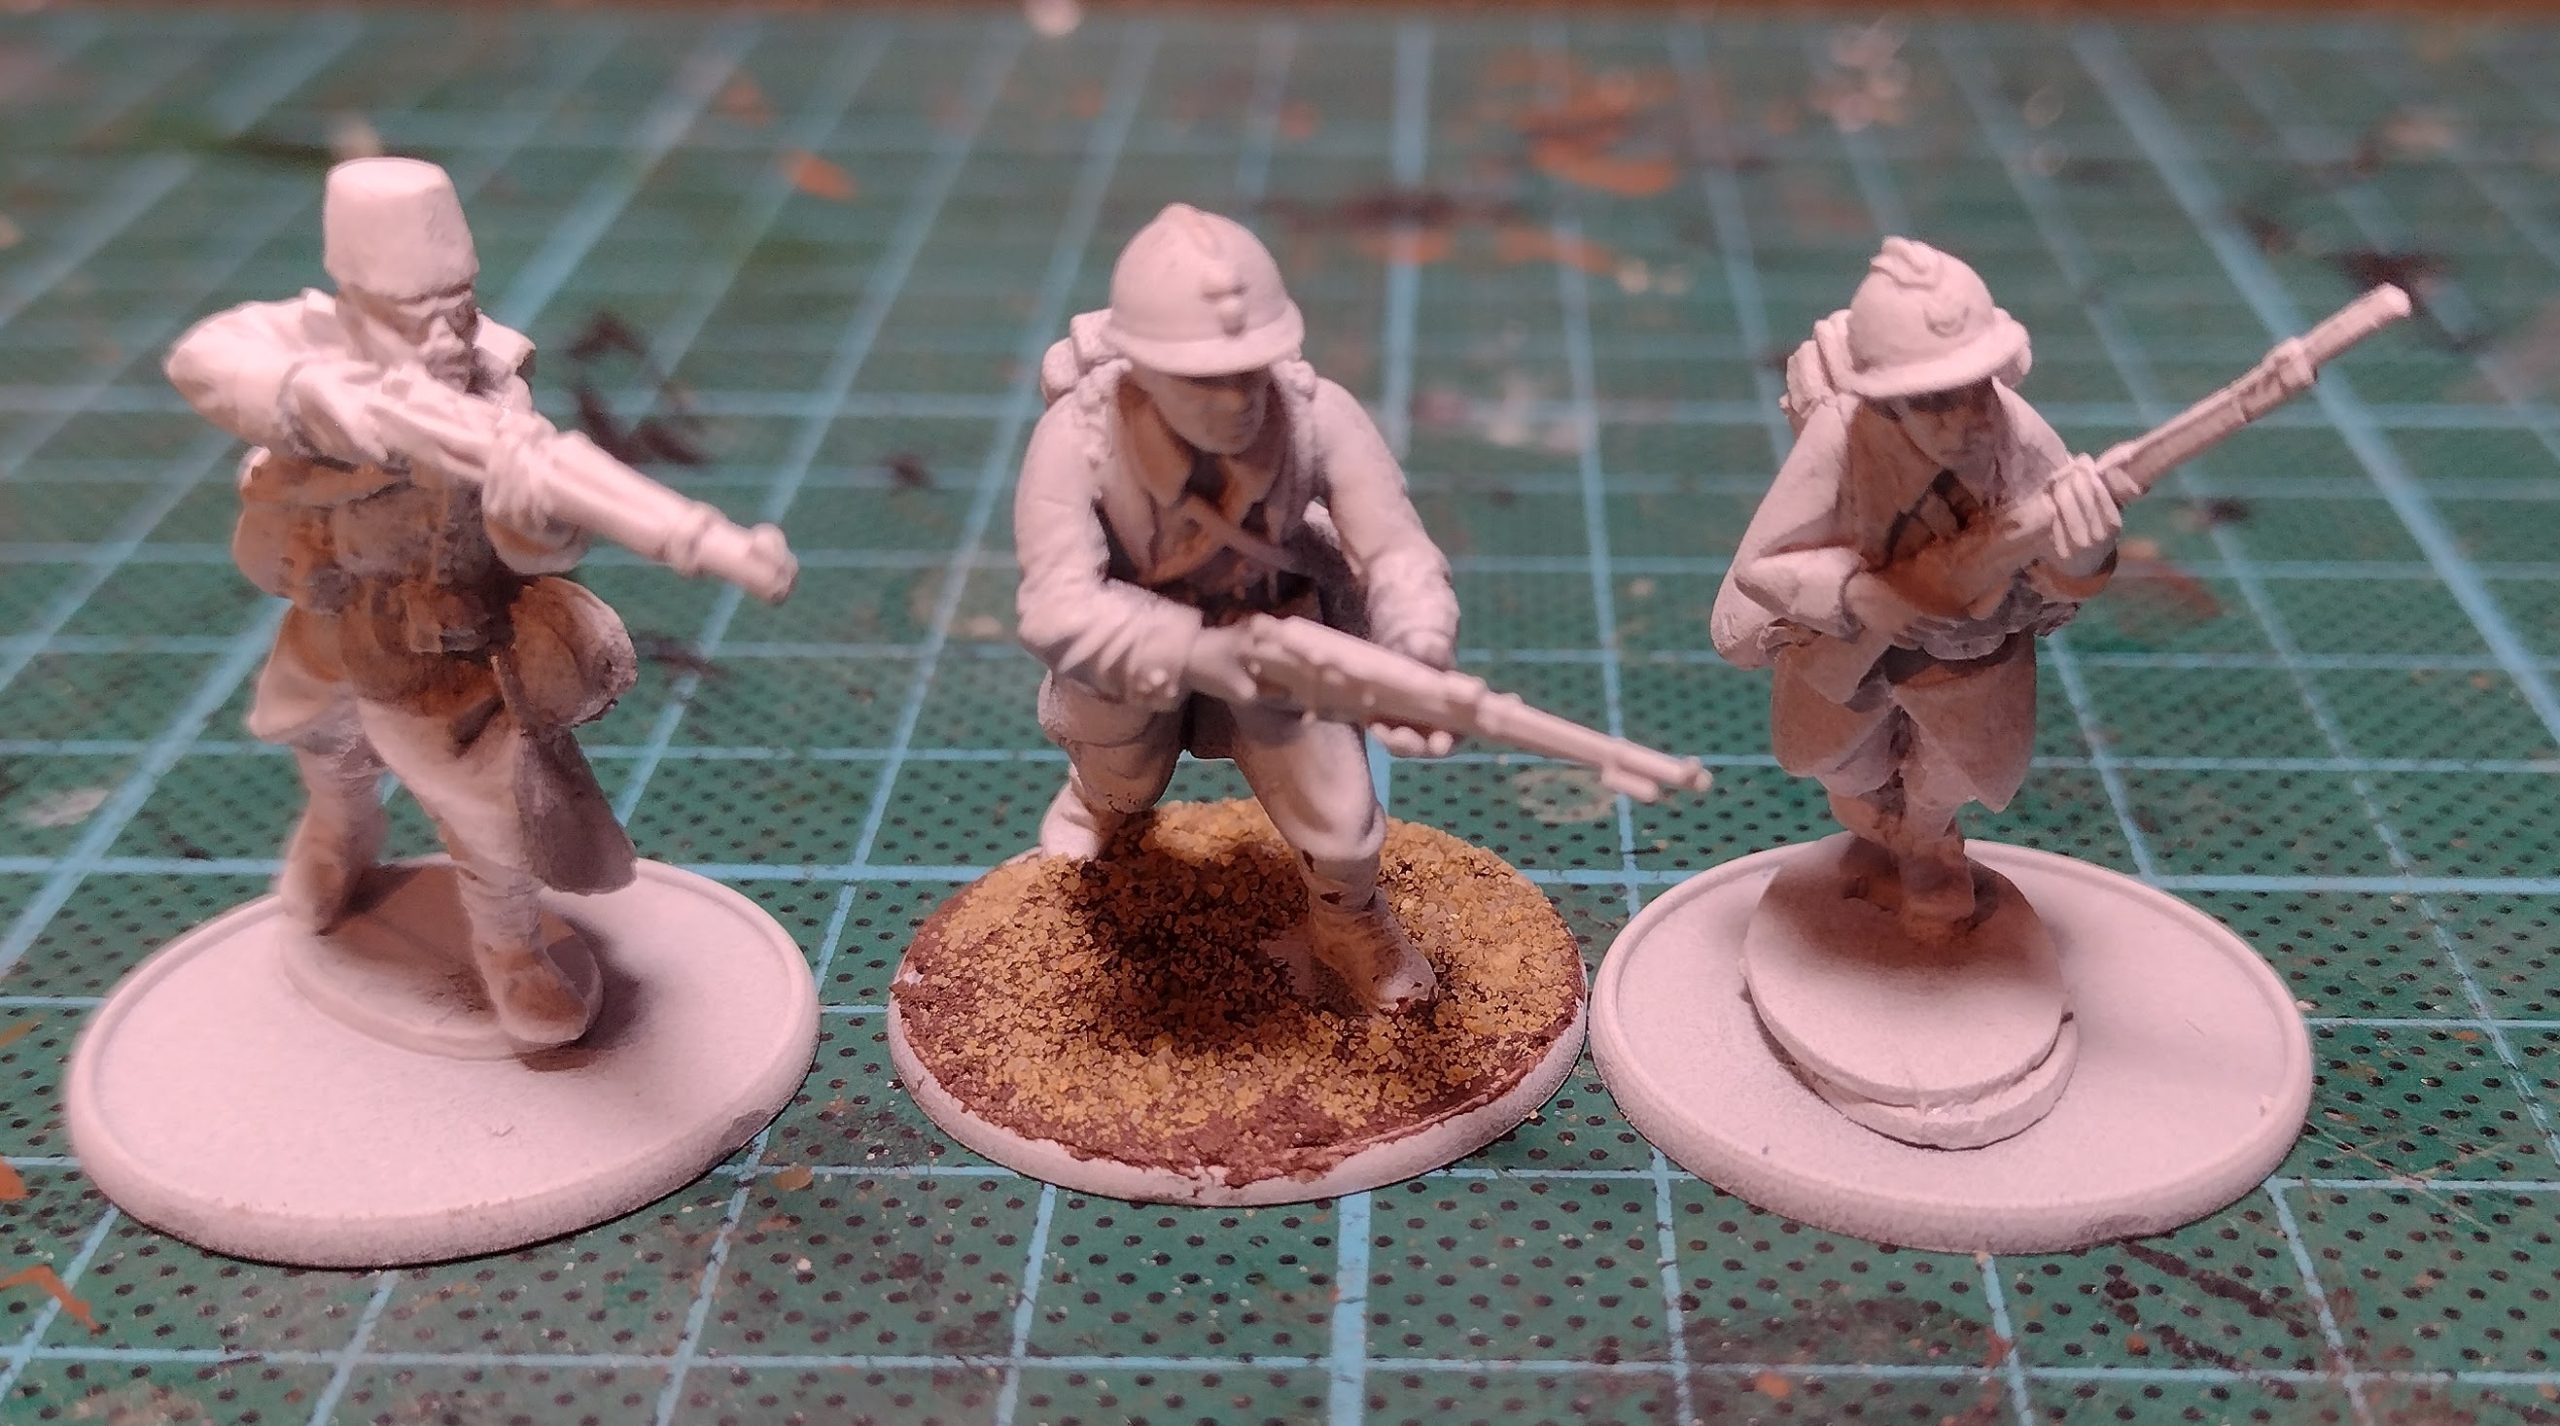
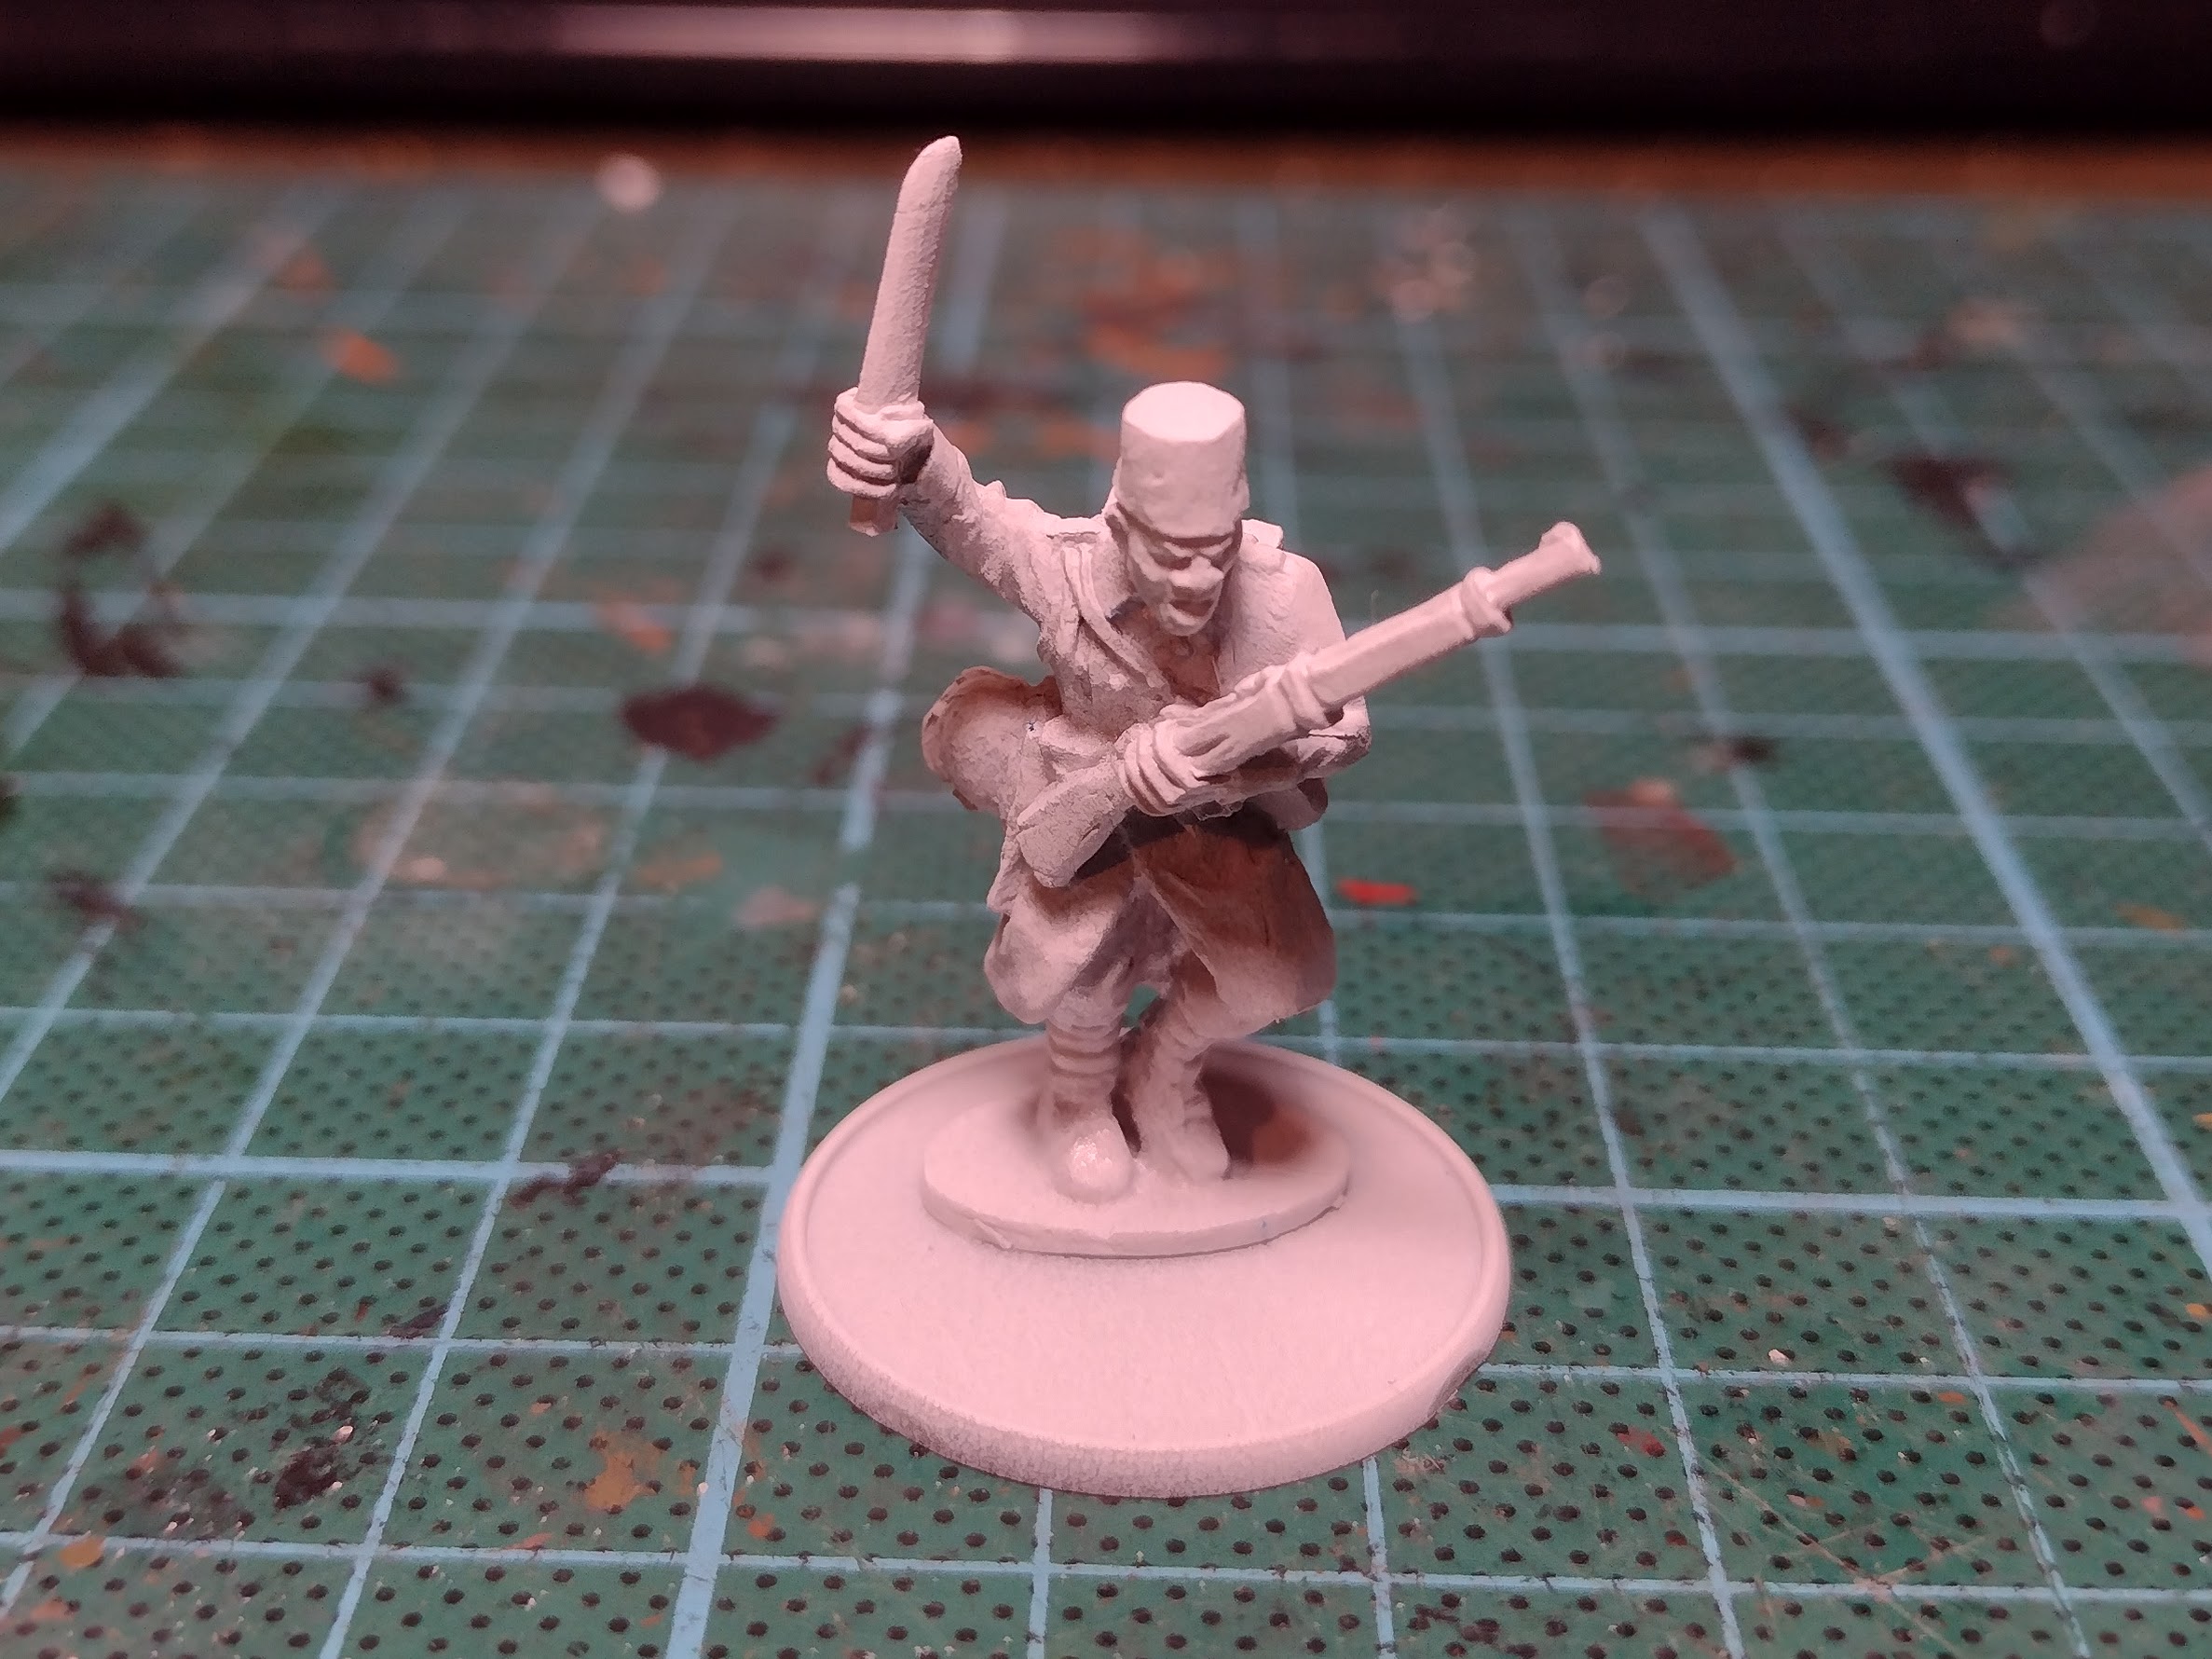
And you might notice that since my last post, I've removed a figure from each of the motorcycle troops' machine-gun and light mortar. This is because I suddenly realised that they were two-man teams! I'm fudging a bit with the mortar here, because within the rules one squad can take a light mortar, and the model is gorgeous...but of course it's not the 5cm mortar, so taking away the spurious additional crewman will help me to remember that it is only a light mortar - not medium. Similarly, the troop can upgrade one of its sidecar LMGs into an MMG, but I realised that they wouldn't magically gain a new crewman either, so he id also now singly based. Here you'll note a comparison of three models - one of the Wargames Atlantic plastic soldats flanked by two Warlord metals: one from their 'normal' section and one from their Tirailleurs box set.
Another of Warlord's Tirailleurs[/caption] Next, some of the big guns - the 105mm 'medium' howitzer and the frankly gorgeous 47mm 'medium' AT gun. I love those wheels.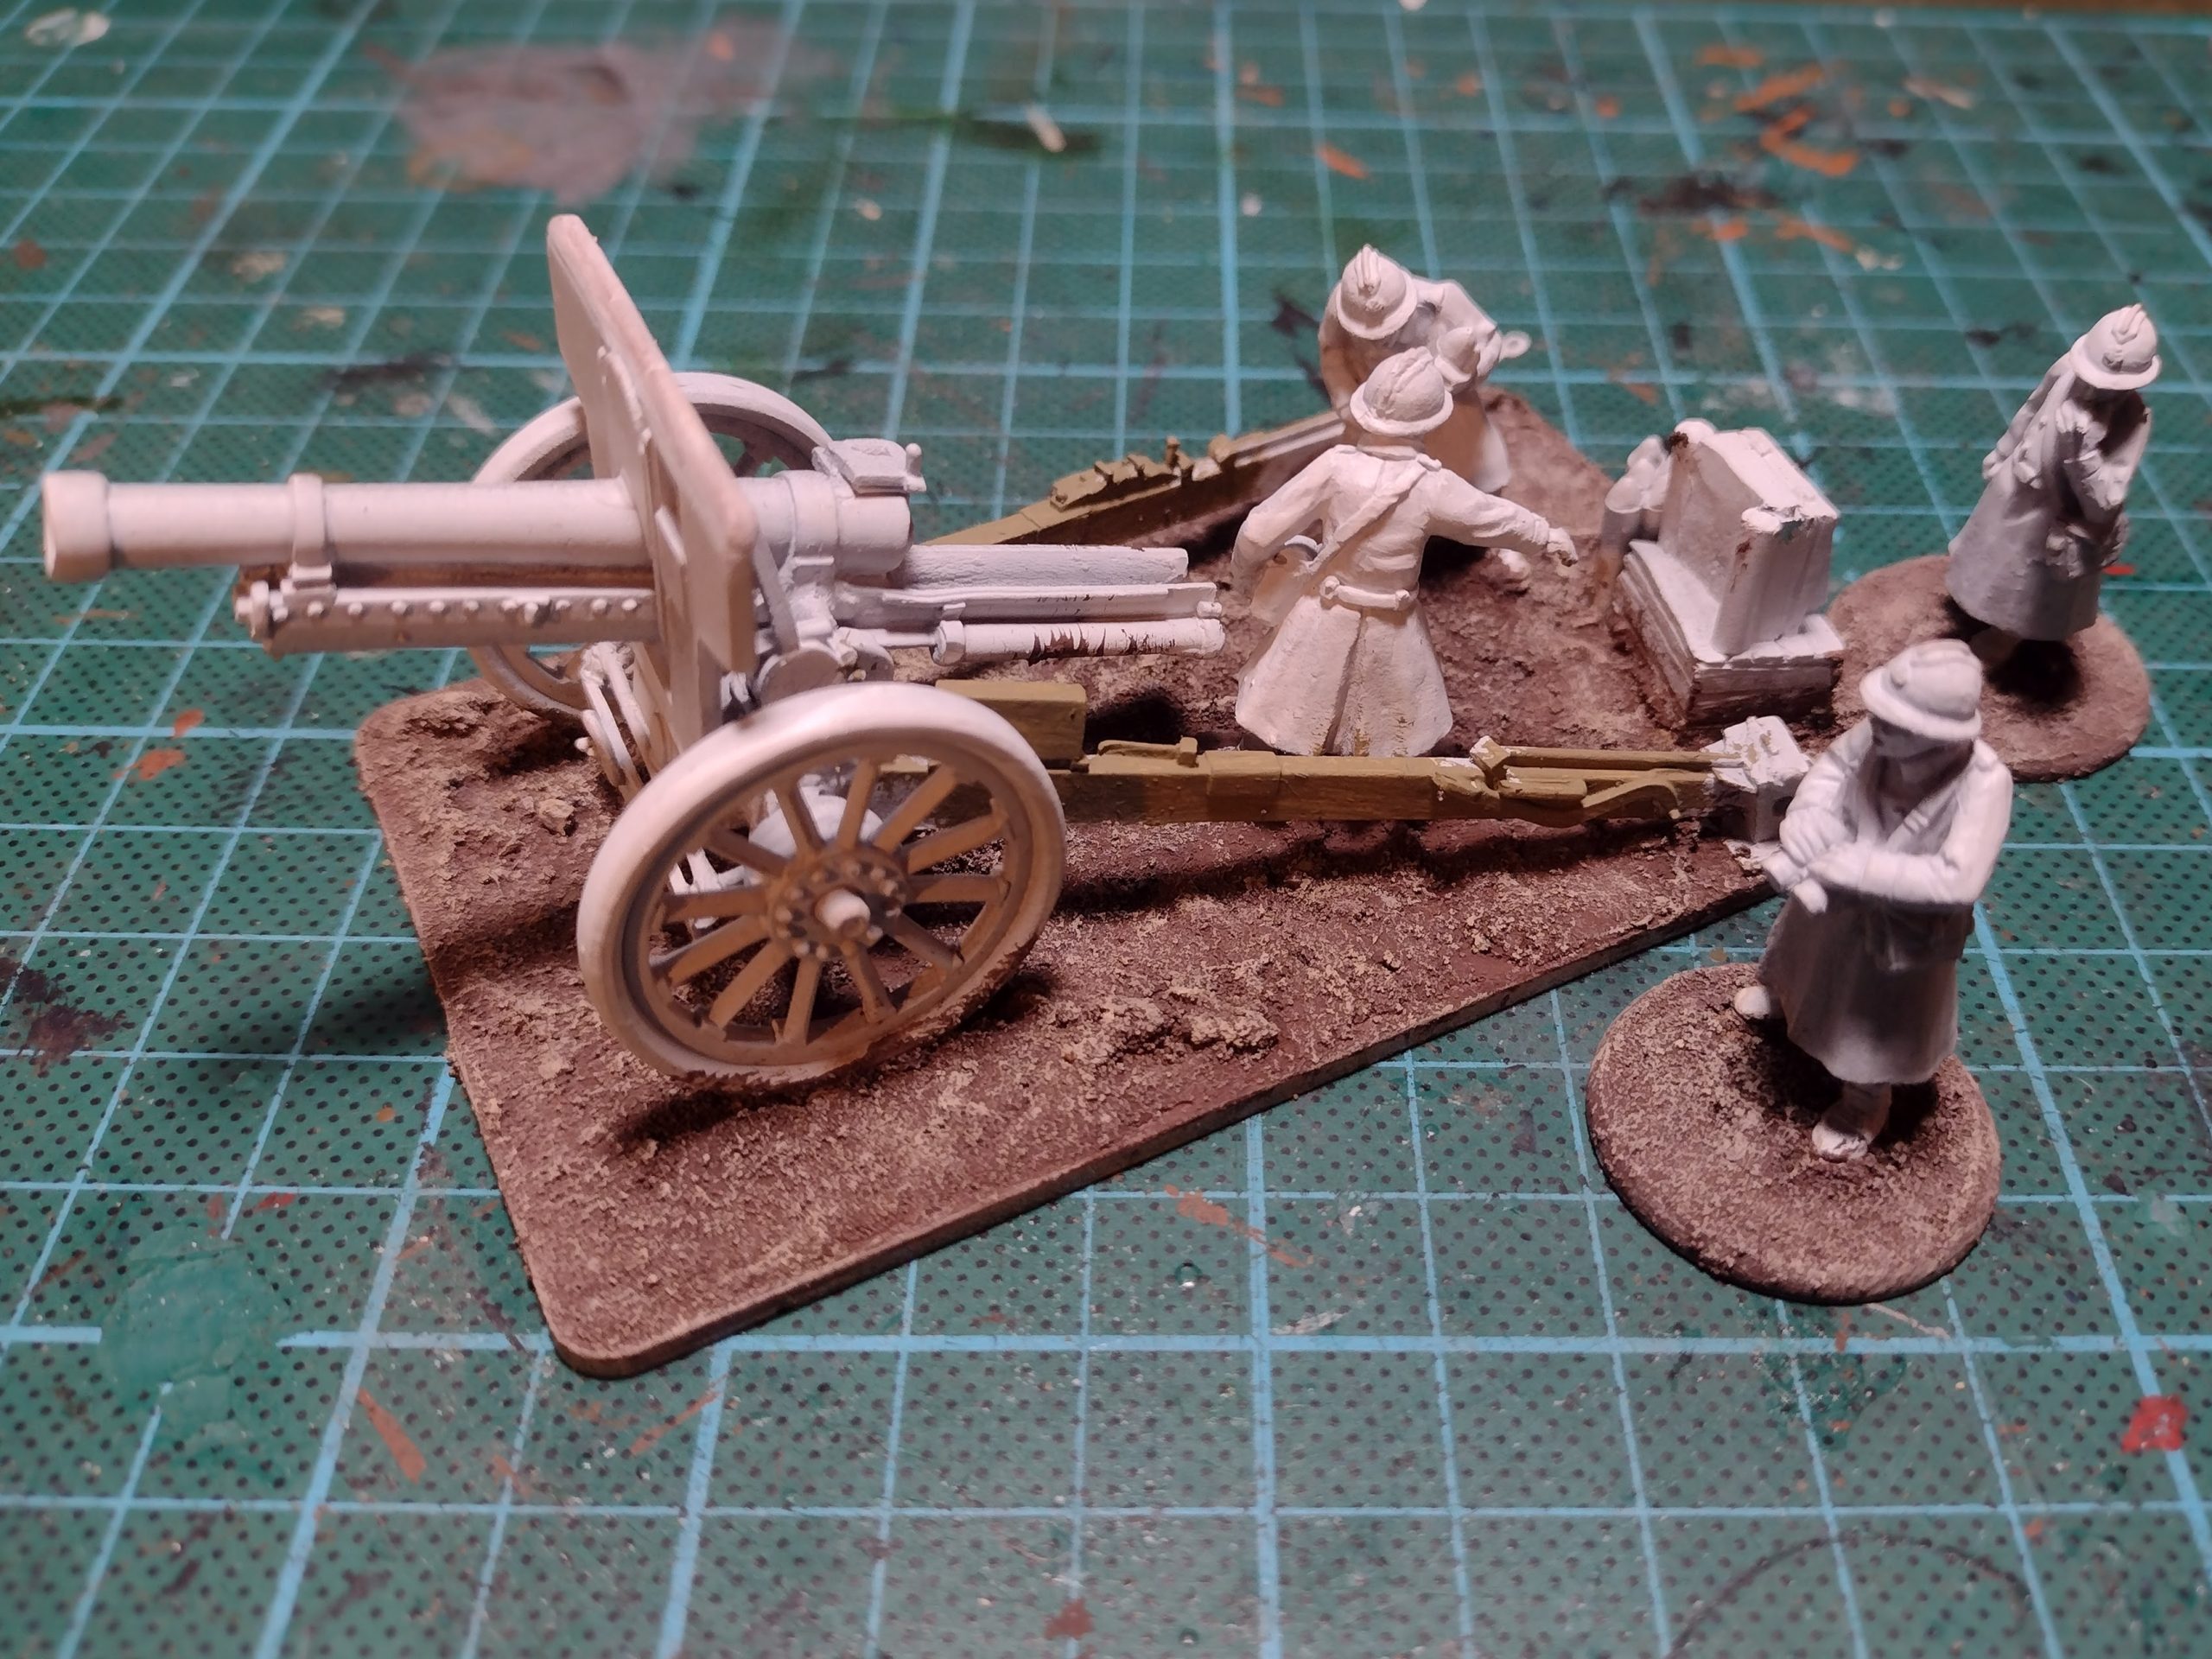
For the 105mm, two of the crew are separate, for removal as casualties.
Catching a sneaky smoke between fire missions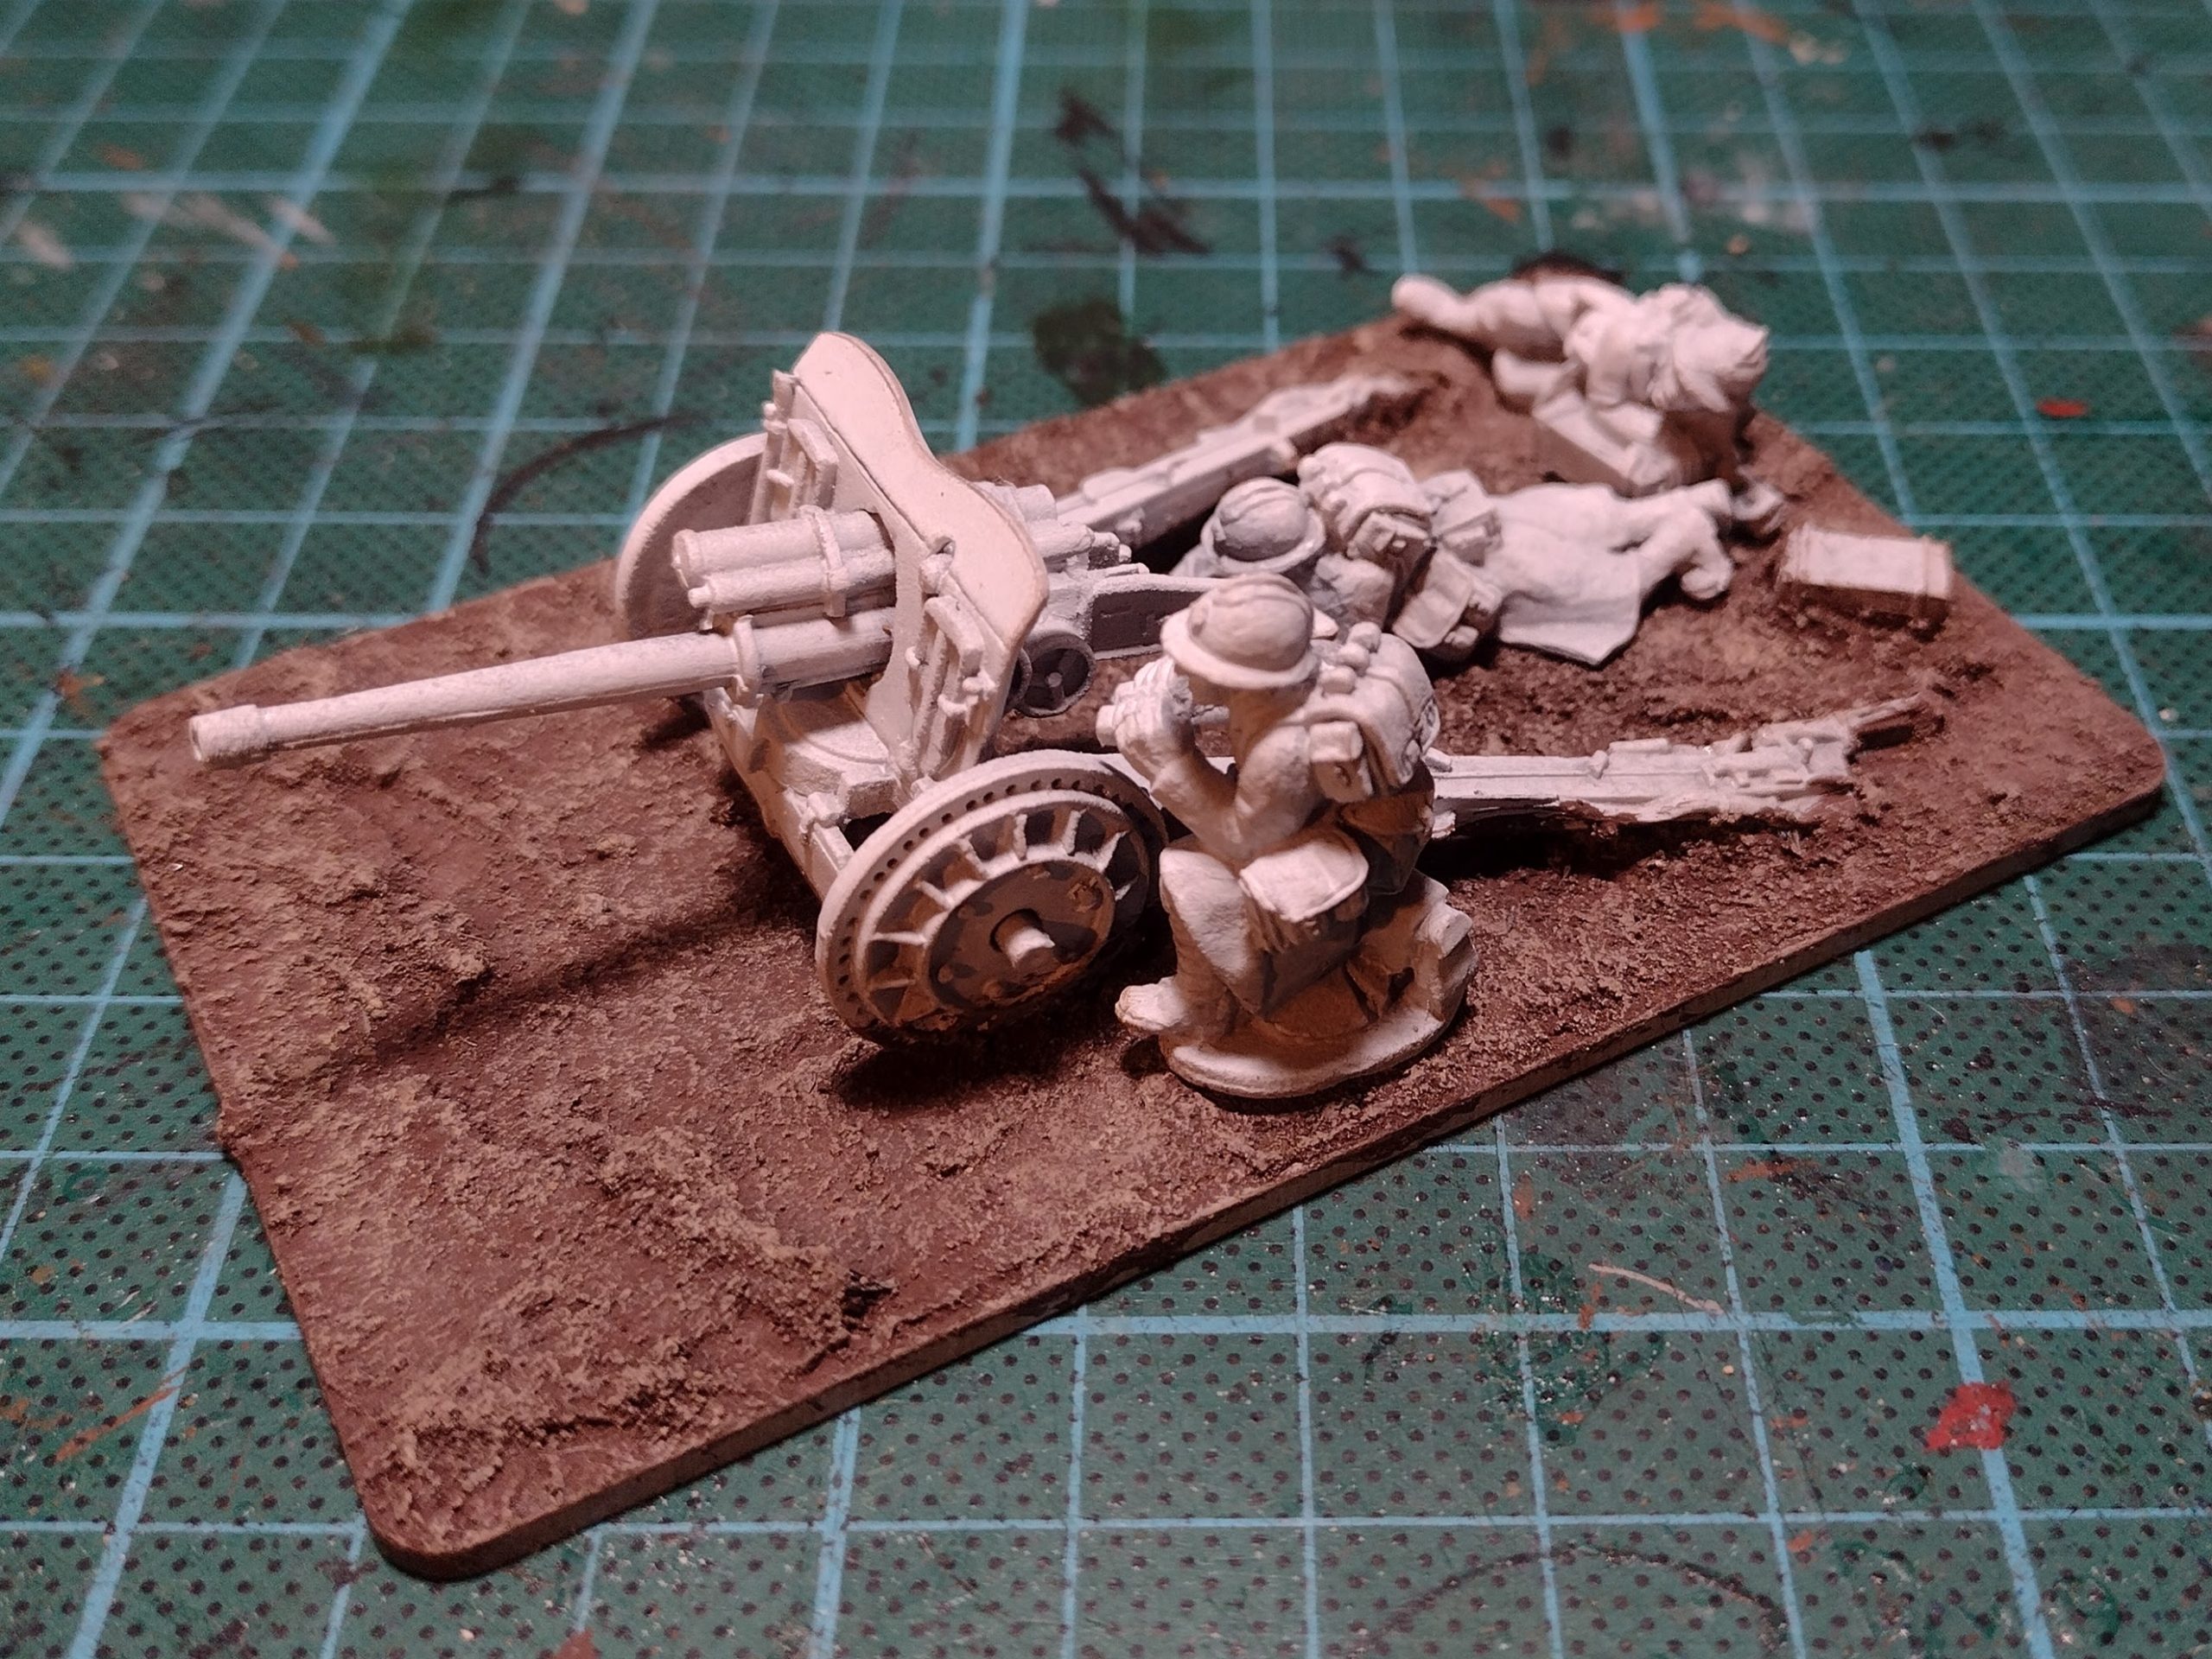 Conversely, the 47mm ATG has two of its crew magnetised for removal.
A final word on the bases themselves: In this post, all of the minis on 25mm round bases are on standard Warlord Games bases, but all of the others featured here are 2mm deep 'rounded rectangle' bases in transparent acryllic, from the entirely excellent Fluid3dworkshop through their eBay store (linked): very impressive and high quality. In my previous post, linked at the top, you can see the bases in their transparent state; the sizes I opted for, for reference, are 55x35mm for the motorcycle teams and 100x60mm for the artillery. - Chris