Panzer Upgrading - Part I

Hands up the WW2 players amongst you who are not tank-nerds. Any hands? Well, my hand certainly would not be in the air. Another admission: I used to model 1/35 scale tanks, vehicles and figures. It leaves you scarred I tell you, scarred for life. 😉 You can never look at a tank model again without thinking: “What can I improve about that? Is that detail correct?”
Working in a smaller scale helps actually. It allows me to finish something without going to great lengths, not to mention to great expense, to get every detail right. But the recent acquisition of the Warlord Games Panzer IV plastic kit got the gears whirring again, for all the right reasons! It’s a very nice kit that allows you to make an excellent Panzer IV F, G or H (though strictly speaking, a G with Schürzen). To make life interesting, I resolved to see if I could convert this model into a very late production Panzer IV J. That requires the addition of a few things, the removal of some others and some things just need to some changing around. Today part I, the turret.
Warlord’s (and Rubicon’s too, as it happens) Panzer IV is supplied with three barrels. One short 75mm (L/24), one long 75mm (L/43) with single-baffle muzzle brake, and an L/43 barrel with the double-baffle muzzle brake. From the Panzer IV H, however, the gun was replaced by the KWK 40 L/48, which looks exactly like the last-mentioned version, but is about a scale 5mm longer. It’s only 5mm, but, well, see above…
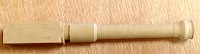
The taper on the longer barrel is very modest, so I probably could have gotten away with just replacing the middle section with a longer piece of plastic tubing, and that’s probably what I’d do in the future. But when I was working on this tank, I just happened to be hanging around at Christy’s parents. Her dad, being a professional woodworker, has a fully equipped workshop. That means CnC lathes, metal working lathes and more tools than you can shake the proverbial stick at. So I first spent a day working out the measurements (muzzle break included) and getting them into a CnC program.Unfortunately, it became clear pretty early on that turning a barrel and an integrated muzzle break was not going to work. At least, not without way more effort than would be fun. 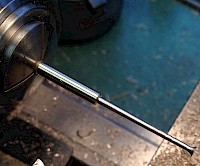 So instead I got an introduction course in turning brass on a watchmaker’s lathe.
 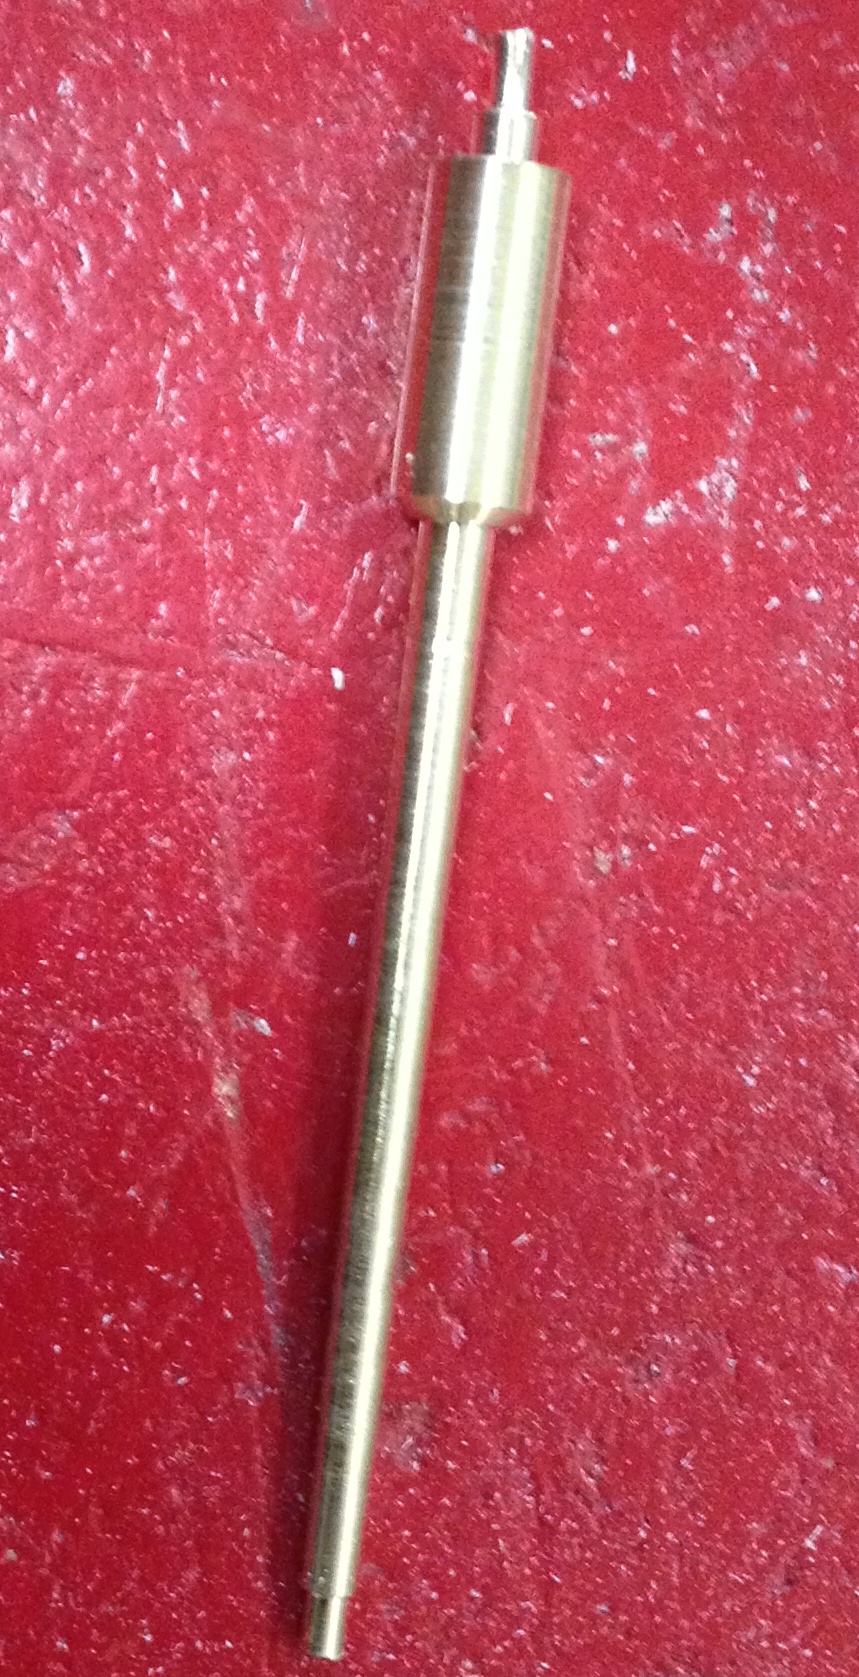 Several attempts later, I had a pretty nice looking barrel if I say so myself! I only needed to carefully cut off and drill out the plastic muzzle break to have one shiny scale KWK 40 L/48.
The Panzer IV was the result of an attempt to simplify production of the tank so it’d use fewer raw materials and would be easier to build. As as a result, all the viewports on the turret front and in the turret side hatches have to be removed, which is easy to do with a sharp scalpel. To have something interesting on the turret front, I added the angled rain gutter above the viewfinder next to the gun housing out of a tiny strip of plastic scrap. 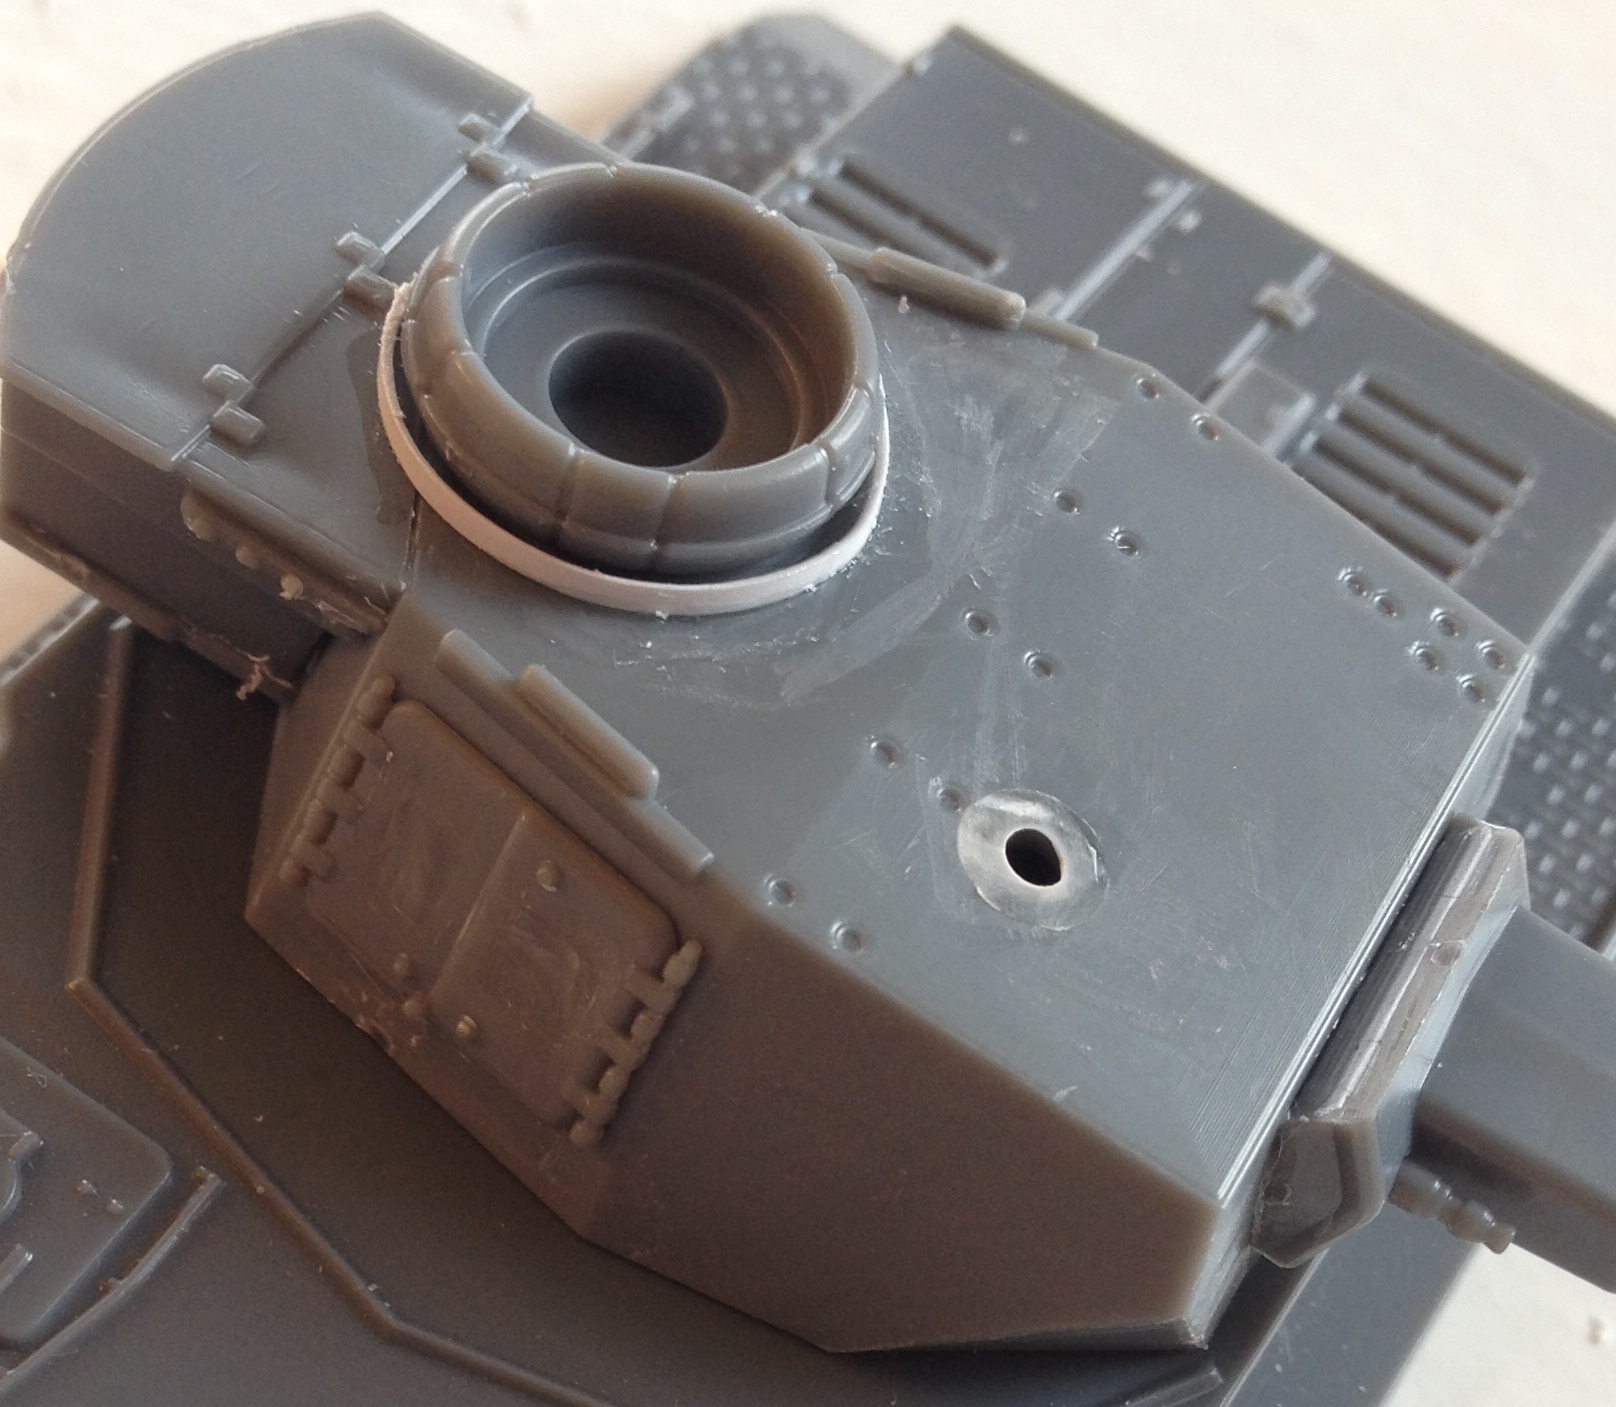 On the turret top, a few more things change. First, I added the armoured strip around the cupola base out of thin plastic, fixing it in place with superglue which helps when trying to force straight plastic into a circle. Next, I cut off the turret ventilator and the hinged port from the turret top. The ventilator on the J is heavier and larger, with a crescent shape cutout to allow for the ‘Nahverteidigungswaffe’ (close defence weapon, ie grenade/smoke launcher).
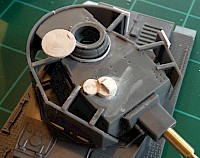
 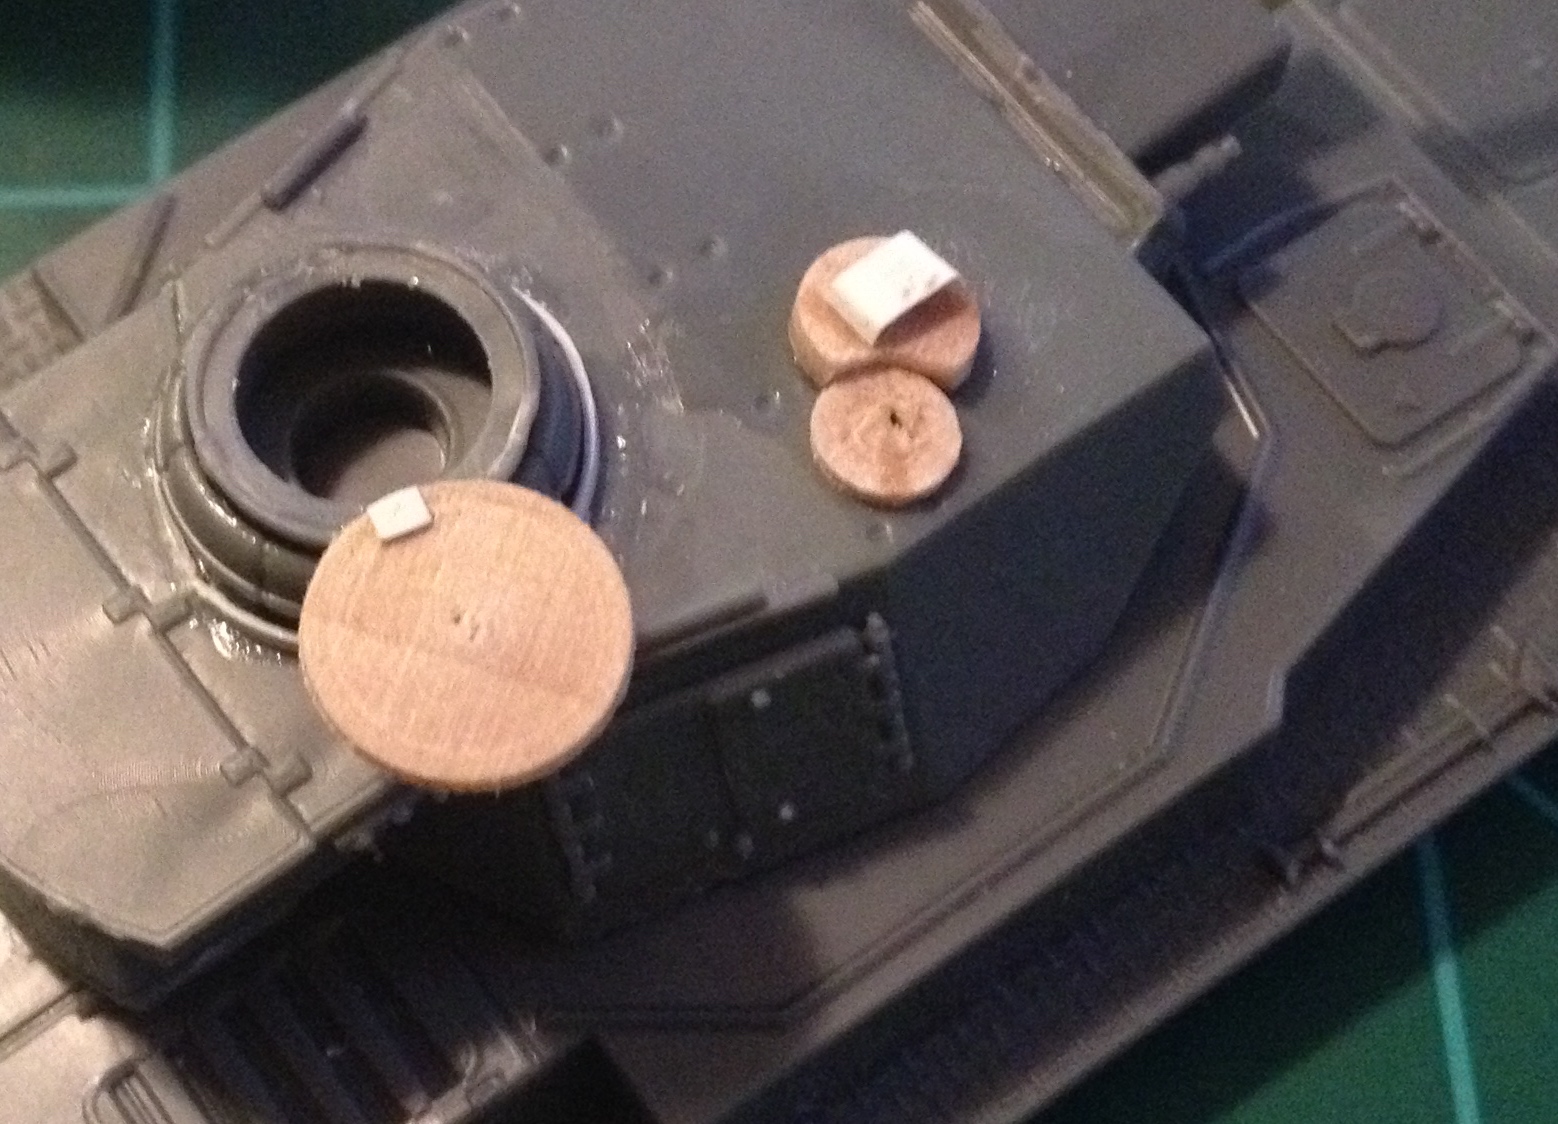 The ventilator has a steel bar mounted on top to allow easy installation of an extra antenna in the case the tank was converted to a command version. Finally, I cut the mounting stub of the short barrel into three small circles and glued them onto the right turret front and besides the crew hatches, and drilled them out to represent the ‘Pilzen’, mounting points for the three-tonne crane.
There are two final alterations to the turret, one of which was entirely unnecessary. I removed the doors from the left-hand turret Schürzen and made new ones out of sheet plastic, but then opened up.
The final thing is the replacement of the cupola hatch. On the IV J, this was a one-piece affair which swiveled open, instead of hinging up. So I cut off the opened hatches and removed the hinge detail, and then put my new hatch in its place.