Arnhem Part 1
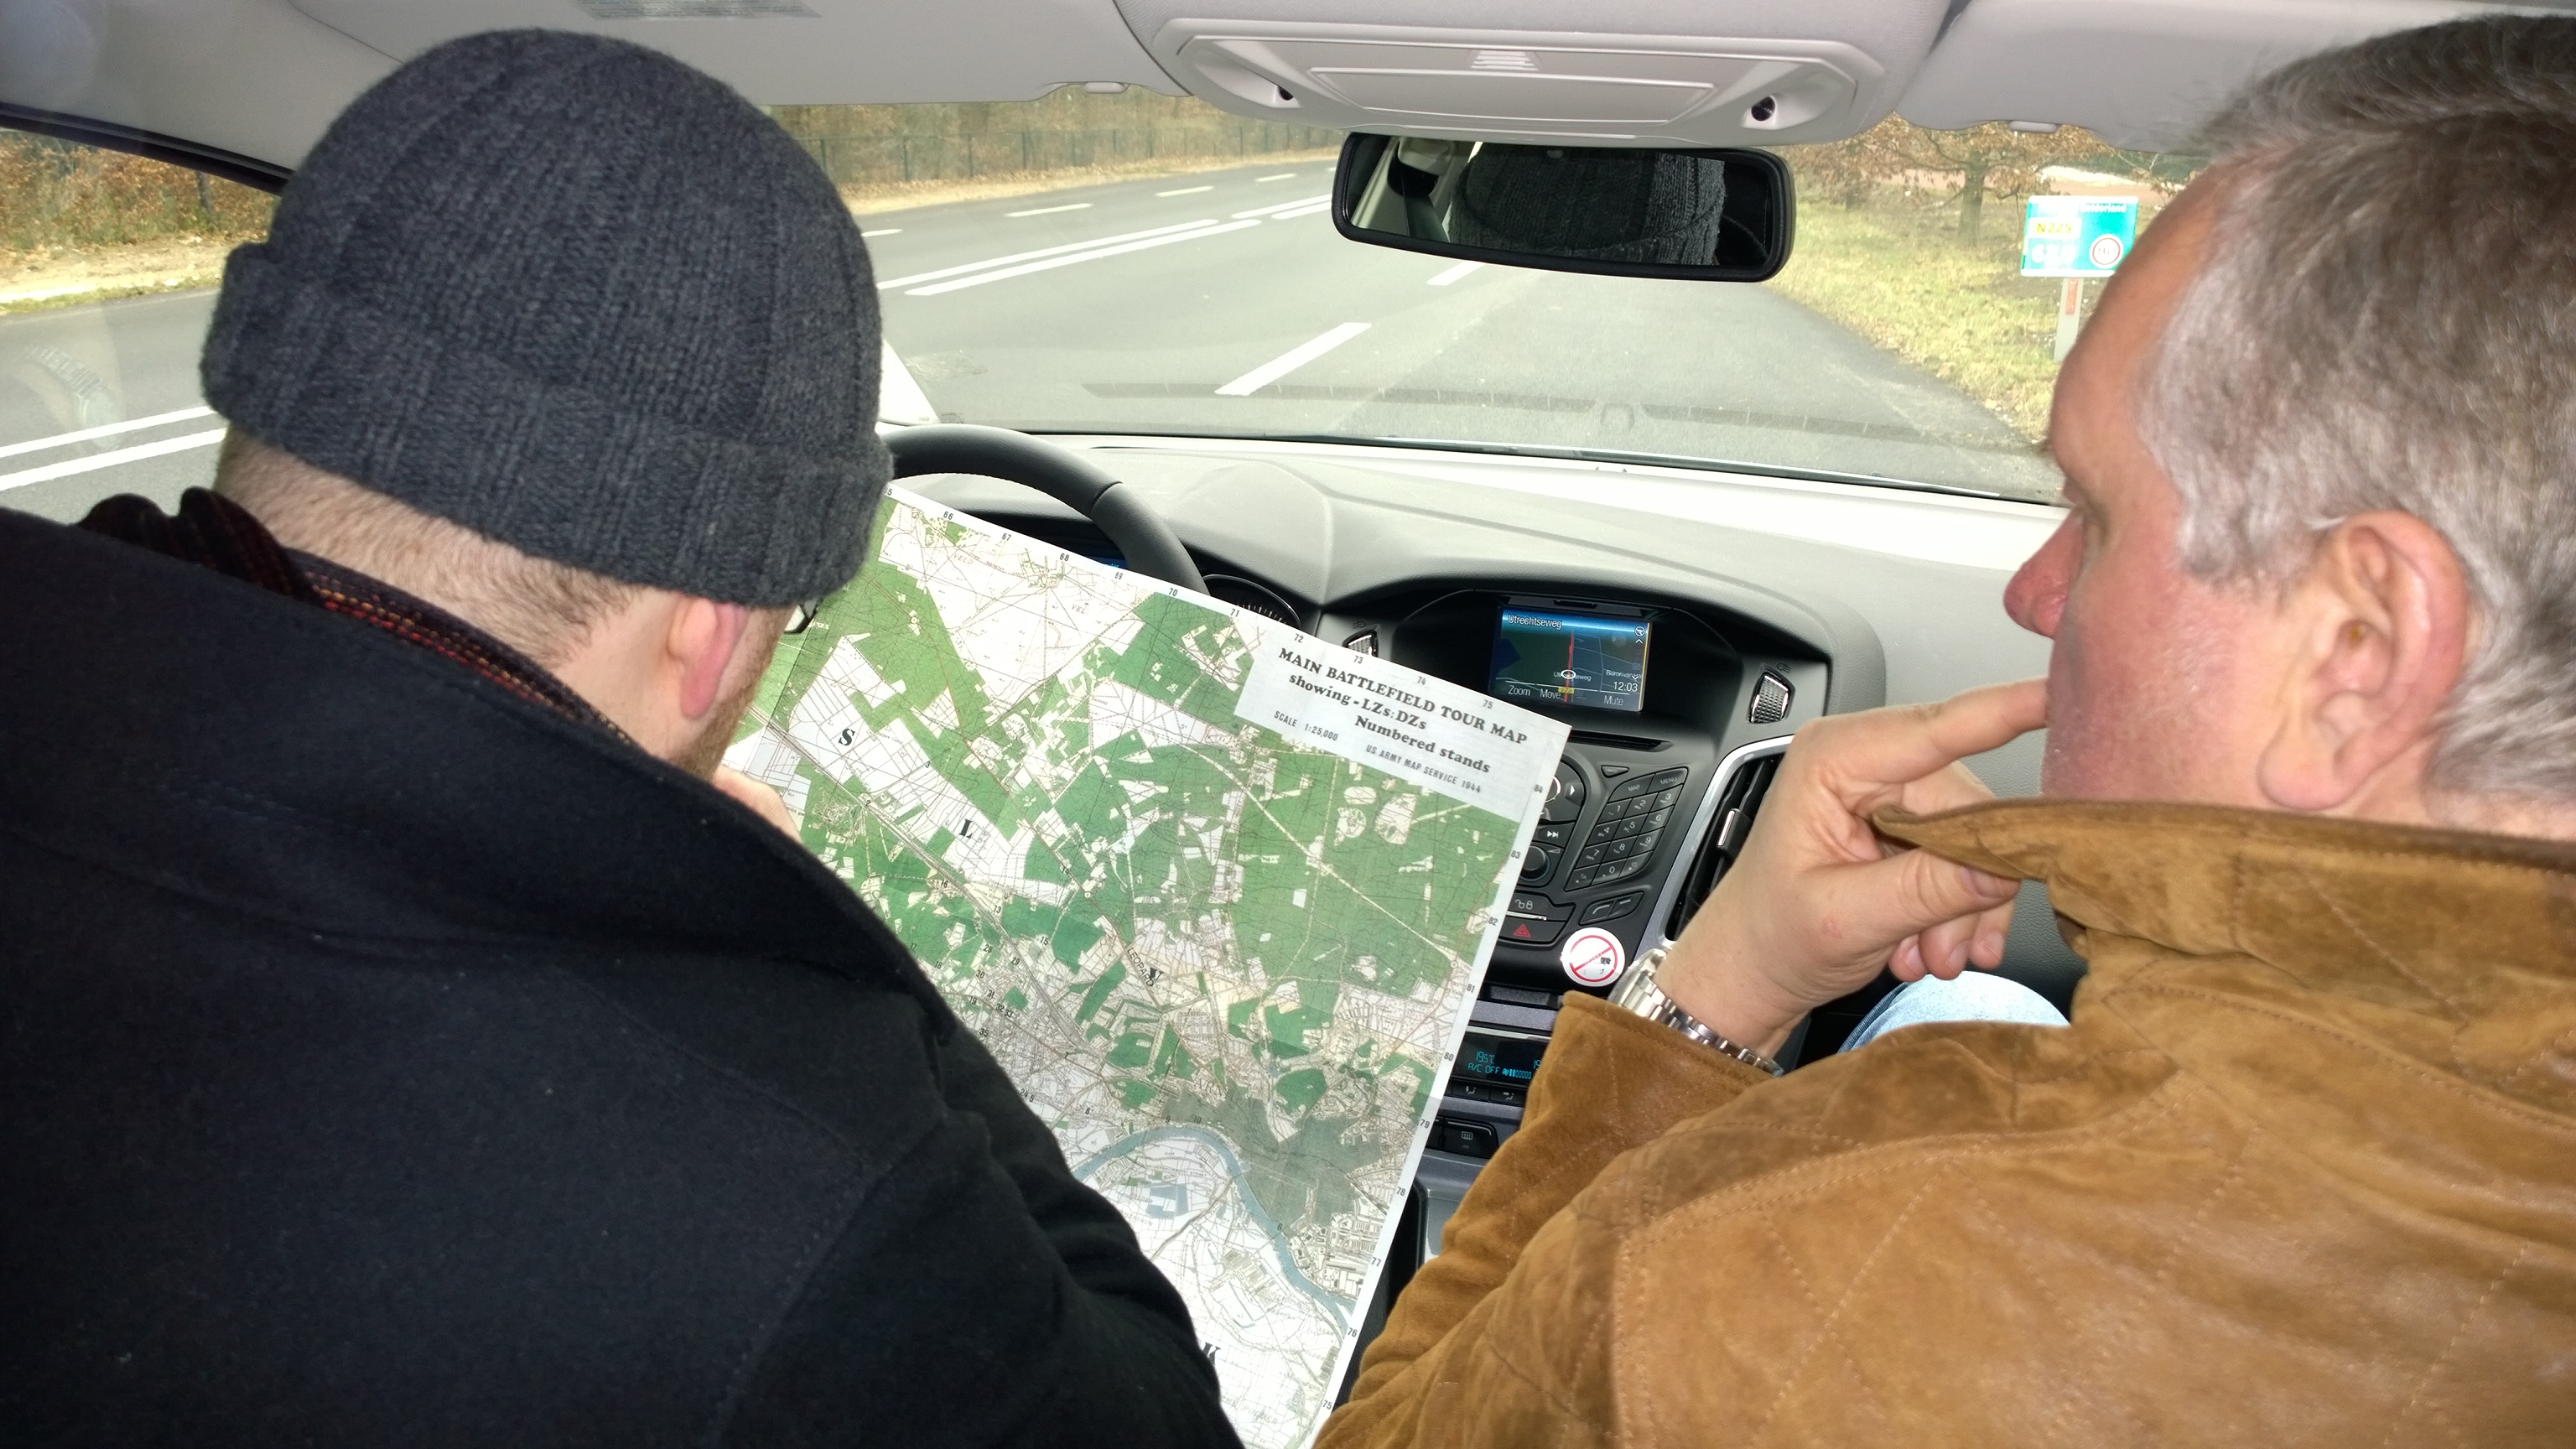
Today (Saturday 7th February, 2015) I had the pleasure of being shown Arnhem and Oosterbeek in the company of Richard Clarke (of TooFat Lardies fame) with Jasper & Christy.

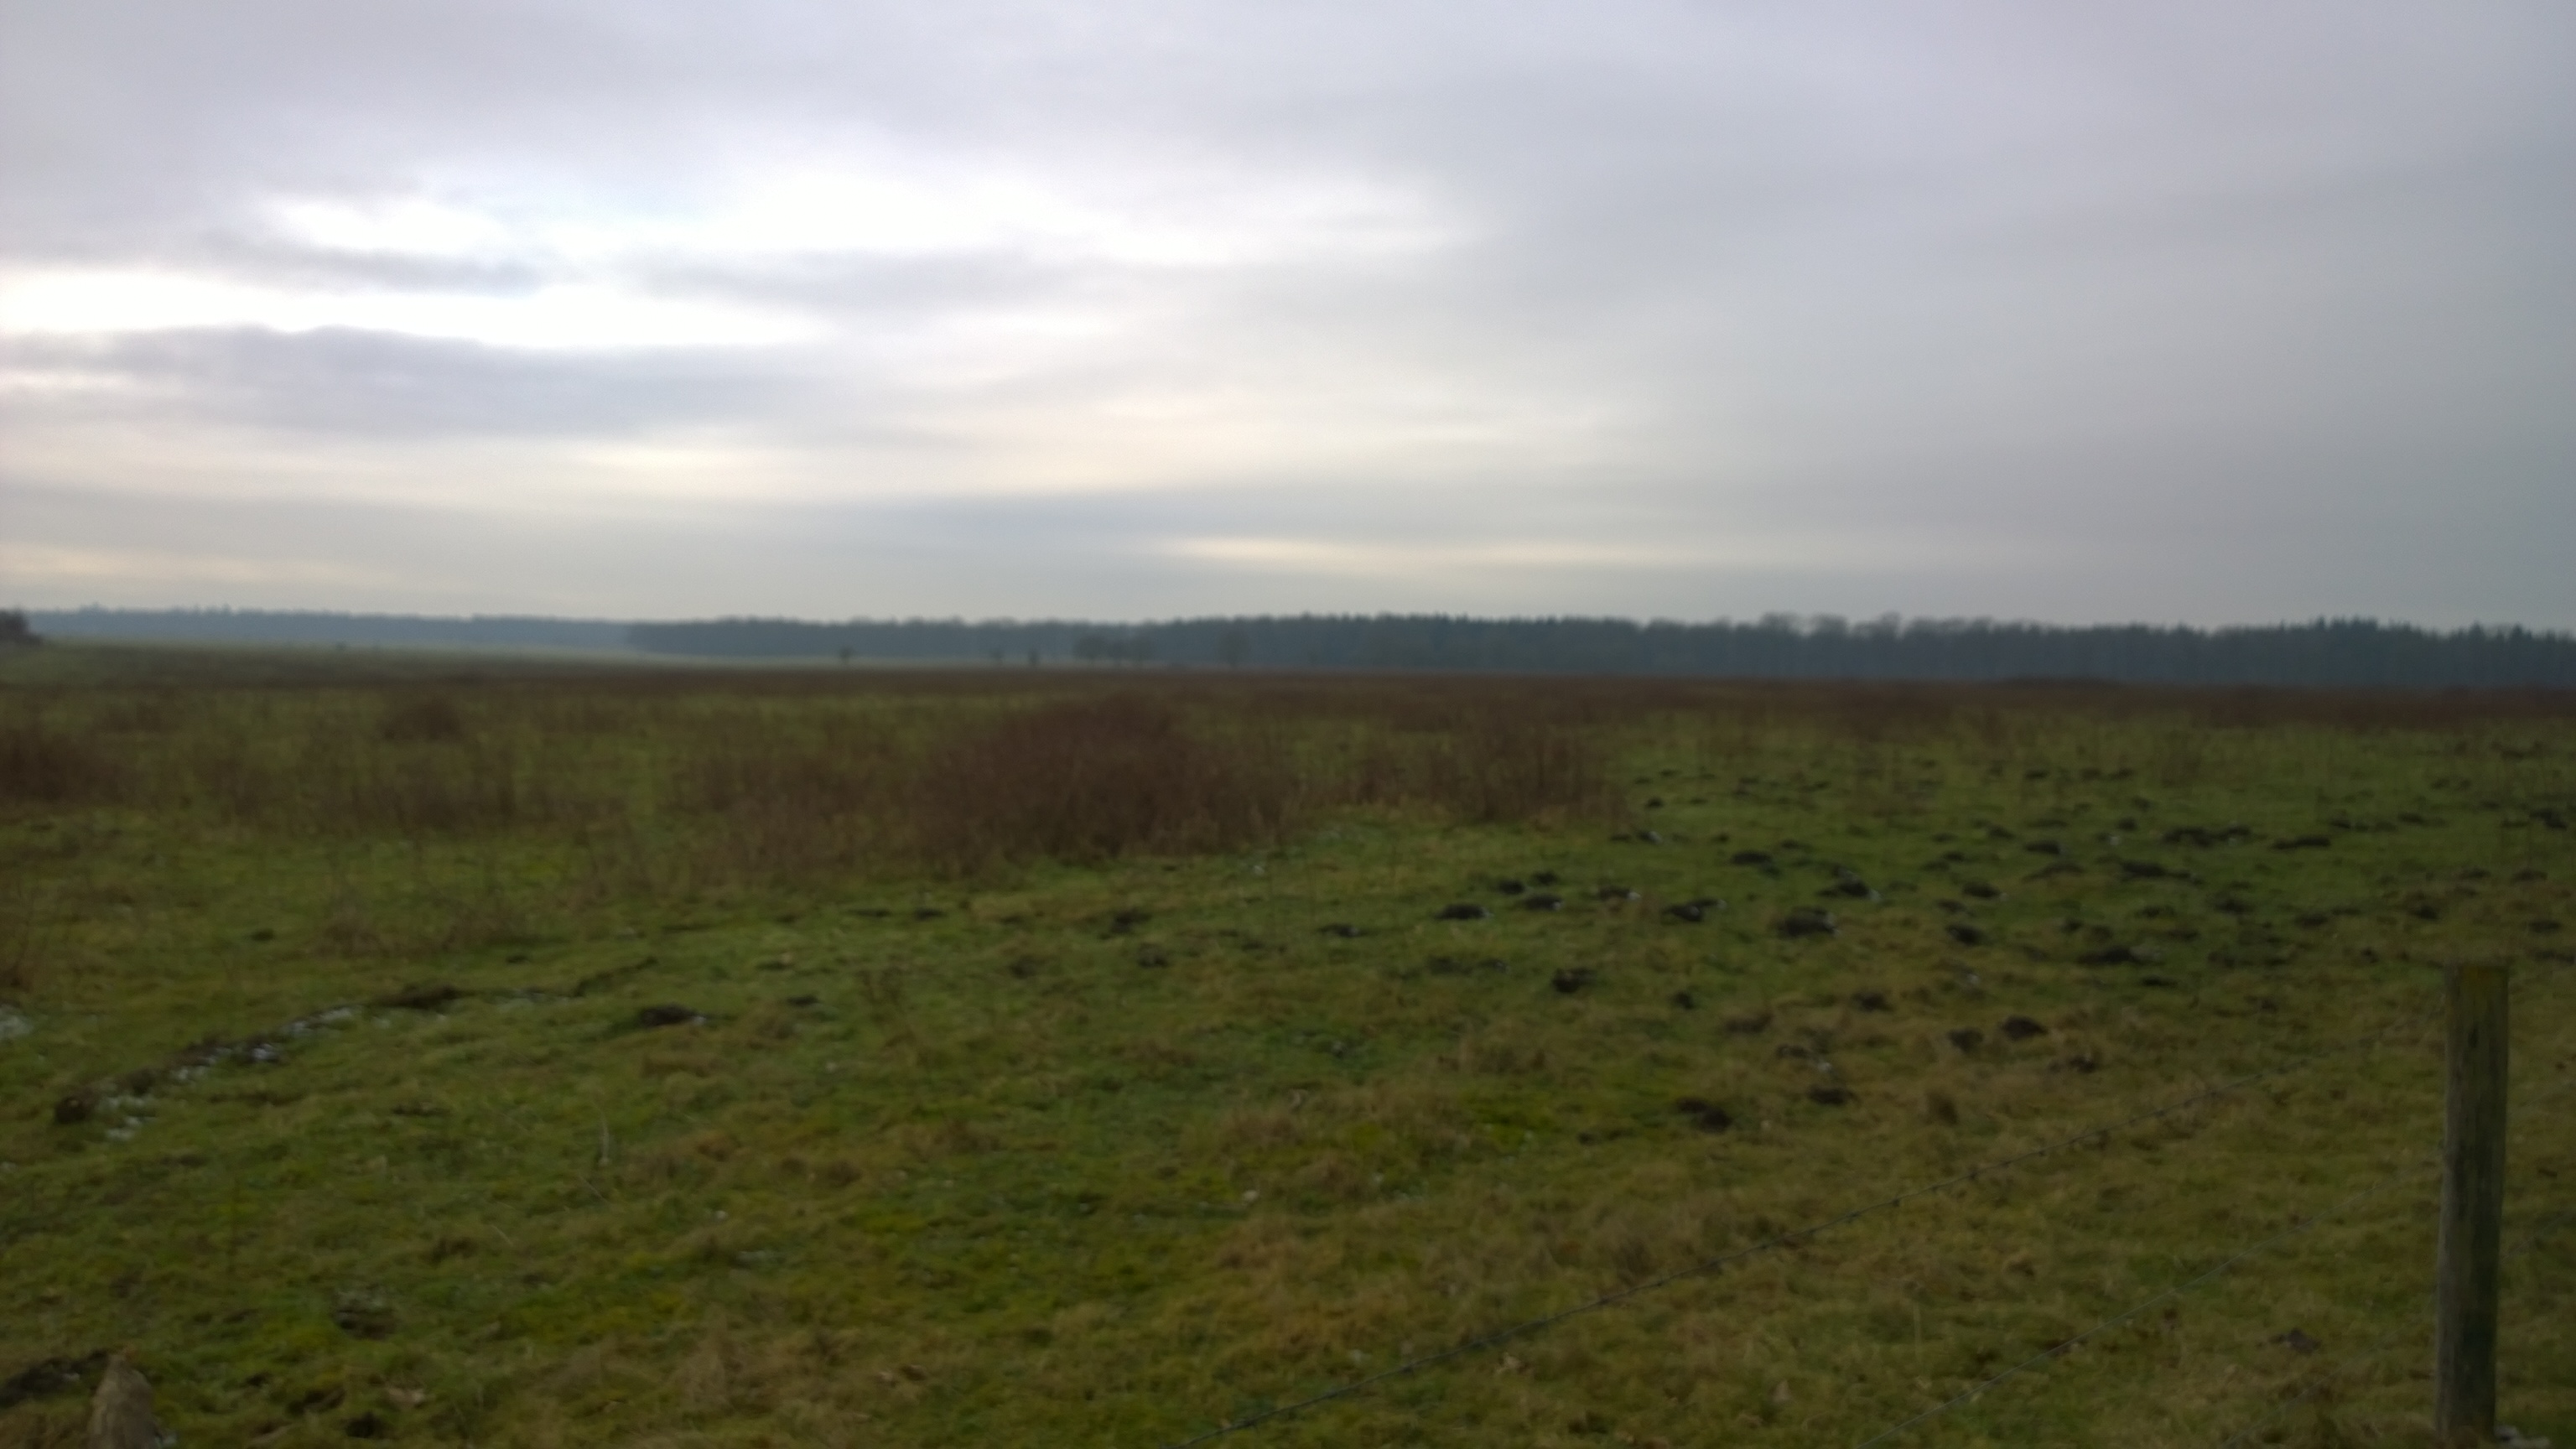
We visited the spot where ‘C’ troop of the 1st Airborne Reconaissance Squadron were ambushed on the 17th September, north of the Wolfheze crossing. It was very interesting to see the ground as it was and the tactical situation.
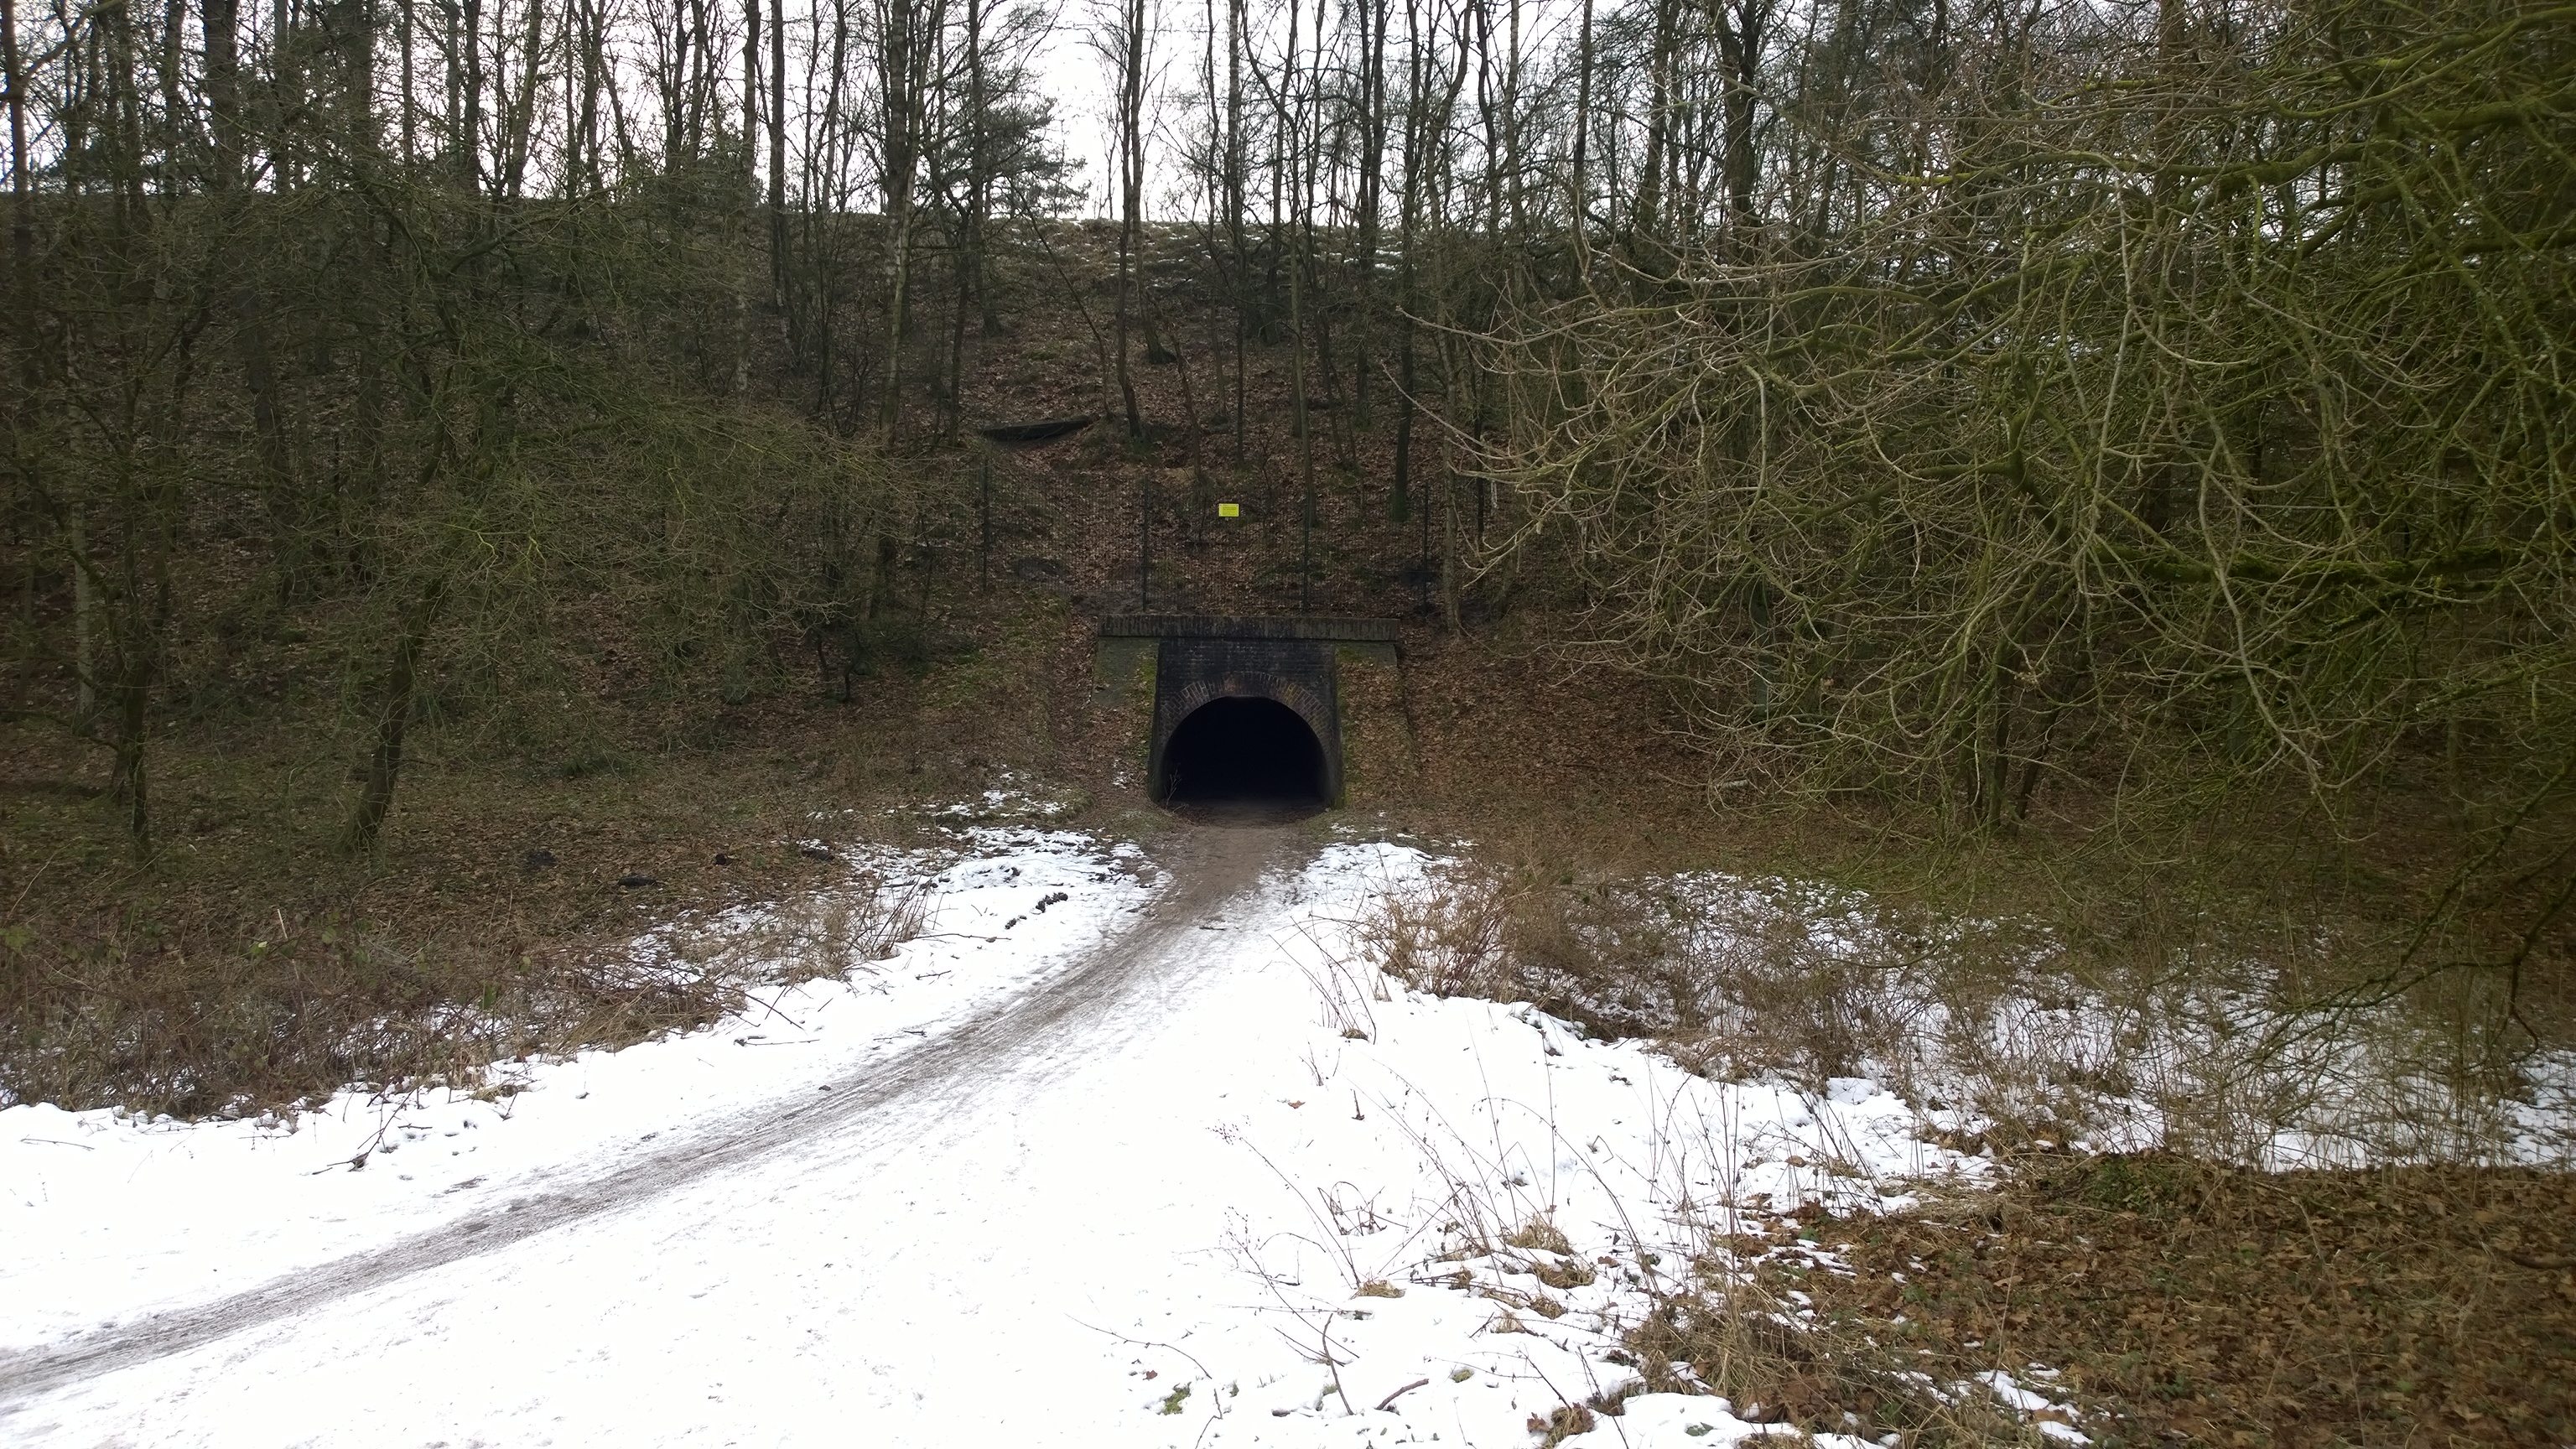
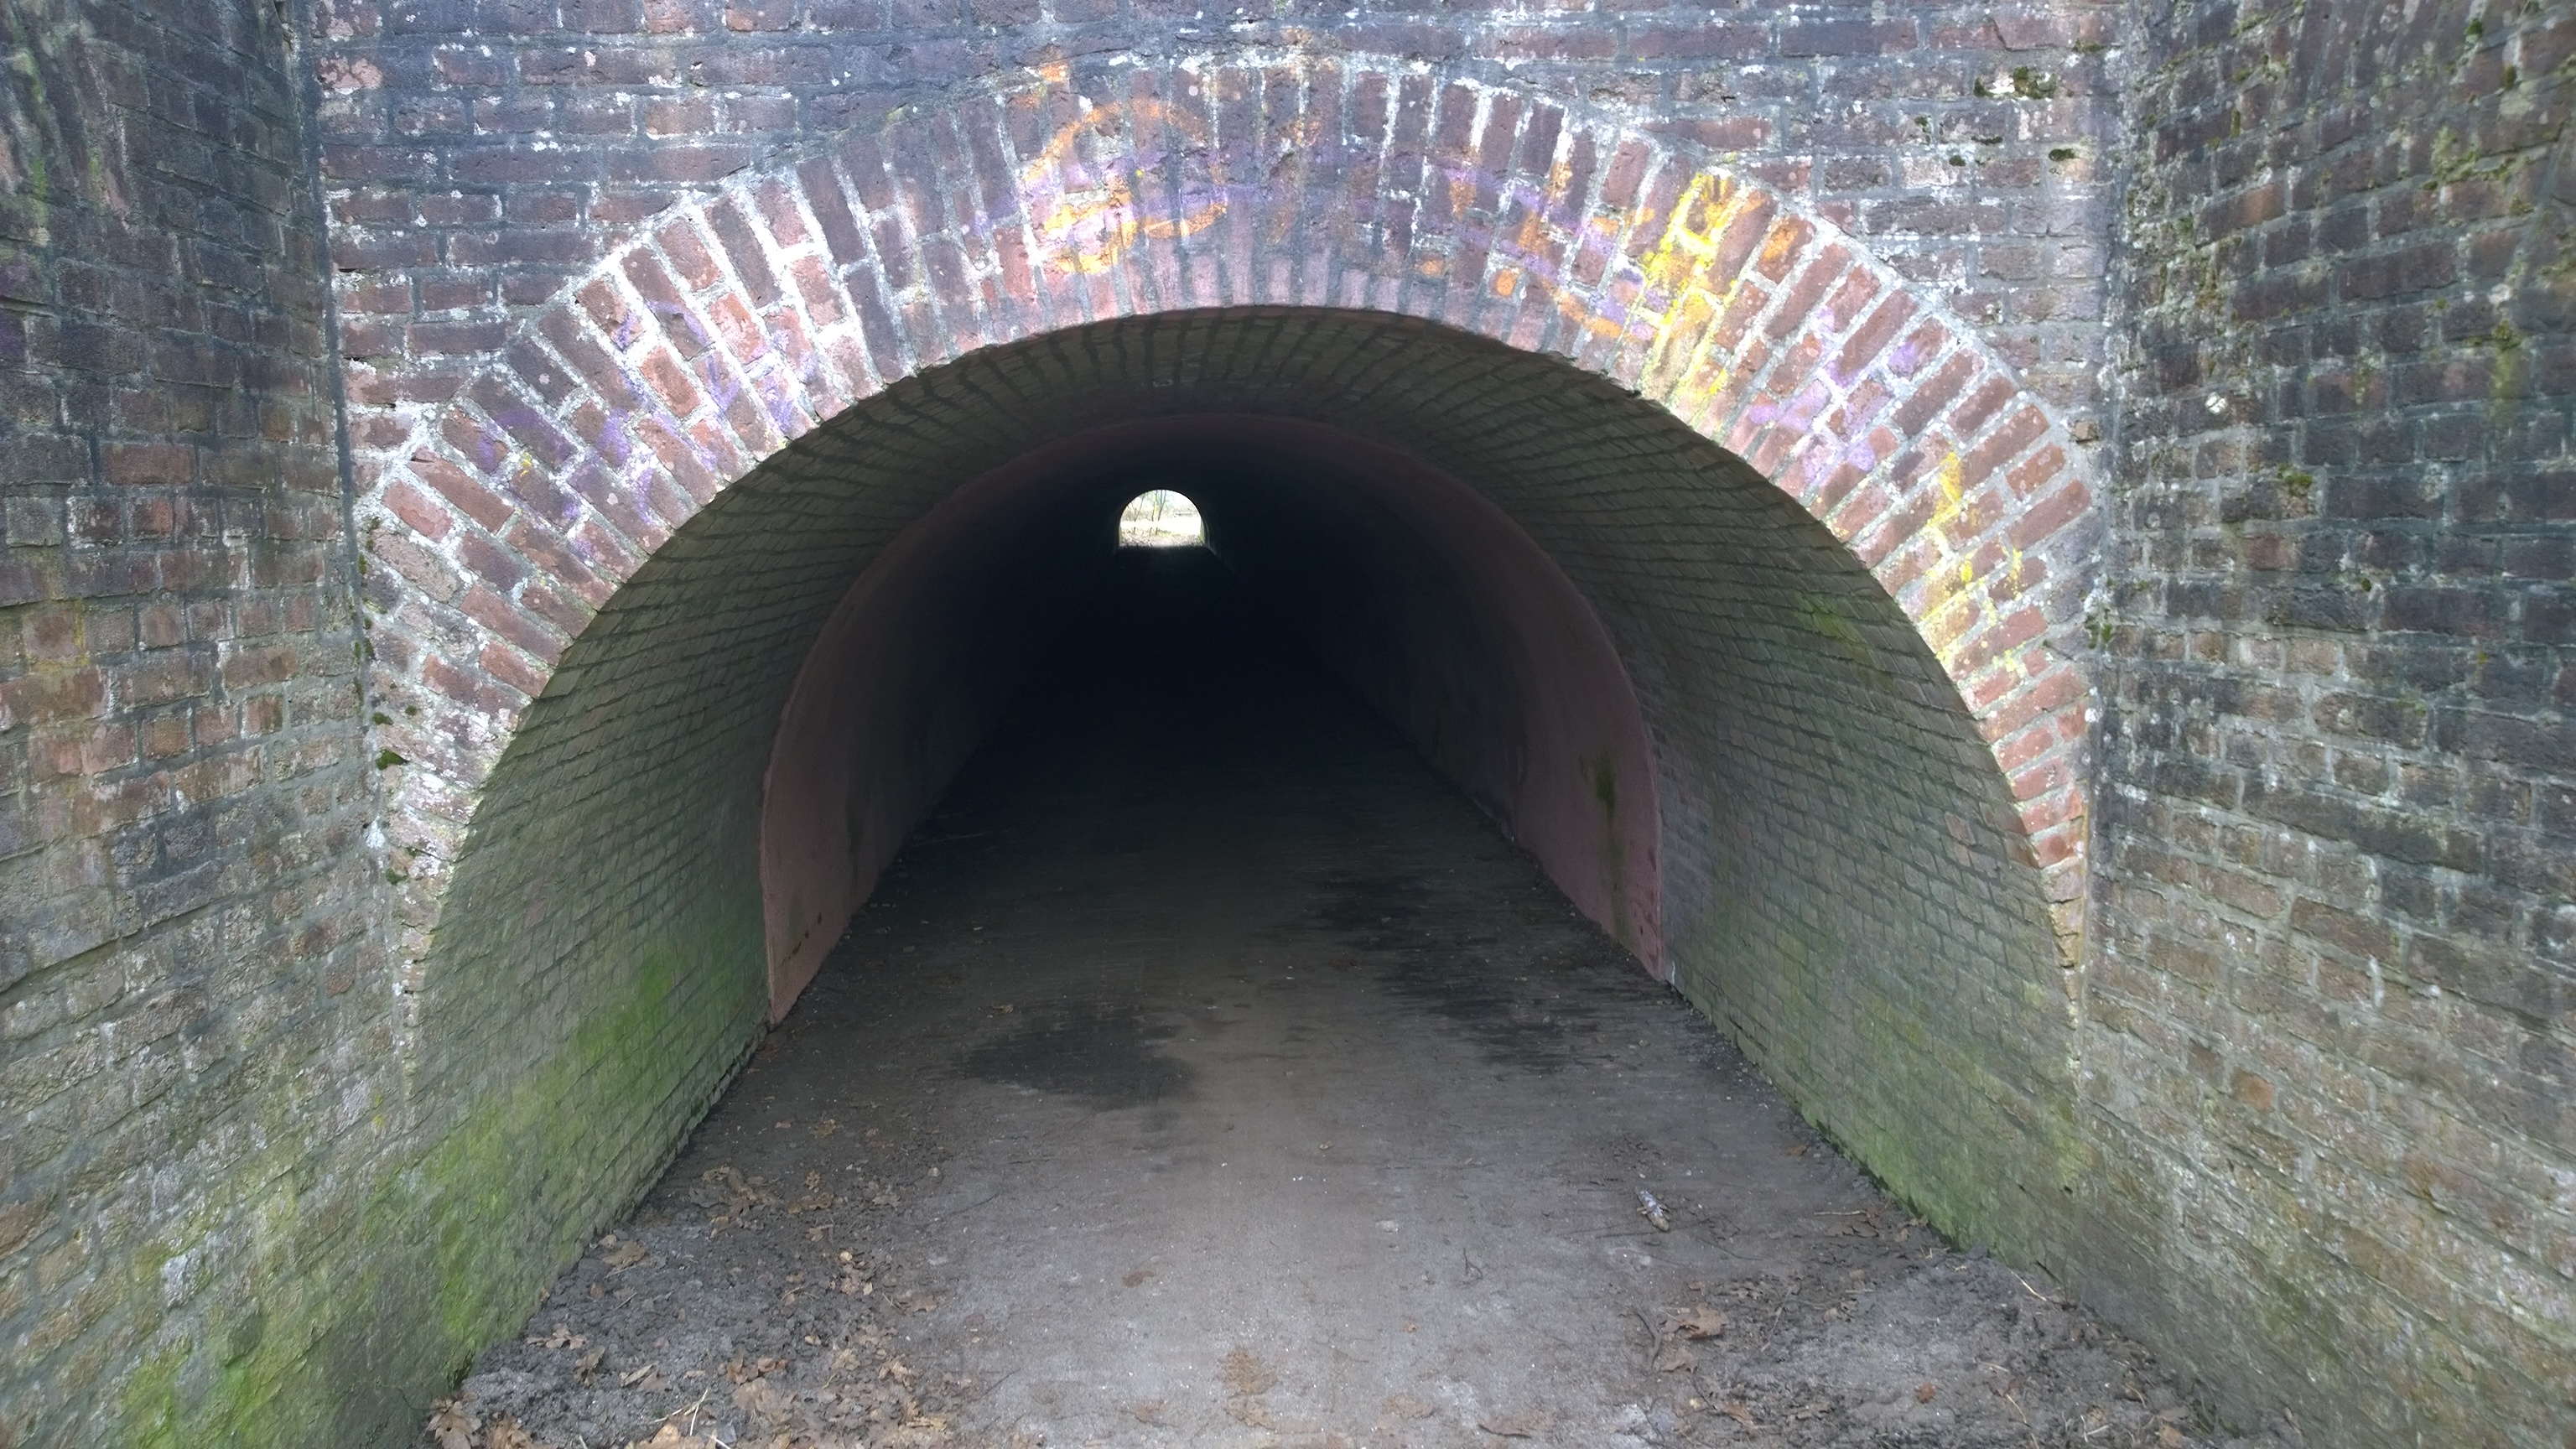
Here’s the railway tunnel. Yes, they got jeeps through there. You can hardly stand in the tunnel.
We also went past the area of the main drop zones for Oosterbeck. What would have been filled with gliders and men is now dominated by horses.
It also gave the WSS team a chance to look at the sites of several engagements including the terrain on which Rich’s ‘5 Platoon’ scenario was fought on in WSS 74.
It had been a very interesting few hours and the day was not over yet…