4Ground Arab Buildings
Today, I decided to construct one of the new 4Ground SAGA Arab Buildings, timing myself to see how long it took. I decided to construct ‘Arab Rural Dwelling No 3’, as it lay in the middle of the range. The smaller one (No 1) would be easier as it didn’t have a staircase and the larger one wasn’t that much more complex (slightly bigger but similar construuction technique) so I estimate it would take the same amount of time.

The first step is to build the internal walls. This has two effects, giving the model internal detail and it means the finished model will be double hulled and thus stronger. I used standard wood glue throughout which served admirably for the purpose. There has been some chatter on one forum about the accuracy of the name ‘Arab Building’, for me such discussion is irrelevant. If you’re selling a product you want something simple to describe it and the term for me says it all. Knowing the 4Ground guys, their research is very good and I know what I’m getting when I’m buying an Arab Building (as opposed to say a Saxon one or a WW2 one). Enough of pedantcy, back to the build!
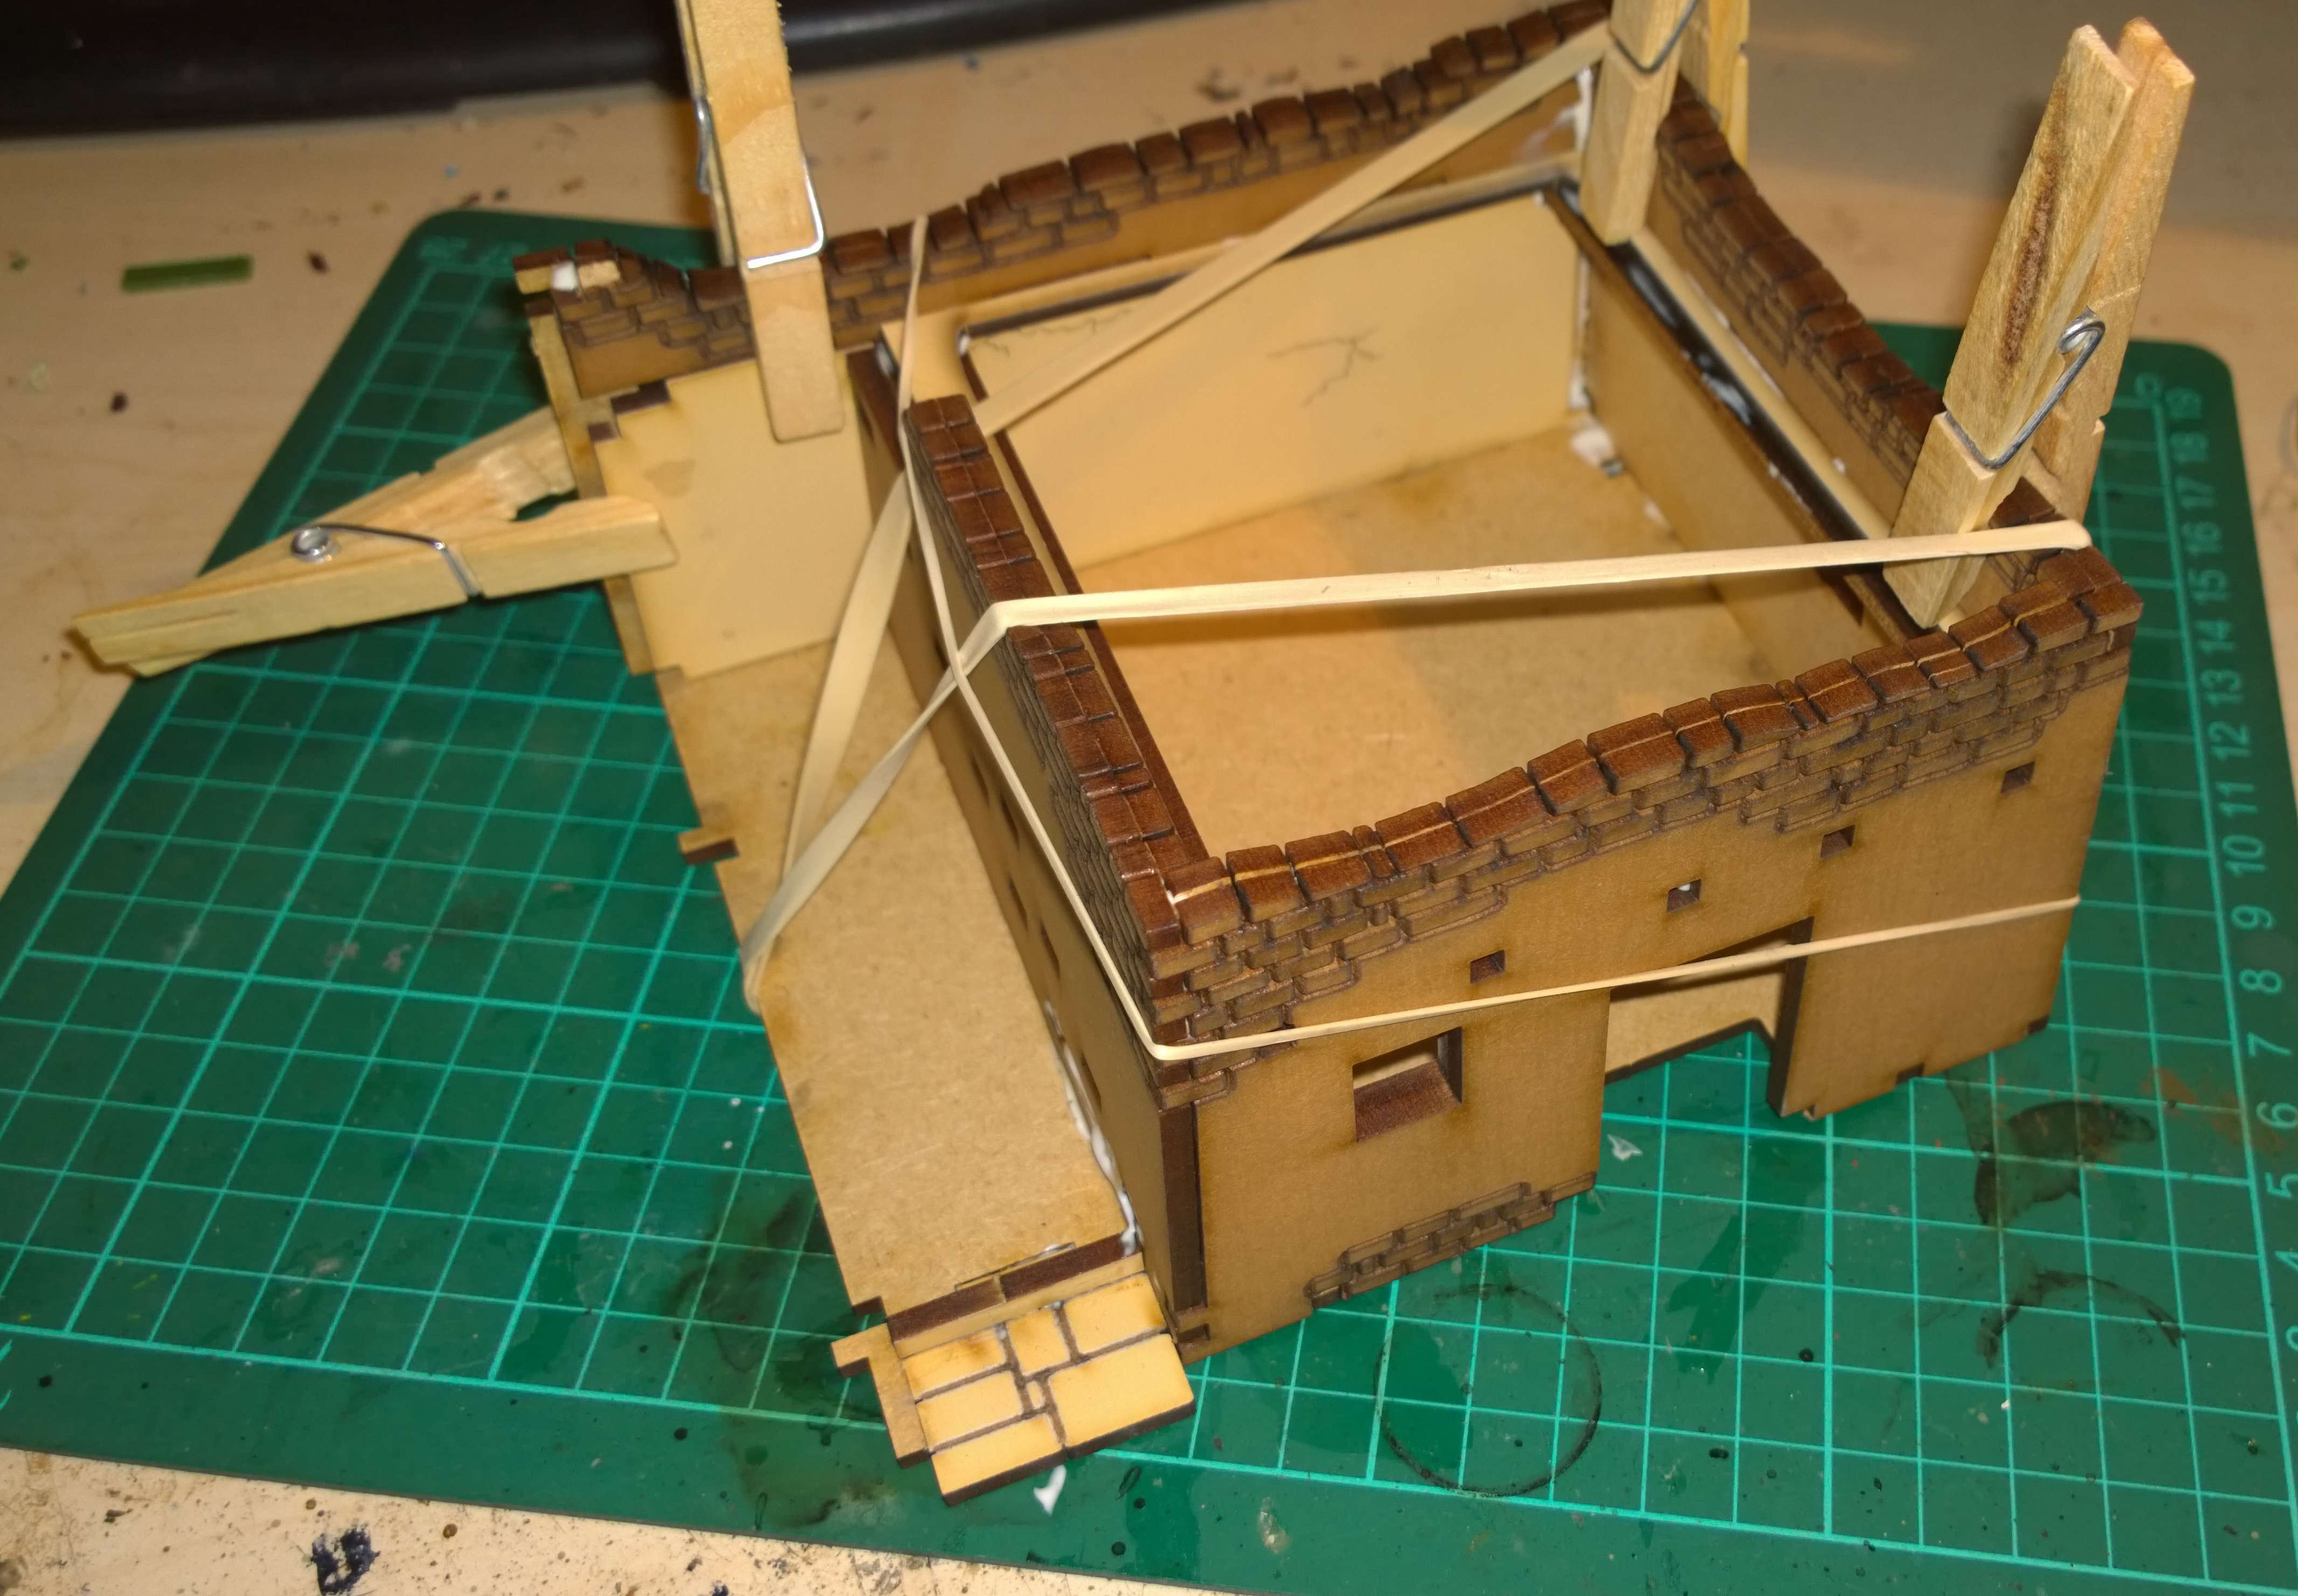
The next step was to add the external ‘mud brick wall’ which would form the outer skin of the building. Construction was straightforward following the diagrams, although at one point I had to go back quickly before the glue set and put in an internal wall I’d forgotten! Good job I’m doing this as a timed build, as the glue hadn’t dried.
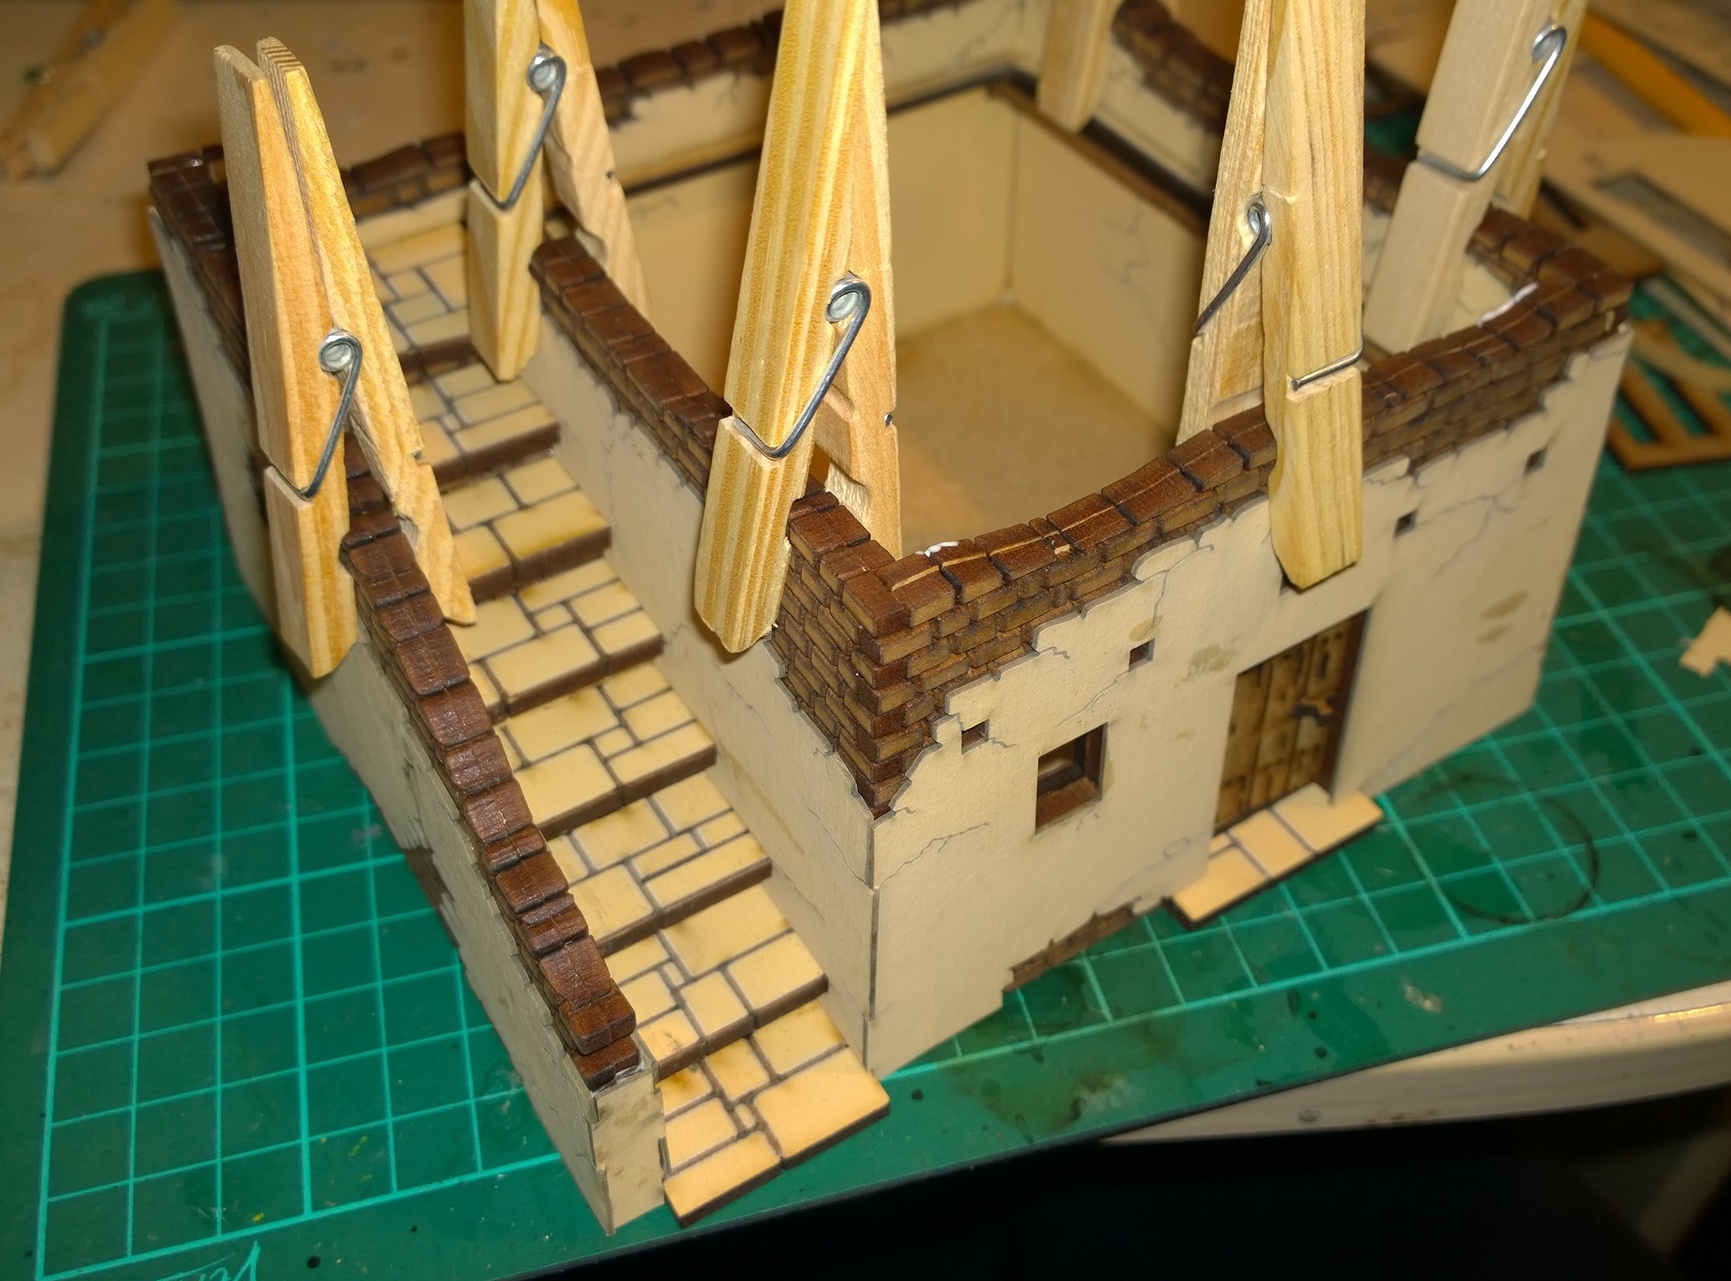
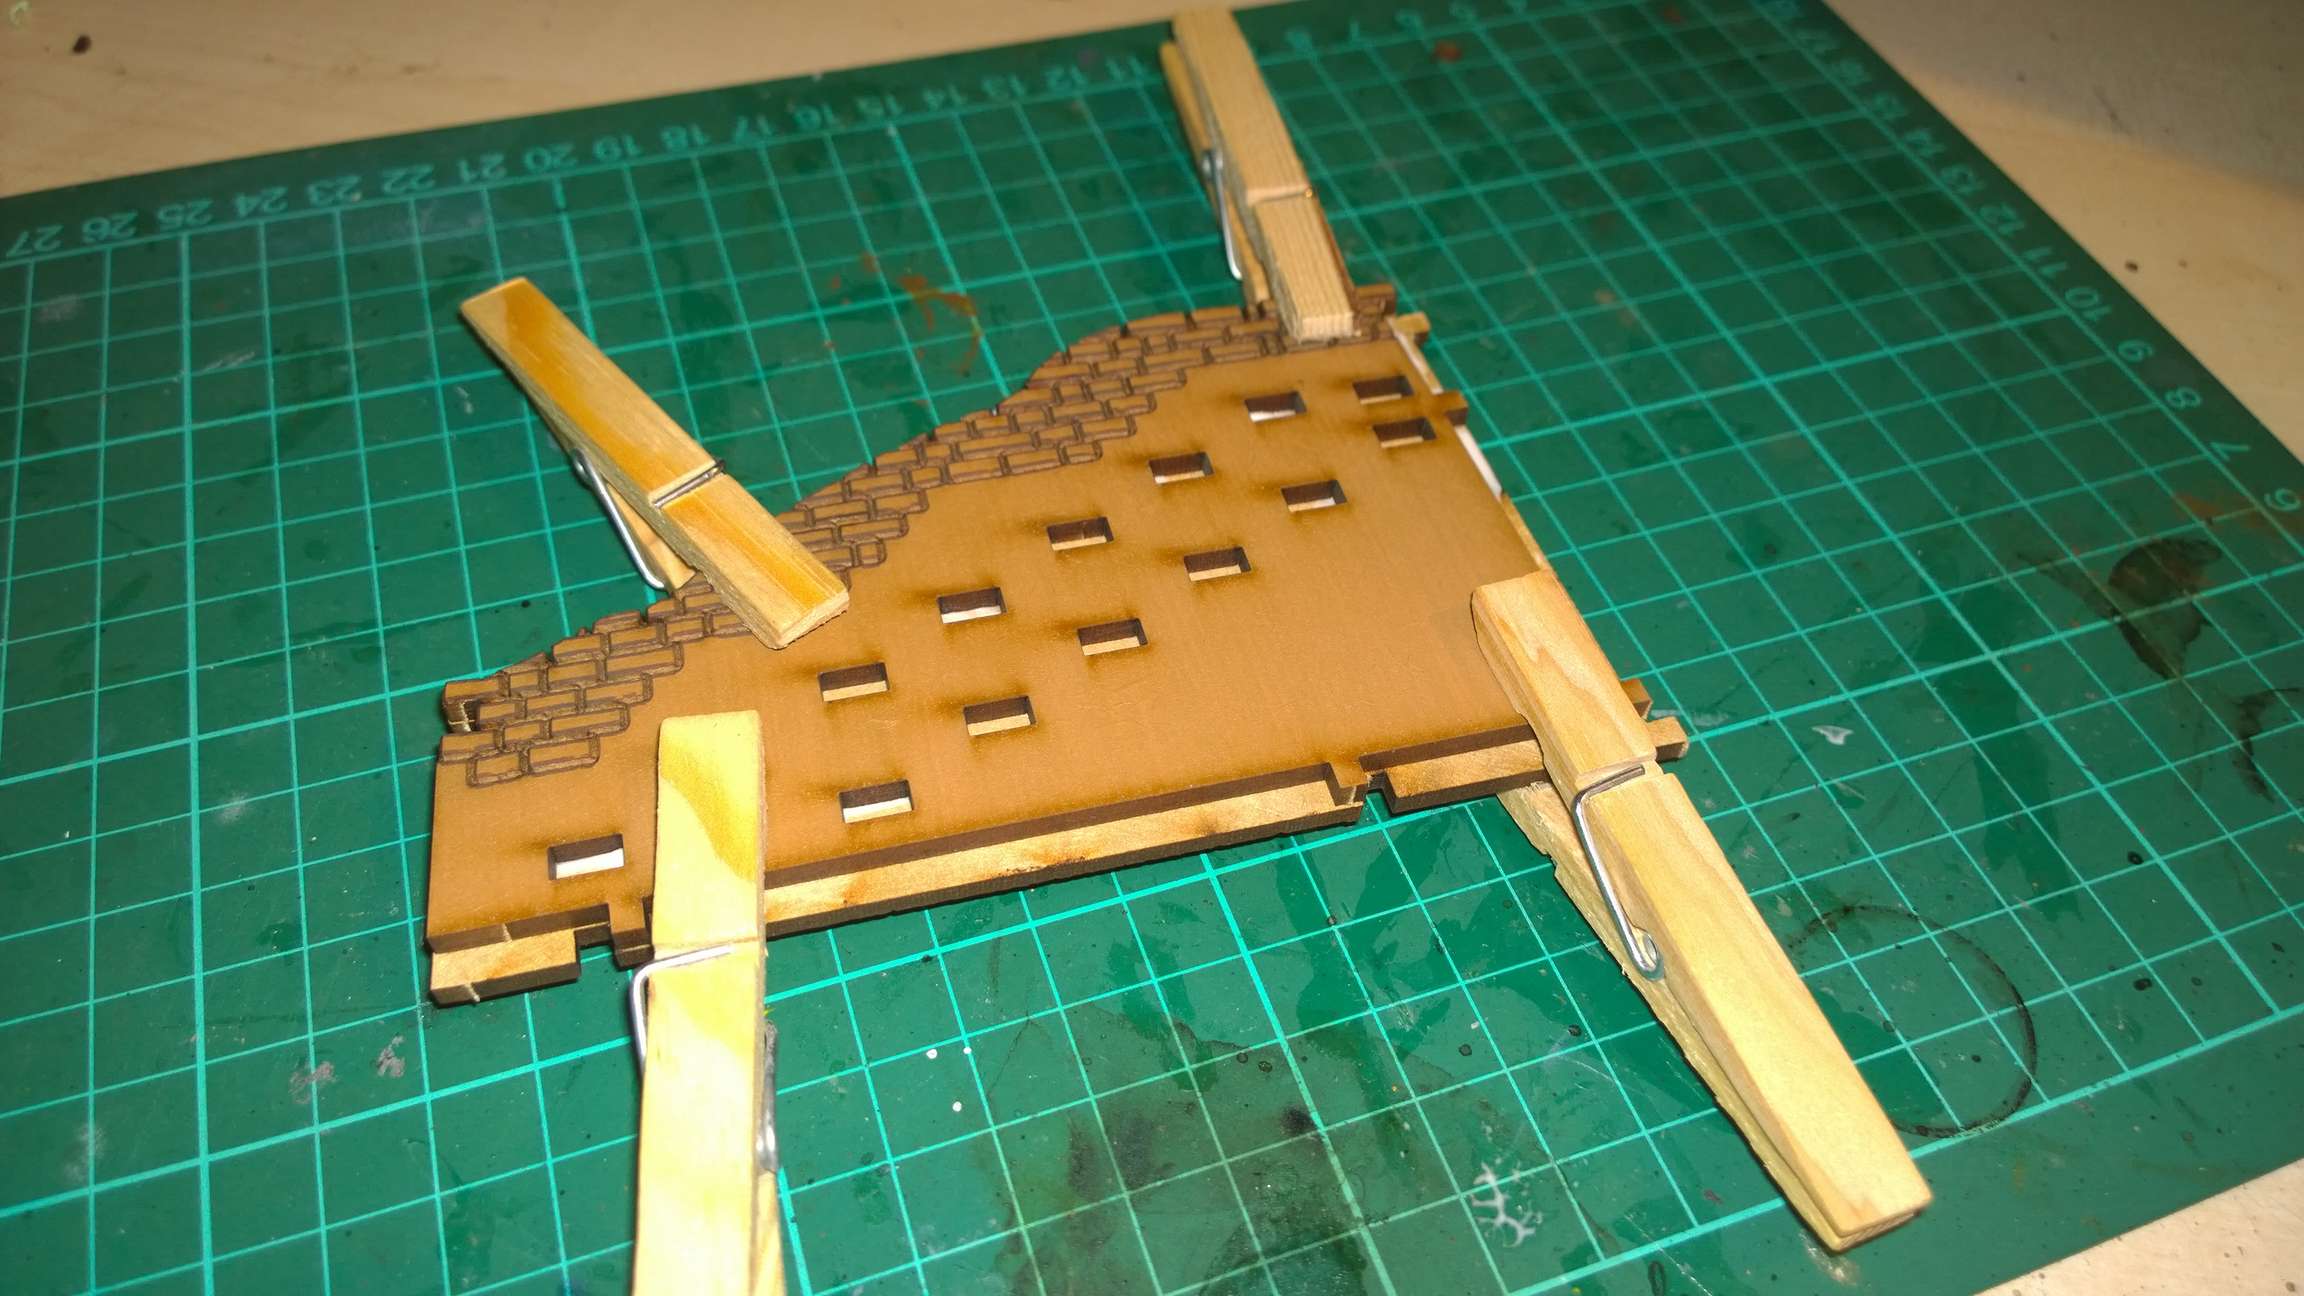 Next was the external staircase, which I expected to be a ‘B’ to put together (very difficult), however to my surprise when I stuck the parts together they fitted with the minimum of fuss. Throughout the diagrams provided in the kit were very useful. I had no problems at all and after a while steps became logical.
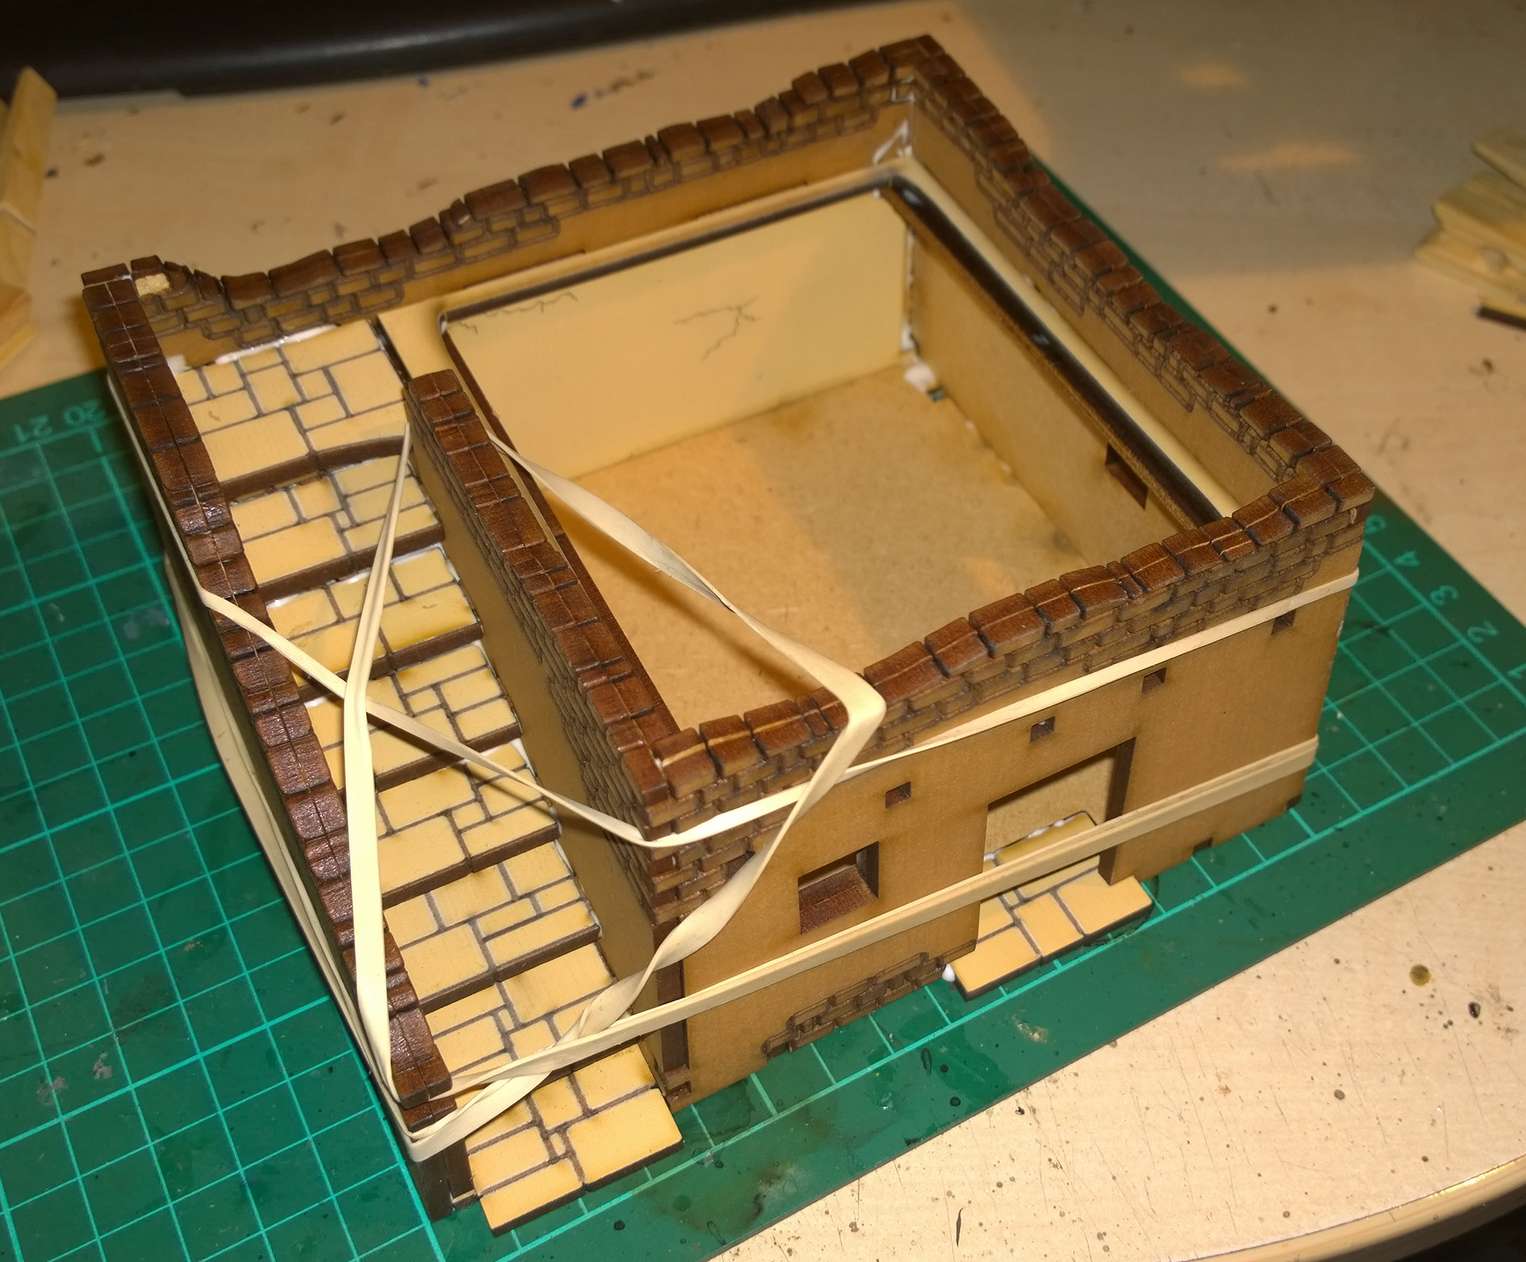
4Ground provide elastic bands and clothes pegs in their larger kits, so I took full advantage of using them to ensure a snug fit. The stairway is perhaps a little large but this is deliberate to allow 28mm figures to be placed on it (which you can do, one on each step).

The door and roof hatch both open (if glued in correctly) which is a neat little extra. Next was the plaster for the external walls, made of hard paper.
 The plaster comes with optional damaged sections which can be glued on or left off revealing the mud brick beneath. I like this customisation. Likewise you can select the length of the poles sticking out of the building.
 The finished model is impressive considering only a few minutes ago it was a flat pack kit. Weathering and other details (such as internal furniture) could be added for a little more authenticity, but otherwise its ready to go on the table and be played with. And the time?
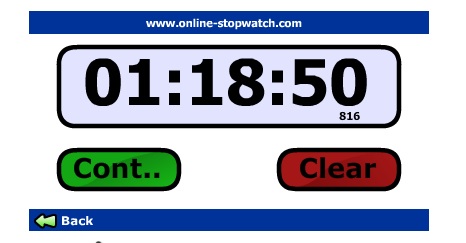 Not bad! An enjoyable hour and twenty minutes, which could probably be cut down with experience (and with fewer interruptions, I had to pause twice for phonecalls). The models themselves are suitable for any middle eastern setting from ancients through medievals and colonial times (French Foreign Legion?) to the modern day. Not the cheapest kits around, but you certainly get what you pay for - a robust and ready painted building.