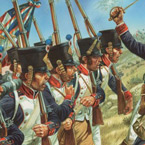
Painting a whoooooole box of French Line Infantry
As part of celebrating our 4000 ‘likes’ on Facebook, Wargames Soldiers and Strategy asked our FB fans to come up with silly things for me to do. Arran Slee-Smith suggested I paint an army in a day without stopping for sleep or toilet breaks(!). Thankfully my boss was not that much of a sadist and instead we agreed to try a Napoleonic Boxed Set in a day. Even so, it’s a gargantuan task painting a boxed set of thirty two 28mm miniatures in a single day? Impossible, right?
At the Warlord Games Day, I picked up a can of Army Painter Crystal Blue spray and a box of their plastic French. I had quite a lot of work to do before I’d have a free day and one finally came around on Tuesday the 6th of August.
My planned technique was to start with light colours and then take them down with a dark wash. I didn’t have to be that neat with my painting, as the wash would cover most of my mistakes.

I started on the plastic sprues, carefully removing any flash from the side of the models with a knife. I couldn’t resist taking a few of the Grenadier/Voltigeur models and converting them by replacing their arms with Victrix or Perry arms. I then cut up the sprues so I could separate the heads, backpacks and bodies and spray each separately. The heads were sprayed black, the bodies crystal blue and the backpacks white (the black and white were standard matte car body spray). Preparing and spraying the models took half an hour each.
Now the gargantuan task of painting could begin. I started by painting the white on the bodies: trousers, coat tails and shoulder straps. This took the longest time, some 2½ hours in total. I used a strong white colour; the Citadel Skull White was my choice as it covered the blue adequately with a single coat. I did experiment with several other whites in my collection and the Coat D’ Arms white proved as effective, others less so. As speed was the key, I didn’t really want to go back over sections again. This was followed by the boots and leggings which I painted a dark grey, made up from simply adding some white to black (later I used the Coat D’ Arms dark grey). I wanted the colour to be not quite black so the black shading would show through. Then flesh was added, followed by a wood brown for the muskets and metal (I used Army Painter Plate Steel for this, which was particularly effective but any darker silver would do).
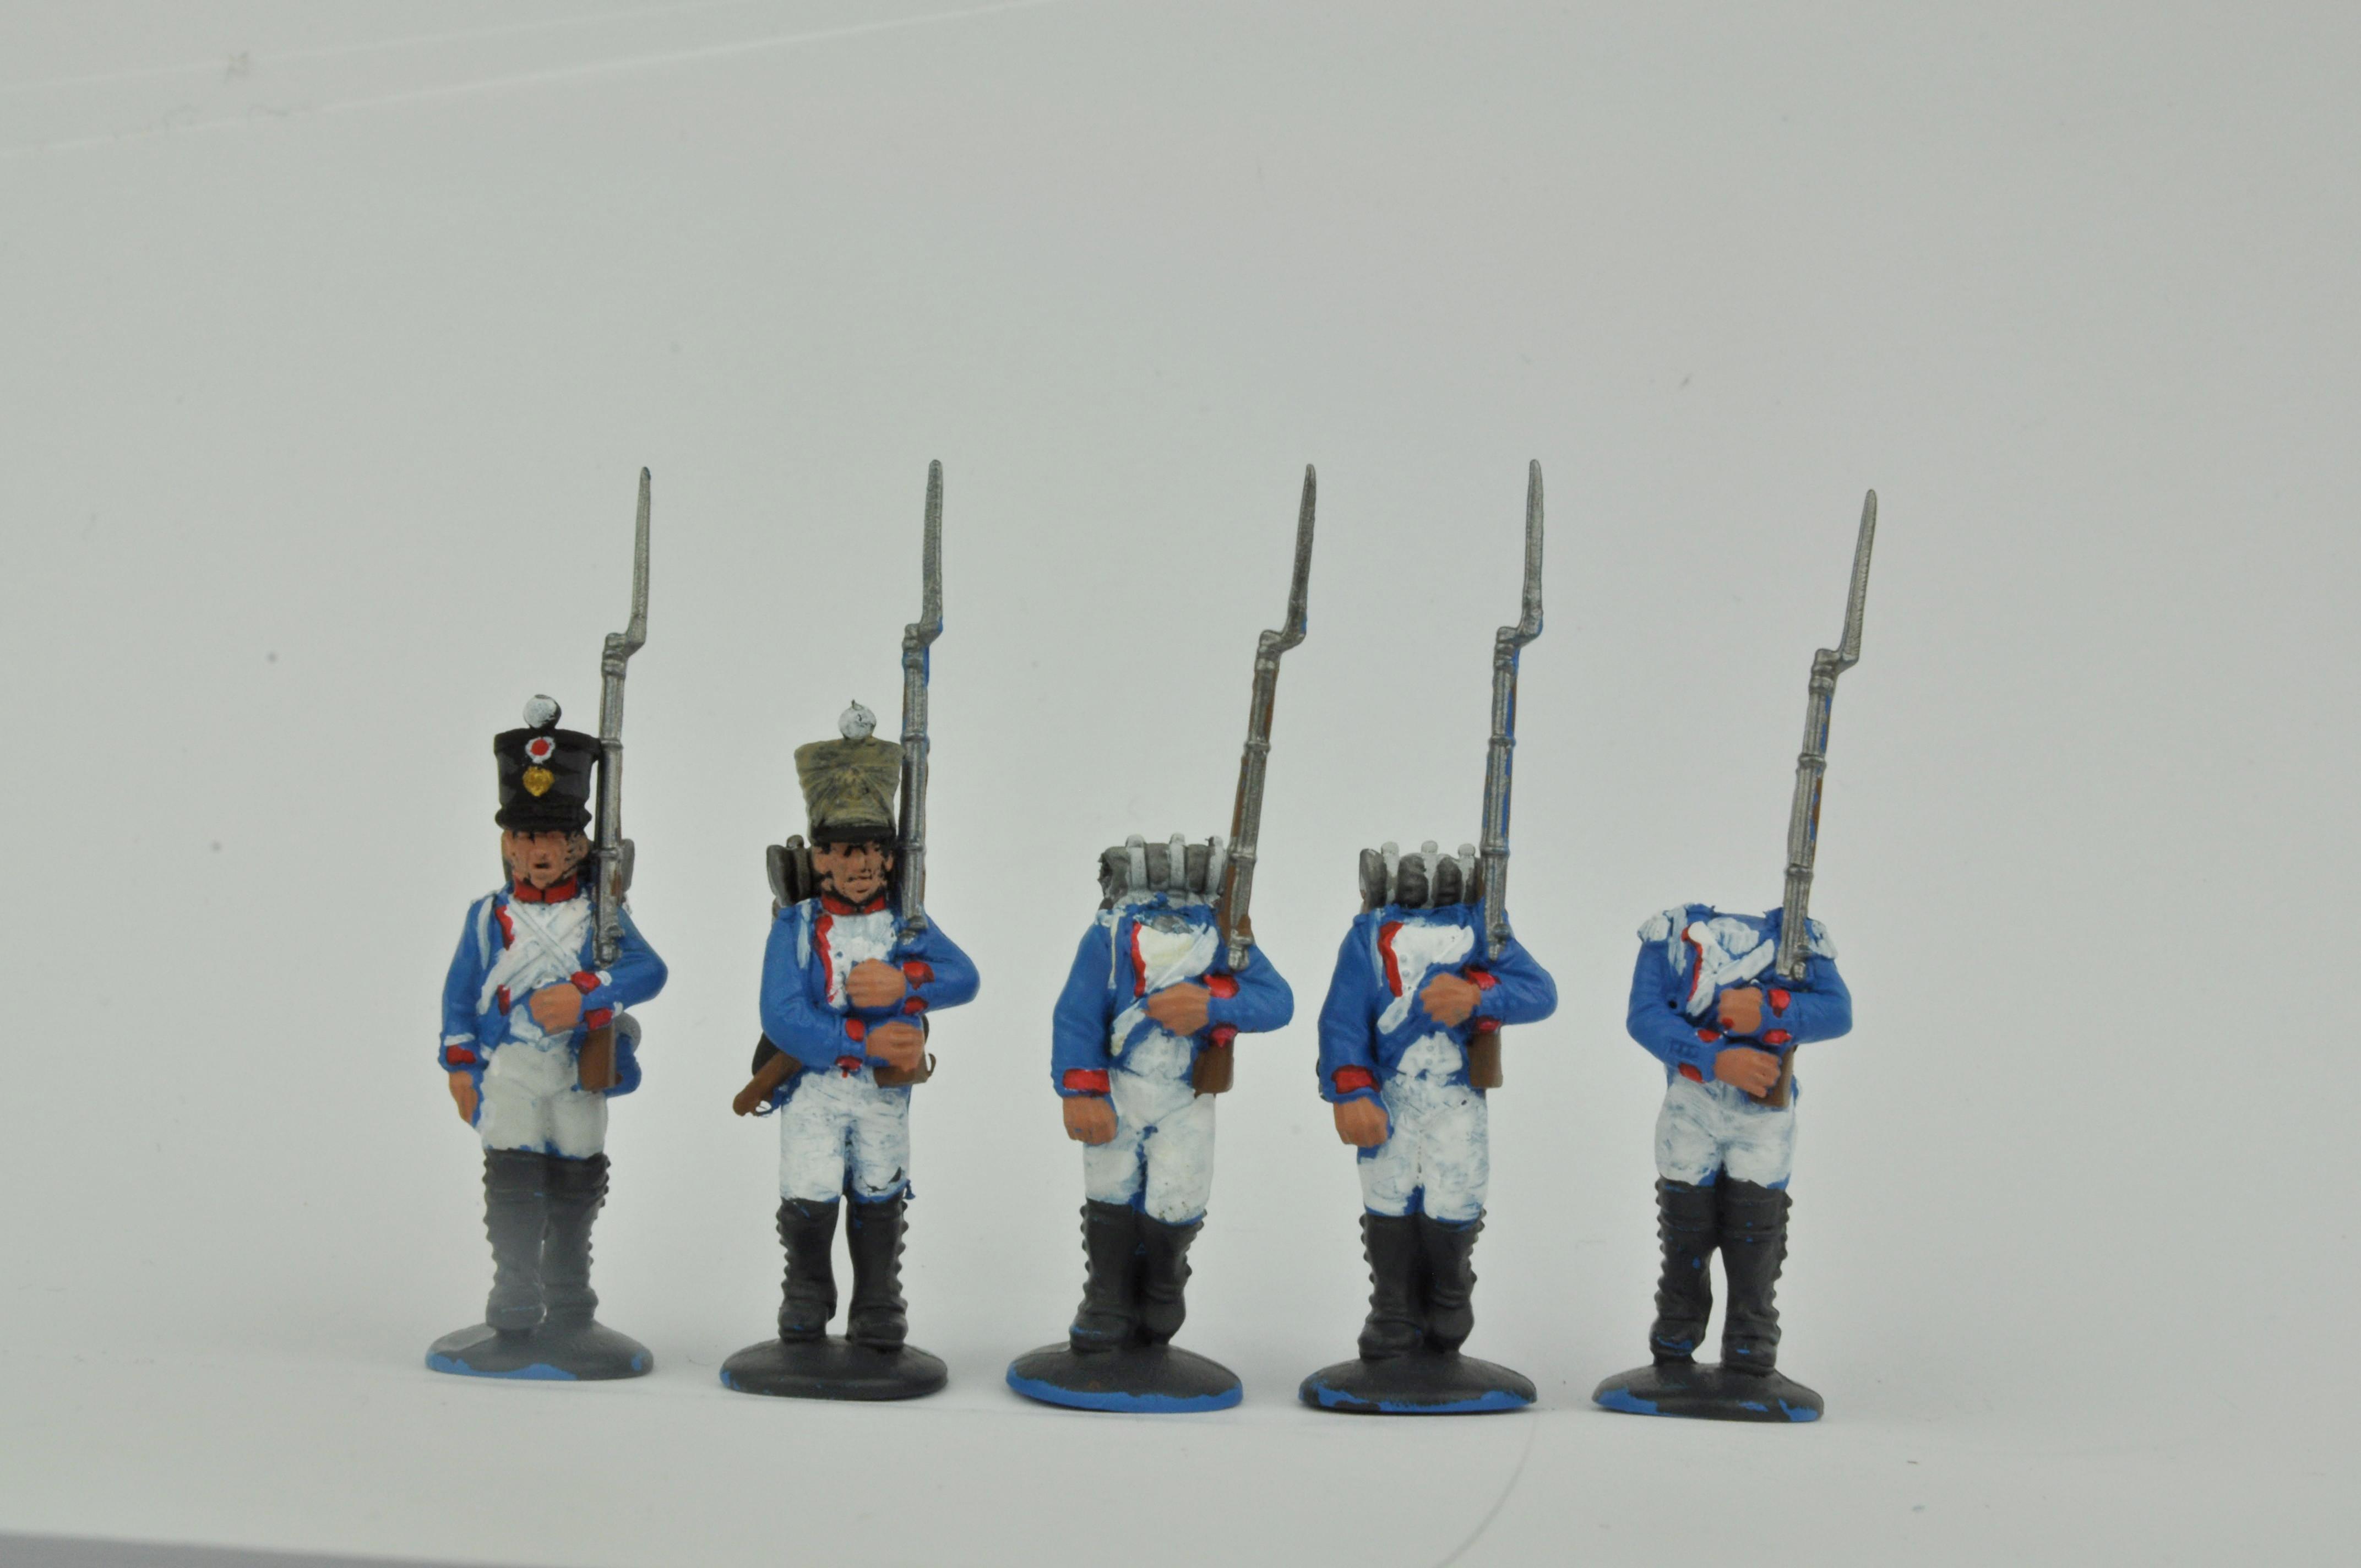
I then started work on the backpacks. These had been primed white so I simply used a dark brown wash (watered down Citadel scorched brown did the trick) followed by a middle grey for the roll and a middle blue for the forage cap. The cartridge box was the same dark grey as used on the leggings. Any areas which were white weren’t painted; the ink would shade then sufficiently.
The heads had been primed black, so I simply had to highlight the faces with a flesh colour. The brass was done with Vallejo Brass (one coat, marvellous stuff!). The shakos were highlighted dark grey. Finally, I painted the shako cords and cockade white. Once these had dried, I added the correct colour to the cords, adding a red circle to the cockade and blue dot later.
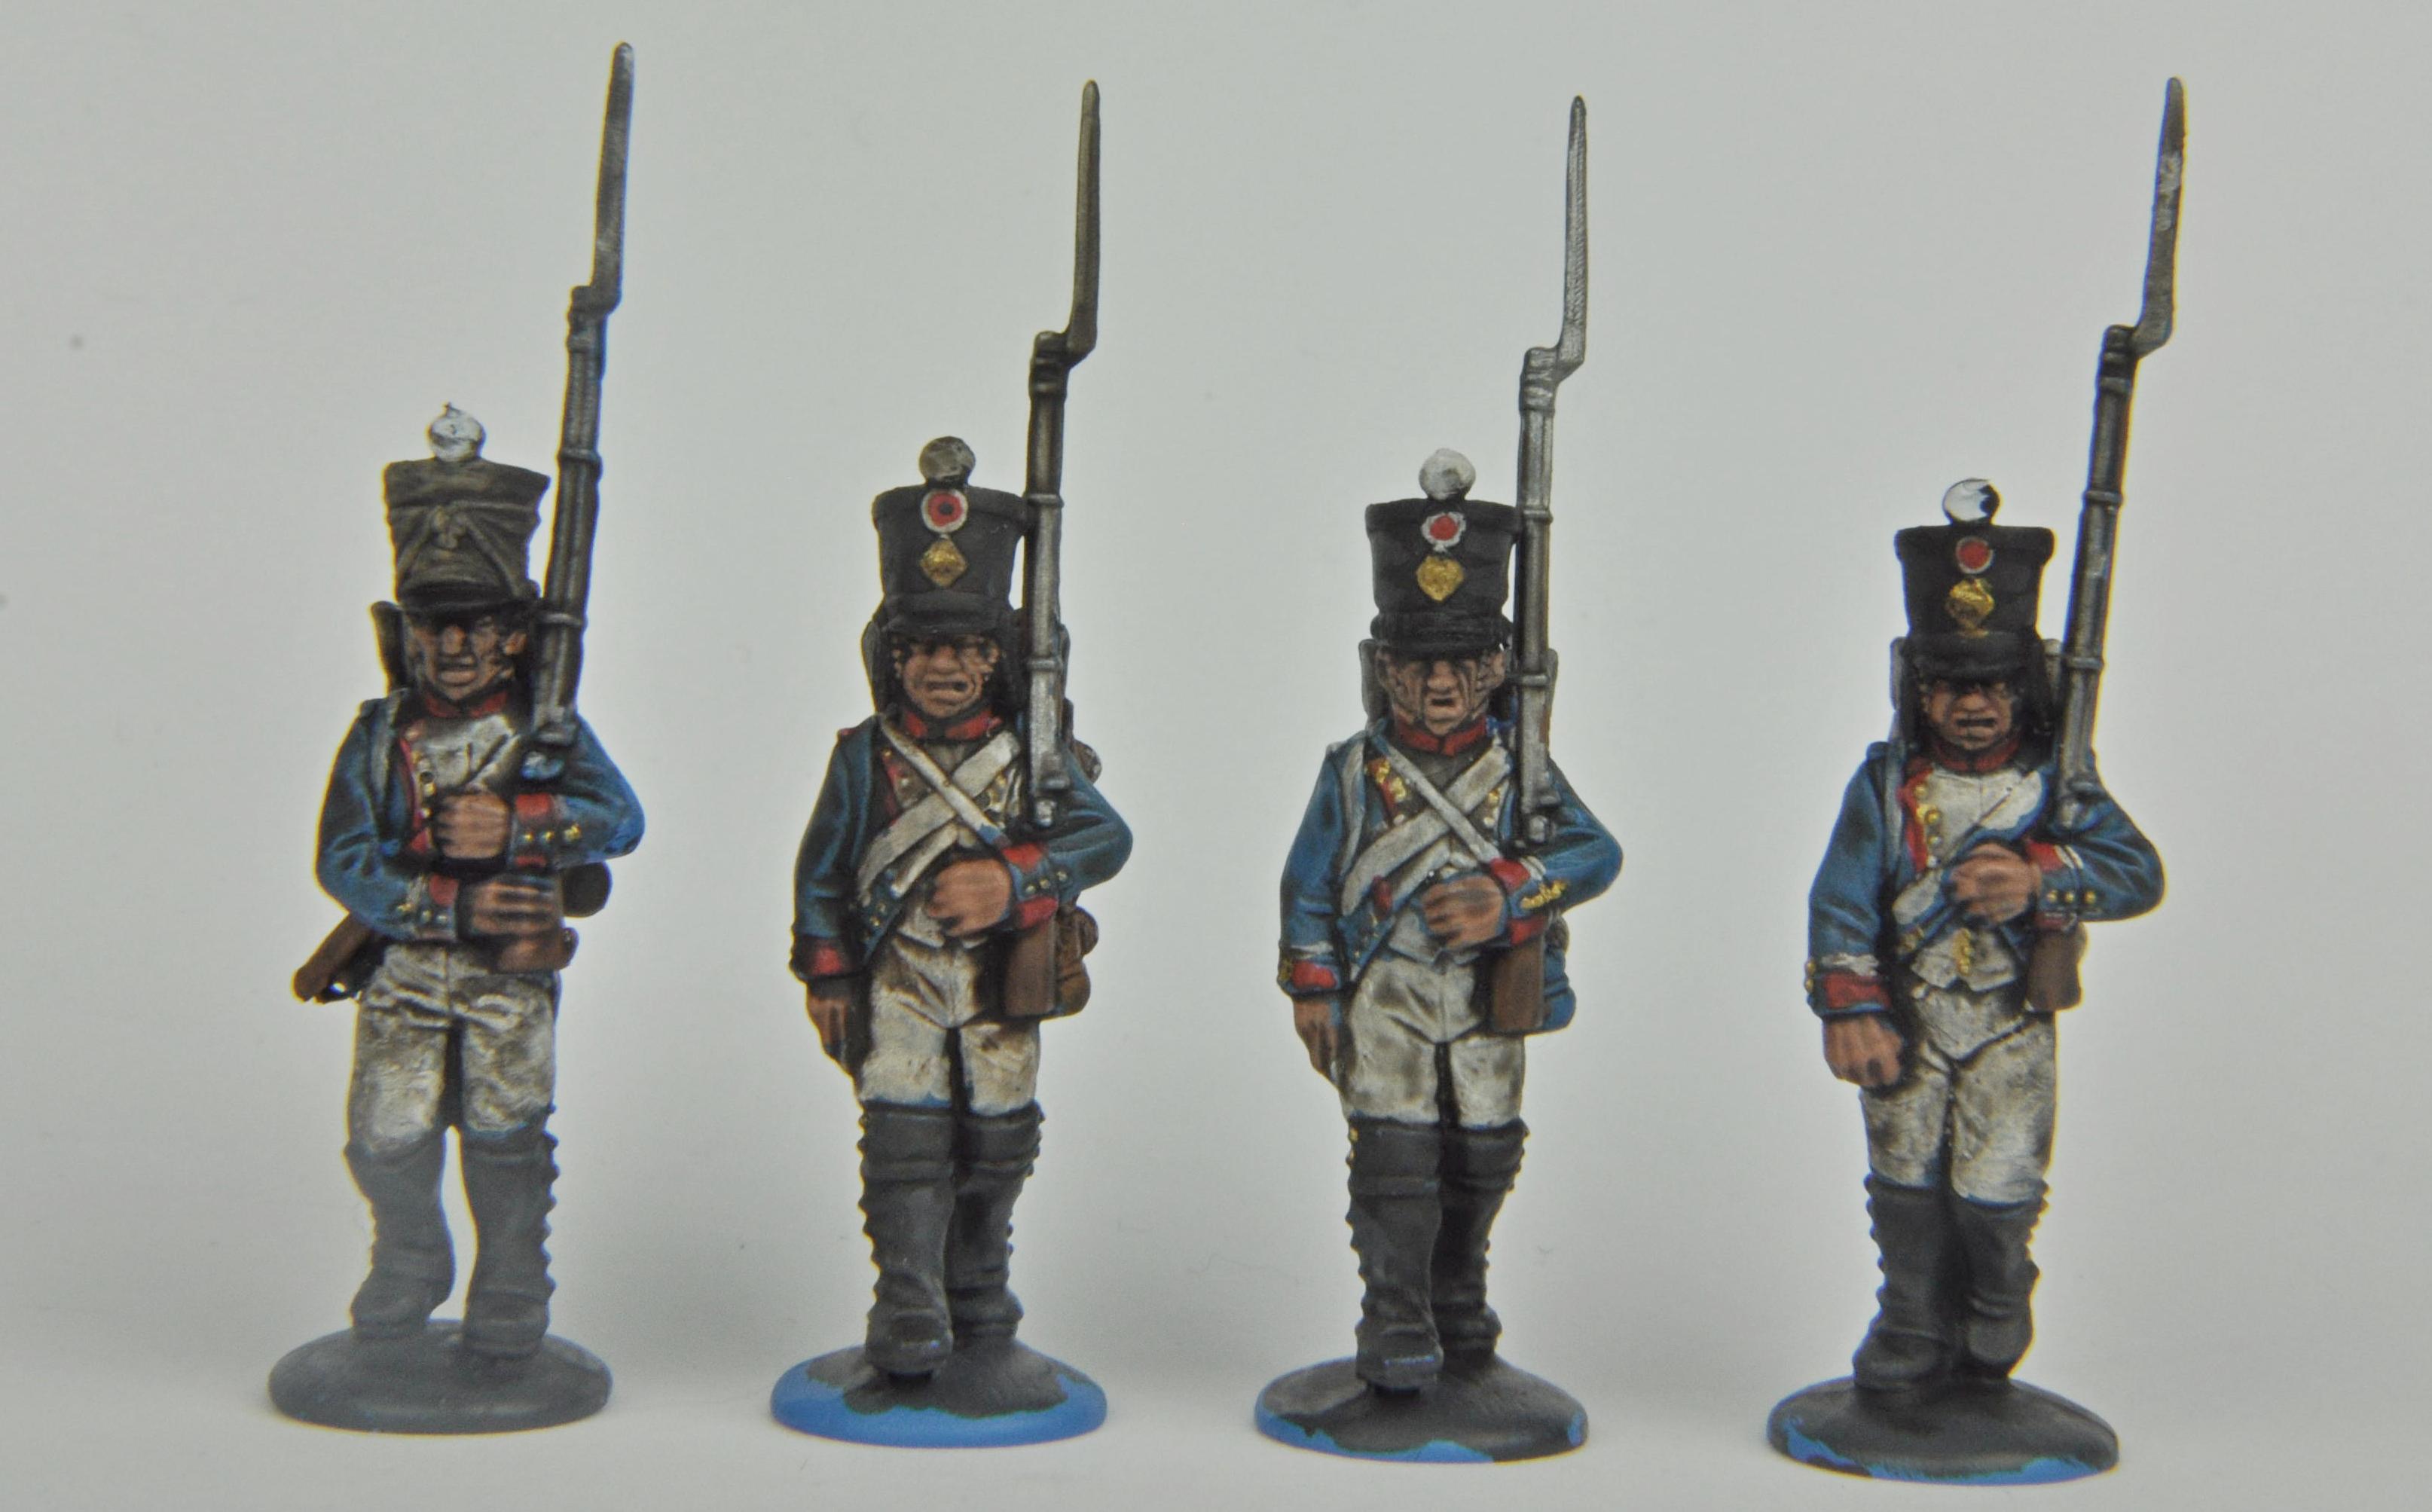
Now came the final parts. I scraped off a little paint from where the plastic would join and then used Revel Contacta Professional to glue the models together. For the heads I was particularly careful to put a small amount of glue and to assemble them with the front of the neck touching the body first. That way any surplus glue would go to the back, not squirt out the front. Once assembled and left to dry, the models were given an ink. I at first tried applying the ‘dip’ to one model, but as this would take time to dry, I soon resorted to inks and was very happy with the results. At first I used the Army Painter Strong Tone ink, which worked well but wasn’t dark enough for the blue, so I mixed in some GW Badab Black and that did the trick. In hindsight, I think I would have used a dark ink on the blue coat, shako, musket and leggings while using a brown ink on the trousers and face.
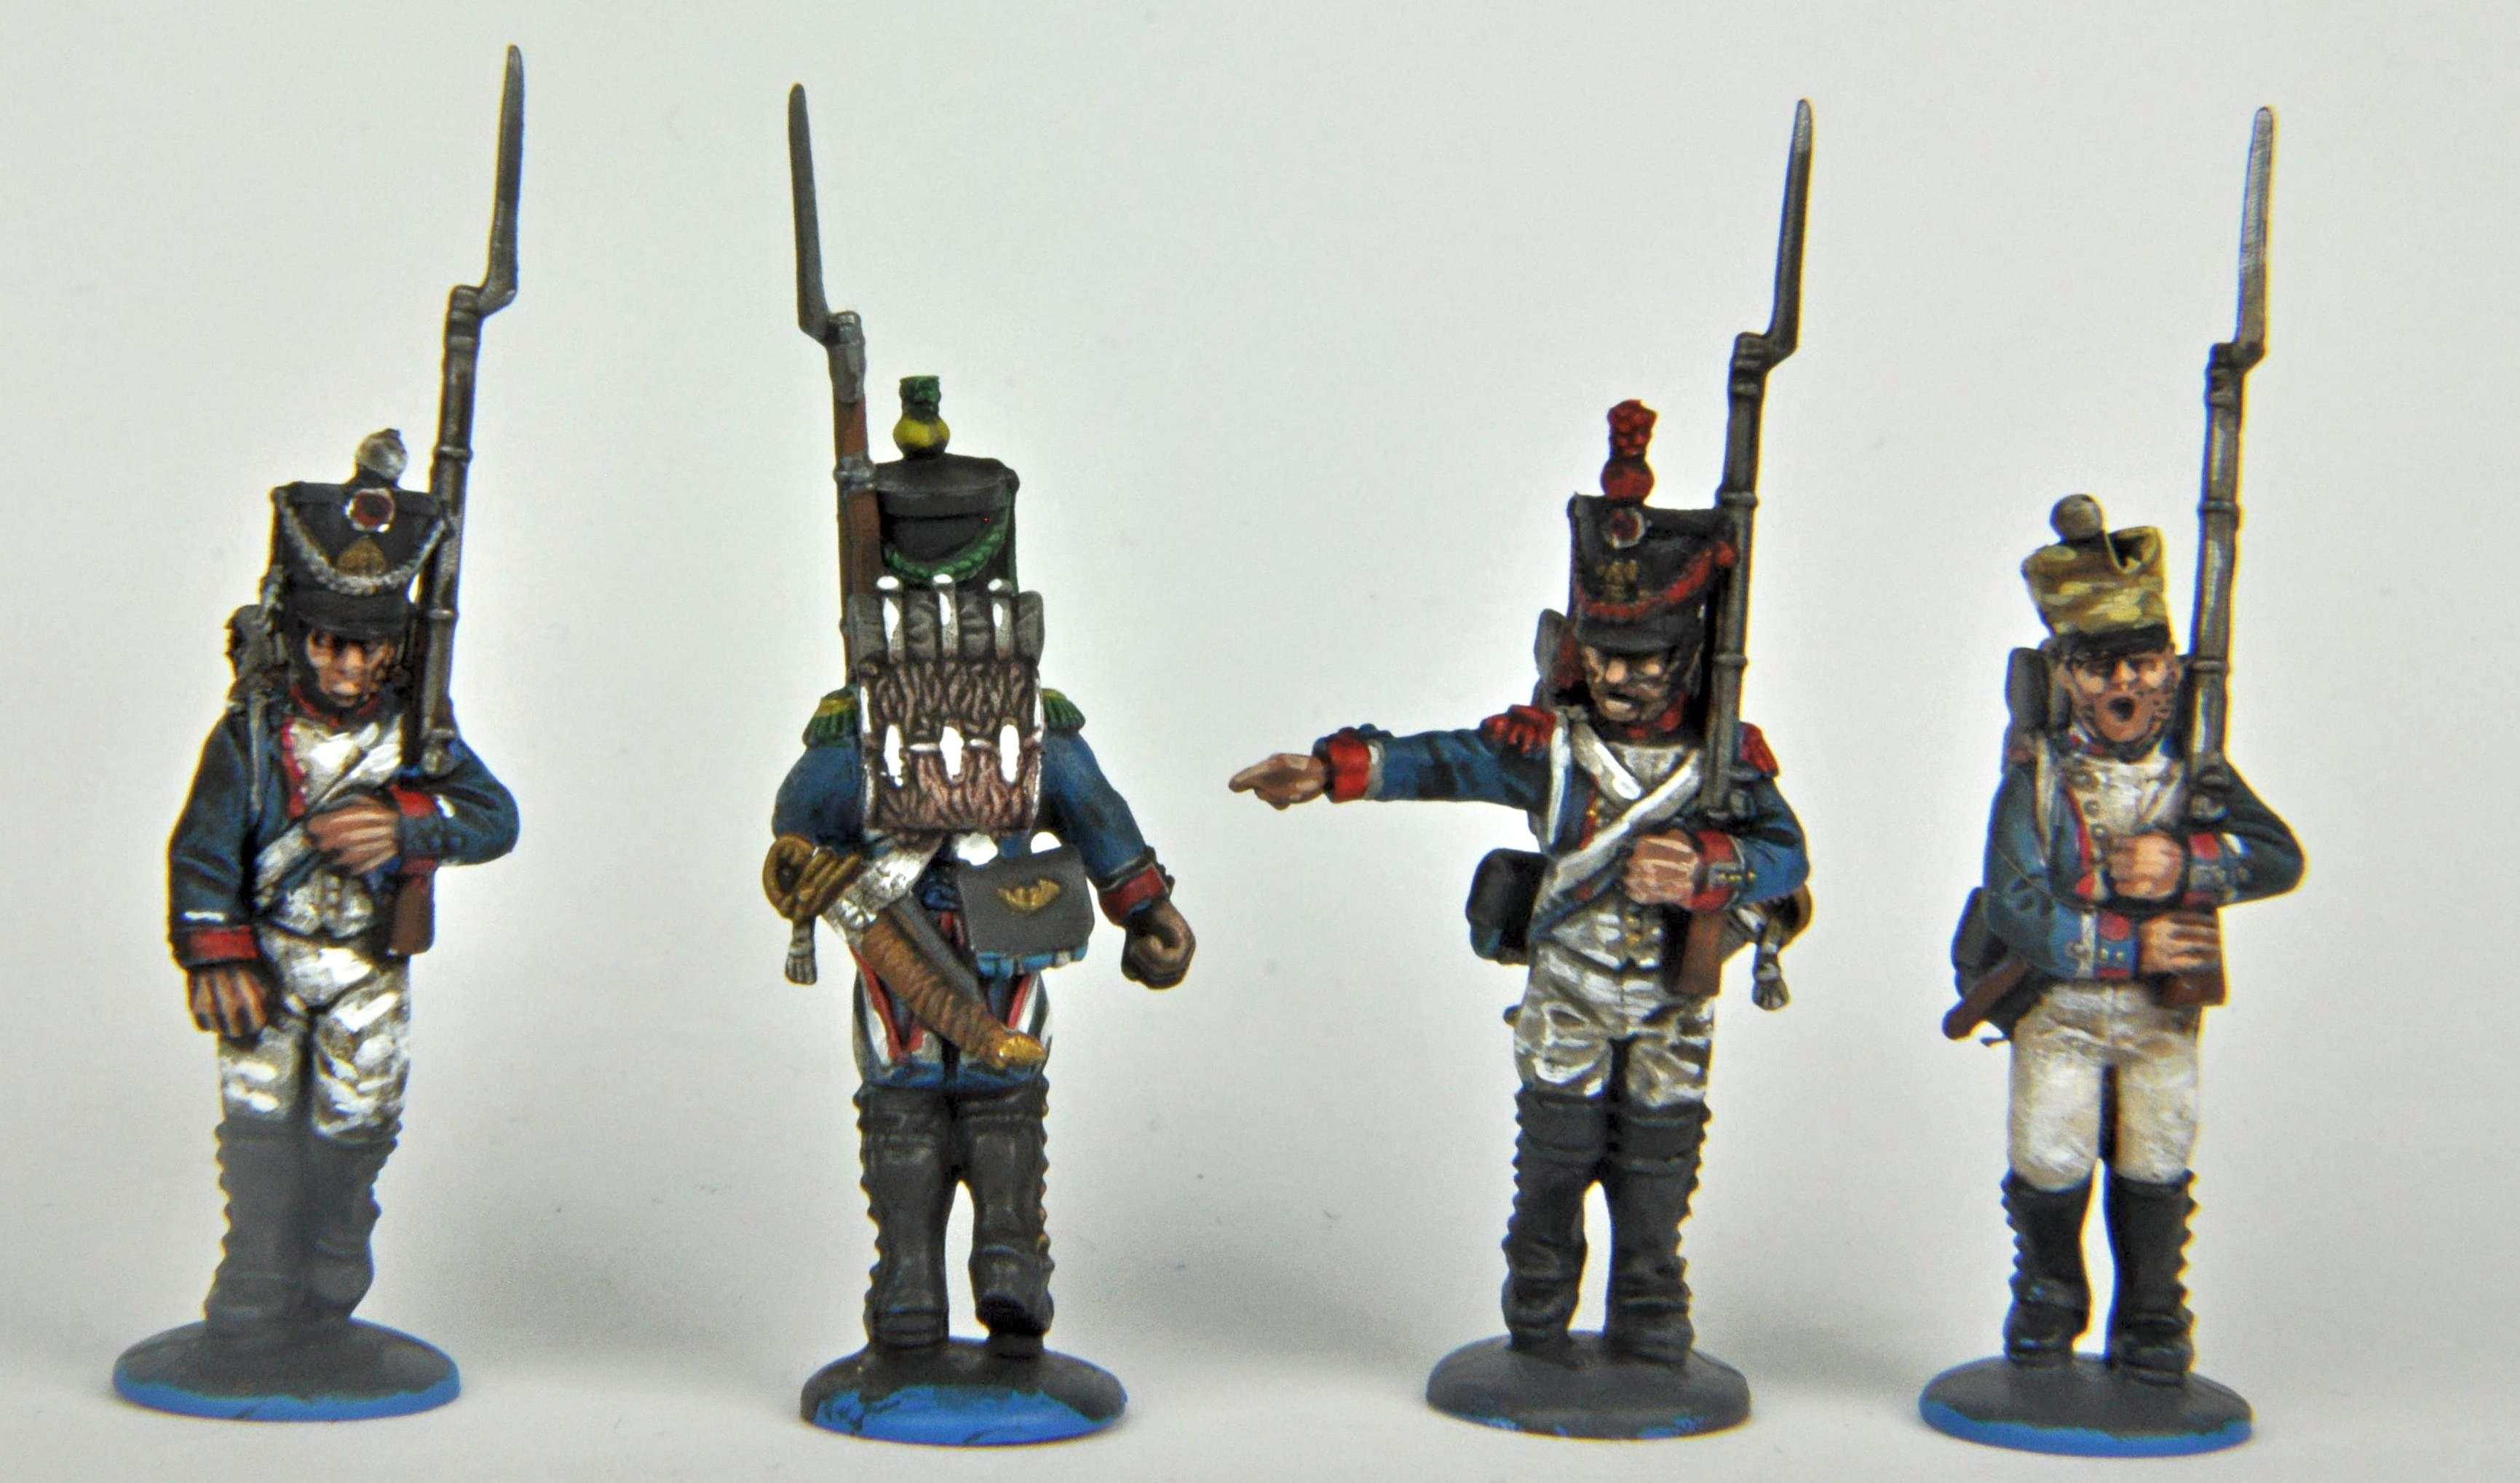
Once dried, the final part was to highlight the areas of the face and areas of white, to make them stand out. I only did the top of the face and nose, the shaded lower part looks like stubble if left. Similarly with the white, I only touched up a few small areas. Some lighter wood effect could have been added to the musket, but time was pressing. This final touching up stage did take some time, about 10 minutes per model.
Of the 32 models, I completely finished five. There were an additional 9 made up but not inked and 18 requiring assembly. Painting started at 10am and finished at midnight. Deducting 2 hours for interruptions, I spent 12 Hours painting. There’s another 4 or so hours work to finish them off, so I’d estimate the total time at 30 minutes per miniature. Not bad! Had I stayed up all night or had no interruptions during the day, I think the complete box would have been easy.
I really enjoyed the challenge and it taught me a fair bit. The ‘assembly line’ approach worked well as I wasn’t changing paints every few minutes, although I had to occasionally clean my brush. The blue undercoat worked to my satisfaction, it might be a little light for purists but I didn’t want them looking similar to my friend’s Prussians. The results were quick and it has given me some very nice models, painted to an acceptable standard. They do look like battle worn Napoleonic French. Vive La France, vive l’Empereur and roll on the next Paint-a-thon!