Softening Waterslide Decals
Today I'd like to explore something that's dear to my heart. Naturally, it's not new to many of our seasoned modellers out there, but it's a useful thing to know for those newer to the hobby: how to soften waterslide decals (transfers). I'll focus on 1-56 WWII vehicles for this post, simply because they're what I discovered the technique for and can provide illustration.
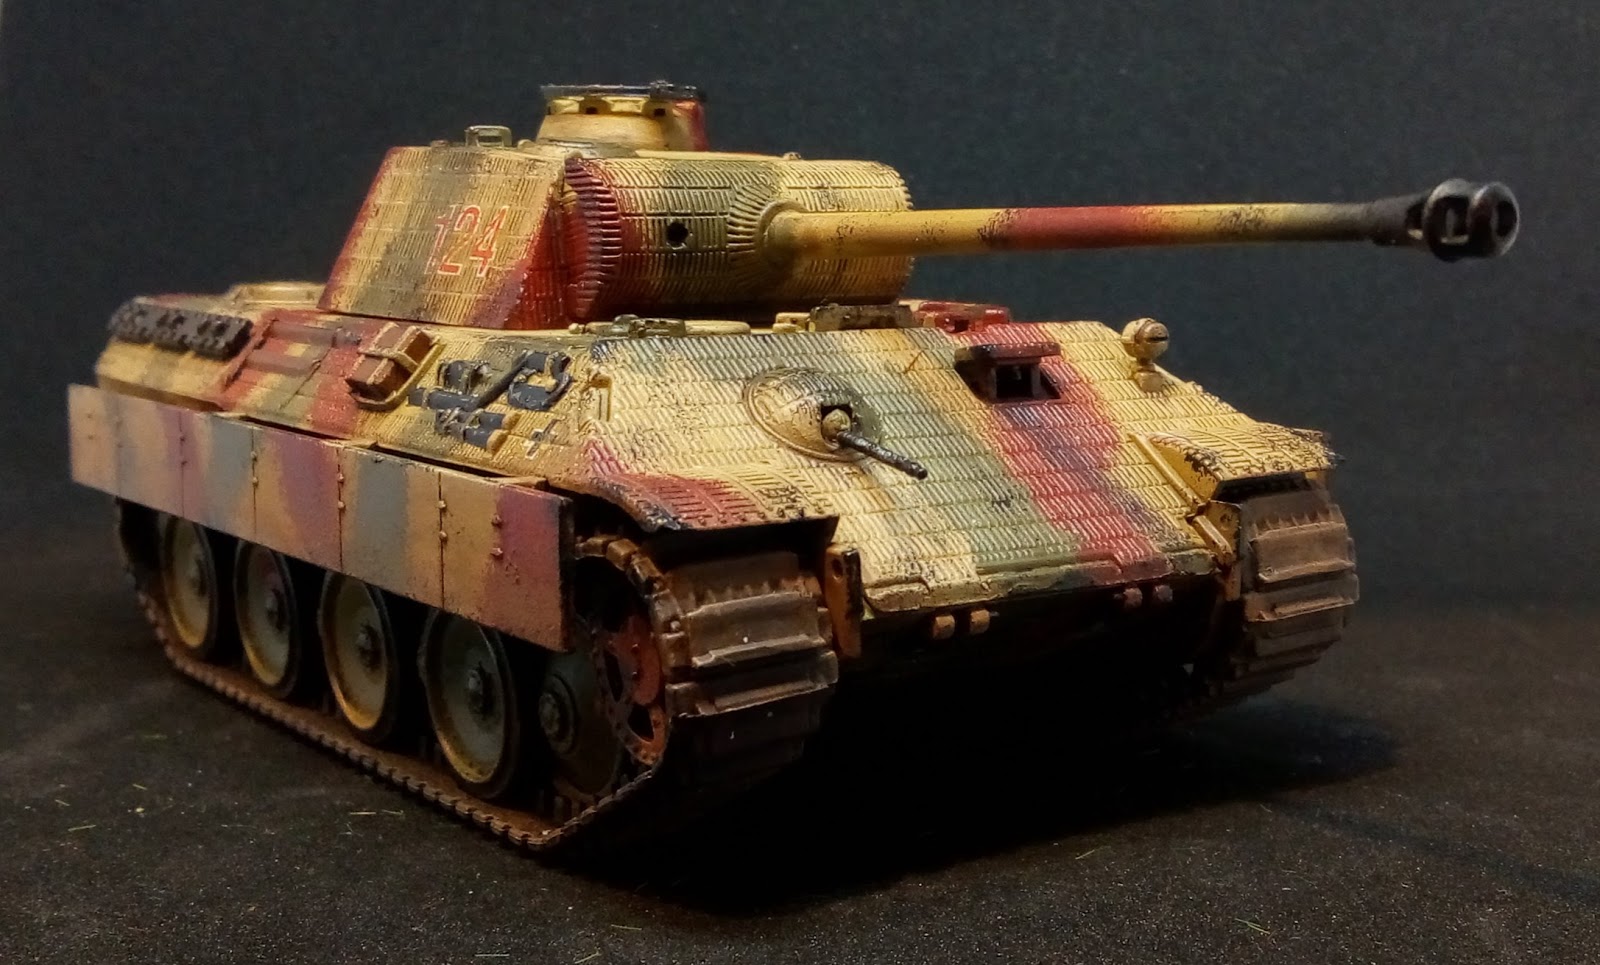
Note how well the turret numbers and cross have blended with the relief of the Zimmerit
Why might we want to 'soften' decals? - well, primarily for two reasons. Firstly, it enables the decal to conform flush against relief detail, gentle curves and gentle angles on the surface of a model, and secondly it helps to get rid of that transparent film which often surrounds the decal.
Disclaimer: there are - of course - other ways of doing this, and other products - this is what works for me. Also, this process does require time and patience.
The Product:

I use Micro Sol - a 'setting solution' from Microscale Industries - which comes in a 1 oz. bottle (US) and lasts... forever. Unless you knock it over.
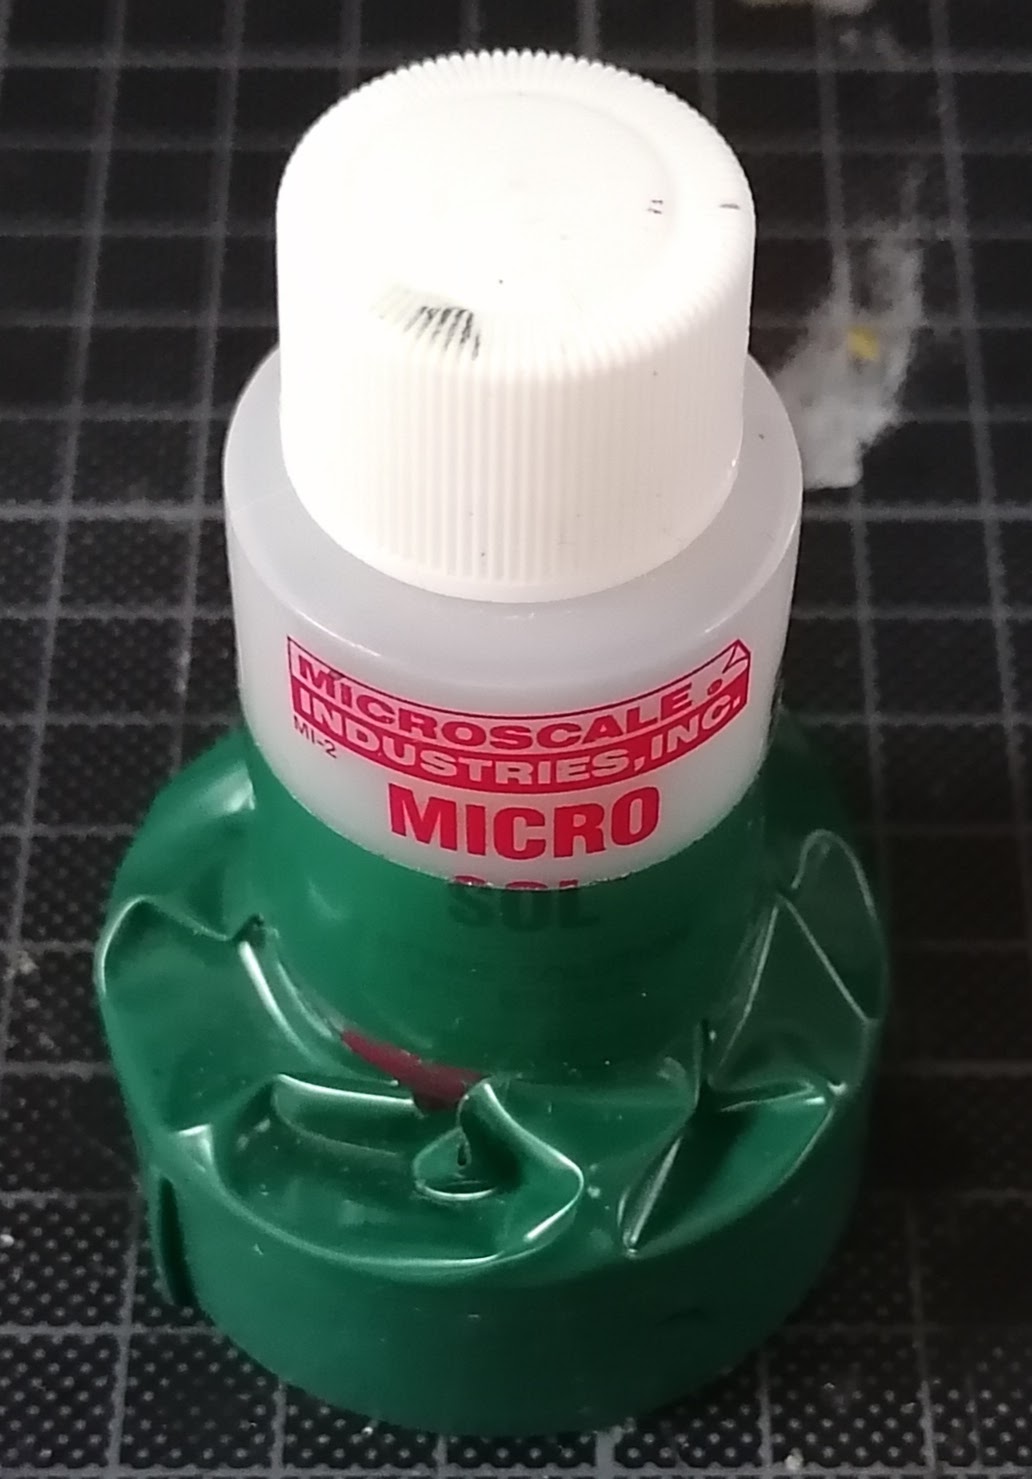
(Don't knock it over. This is my bottle with extra stability)
The Process:
Again, this is for vehicles, but the same process should hold true for most projects using waterslide decals.
- Paint the model as normal but don't weather it.
- Brush a thin, flat layer of gloss varnish to where the decal will go, and allow to dry. This is important, as it seems to be the best preparation for the surface to encourage adhesion and discourage tiny air bubbles.
- Apply the waterslide decal as normal.
- Before it has completely set, gently brush on a layer of Micro Sol, covering the decal without saturating it. At this point, if the decal moves, you can simply manoeuvre it back into place.
- Allow the decal to dry completely - I wait overnight, but I'd advise at least twelve hours.
- Brush on another layer of Micro Sol and allow to dry (about ten minutes).
- Repeat step six - I aim to add around eight further layers to be sure; I keep it on the side whilst working on other projects. By this point you should be able to see the decal conforming really well to the contours and relief of the model.
- Leave to dry again properly - overnight again if you can, but you may not need to.
- Seal the decal in place with a brushed-on varnish of your choice.
- The decal should now just look like a part of the paintwork, so weather and finish your model as normal!

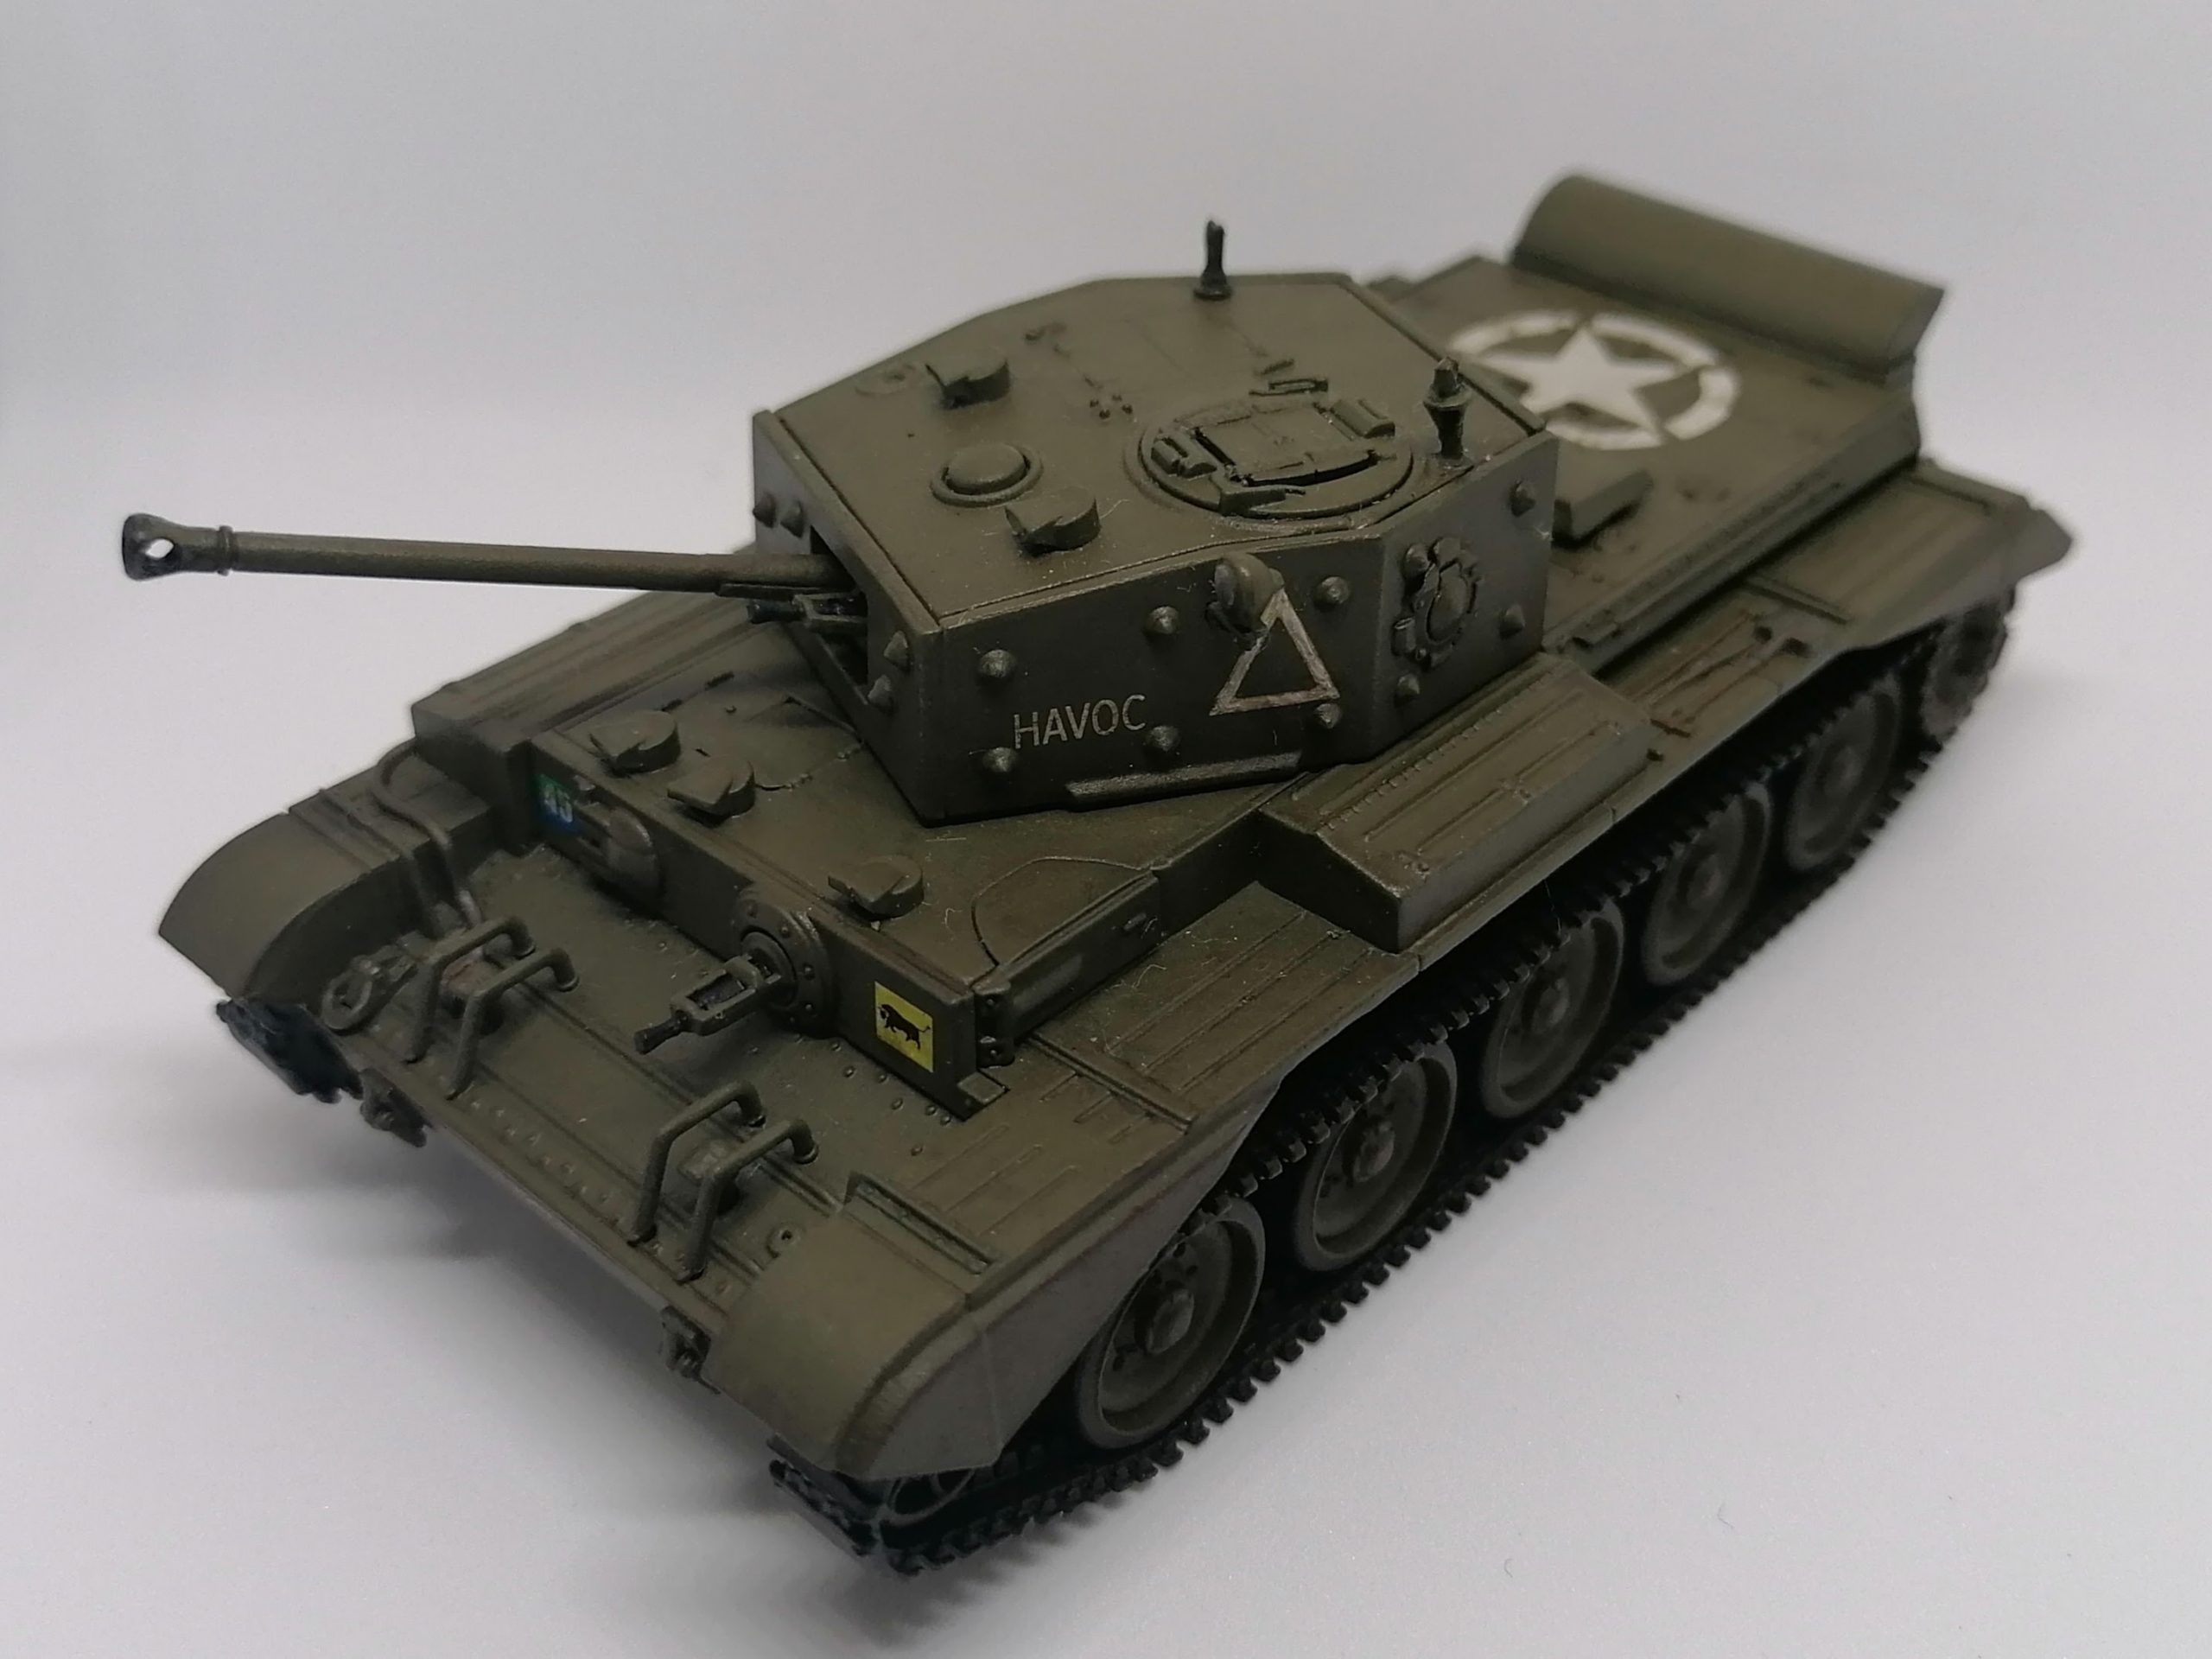
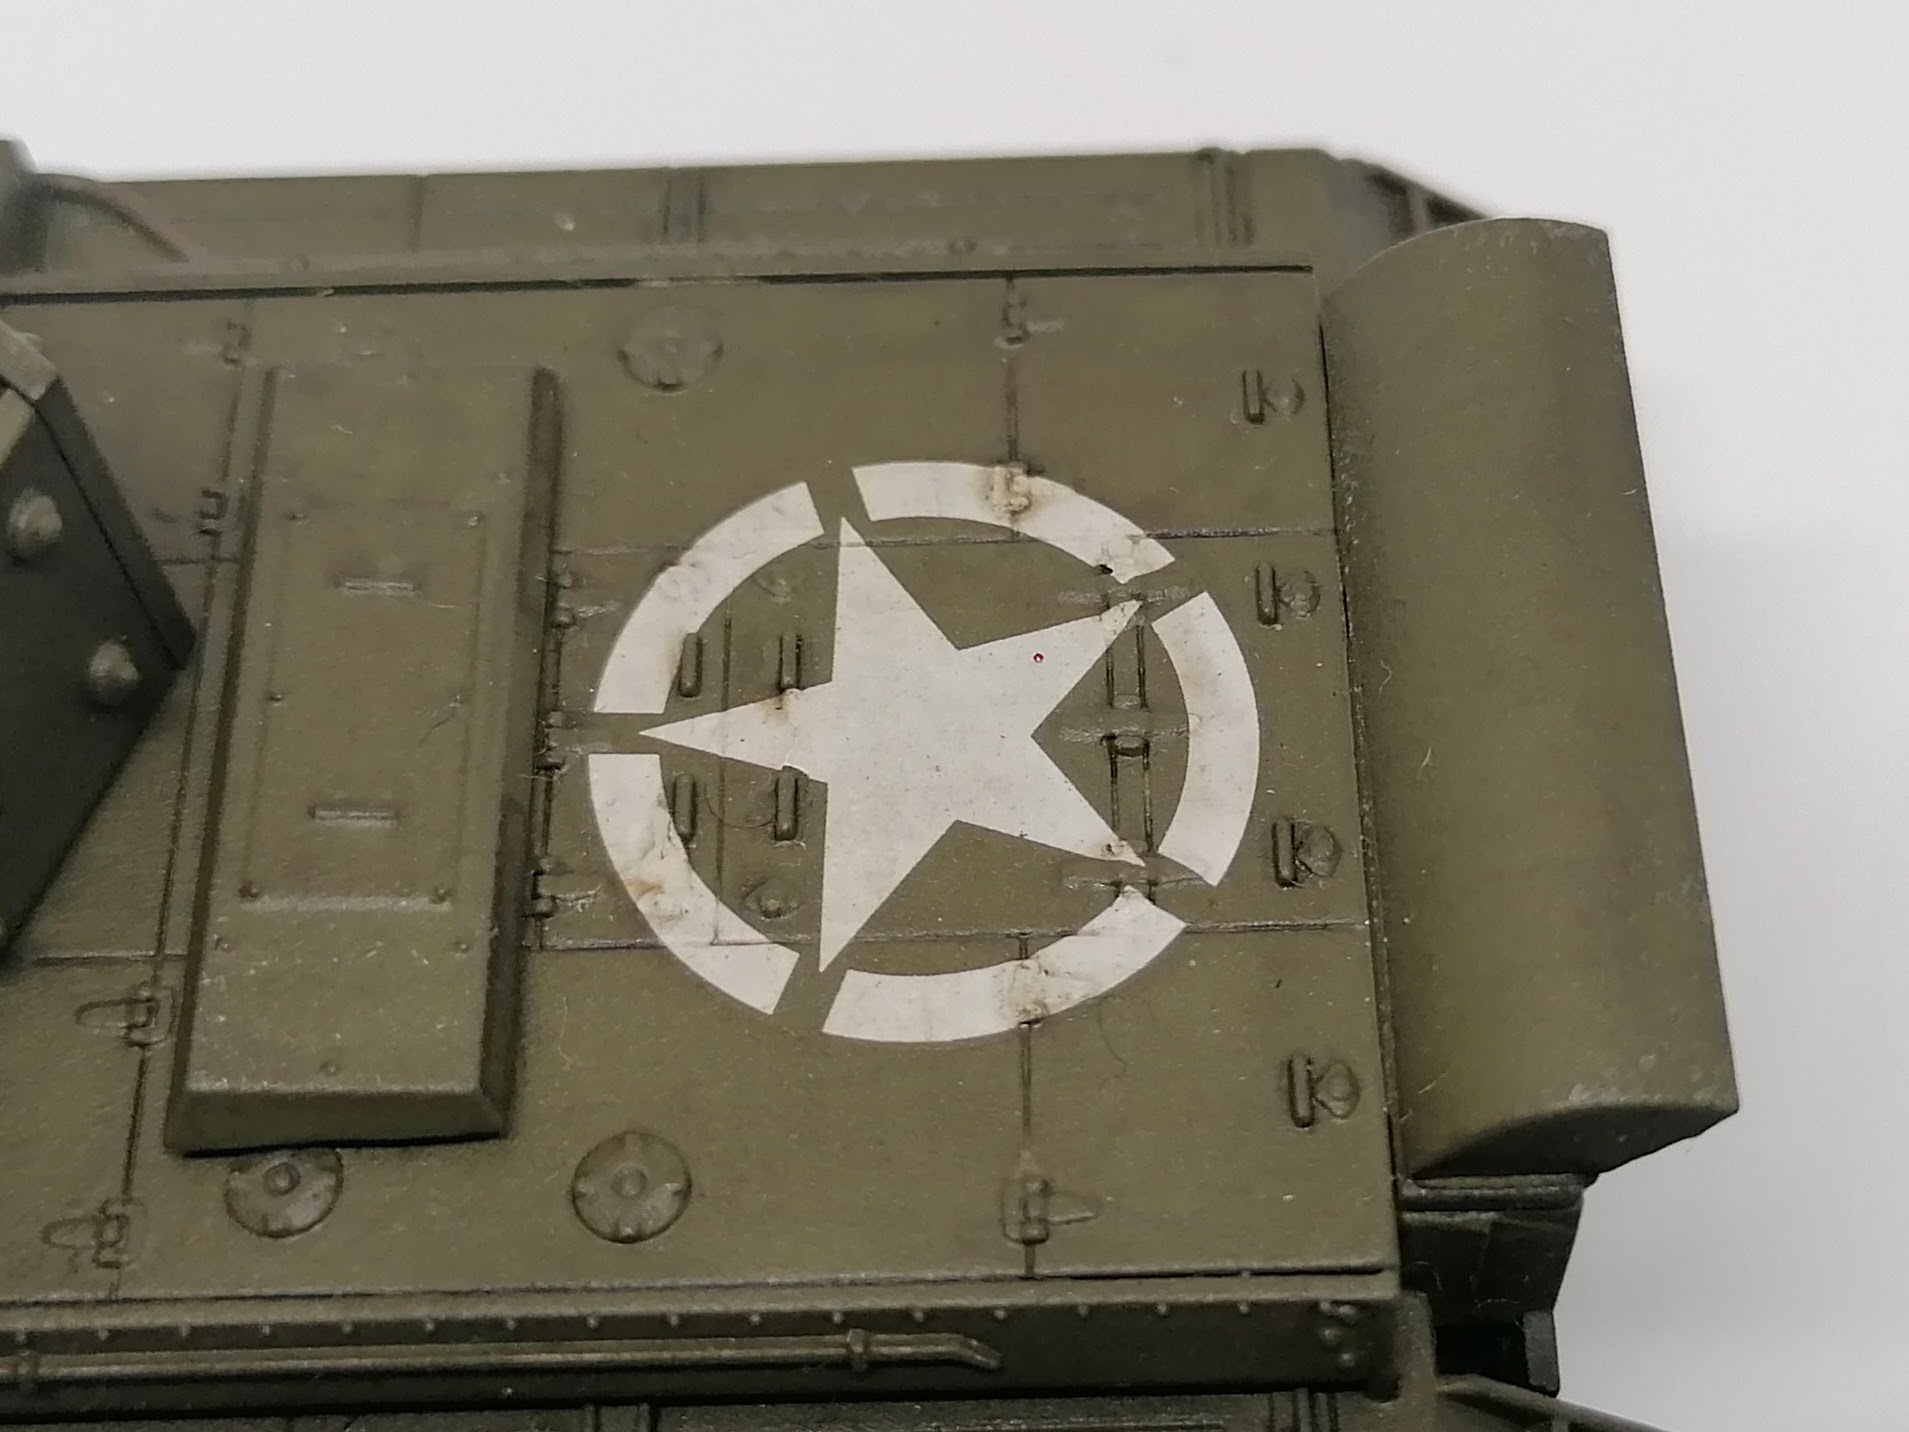
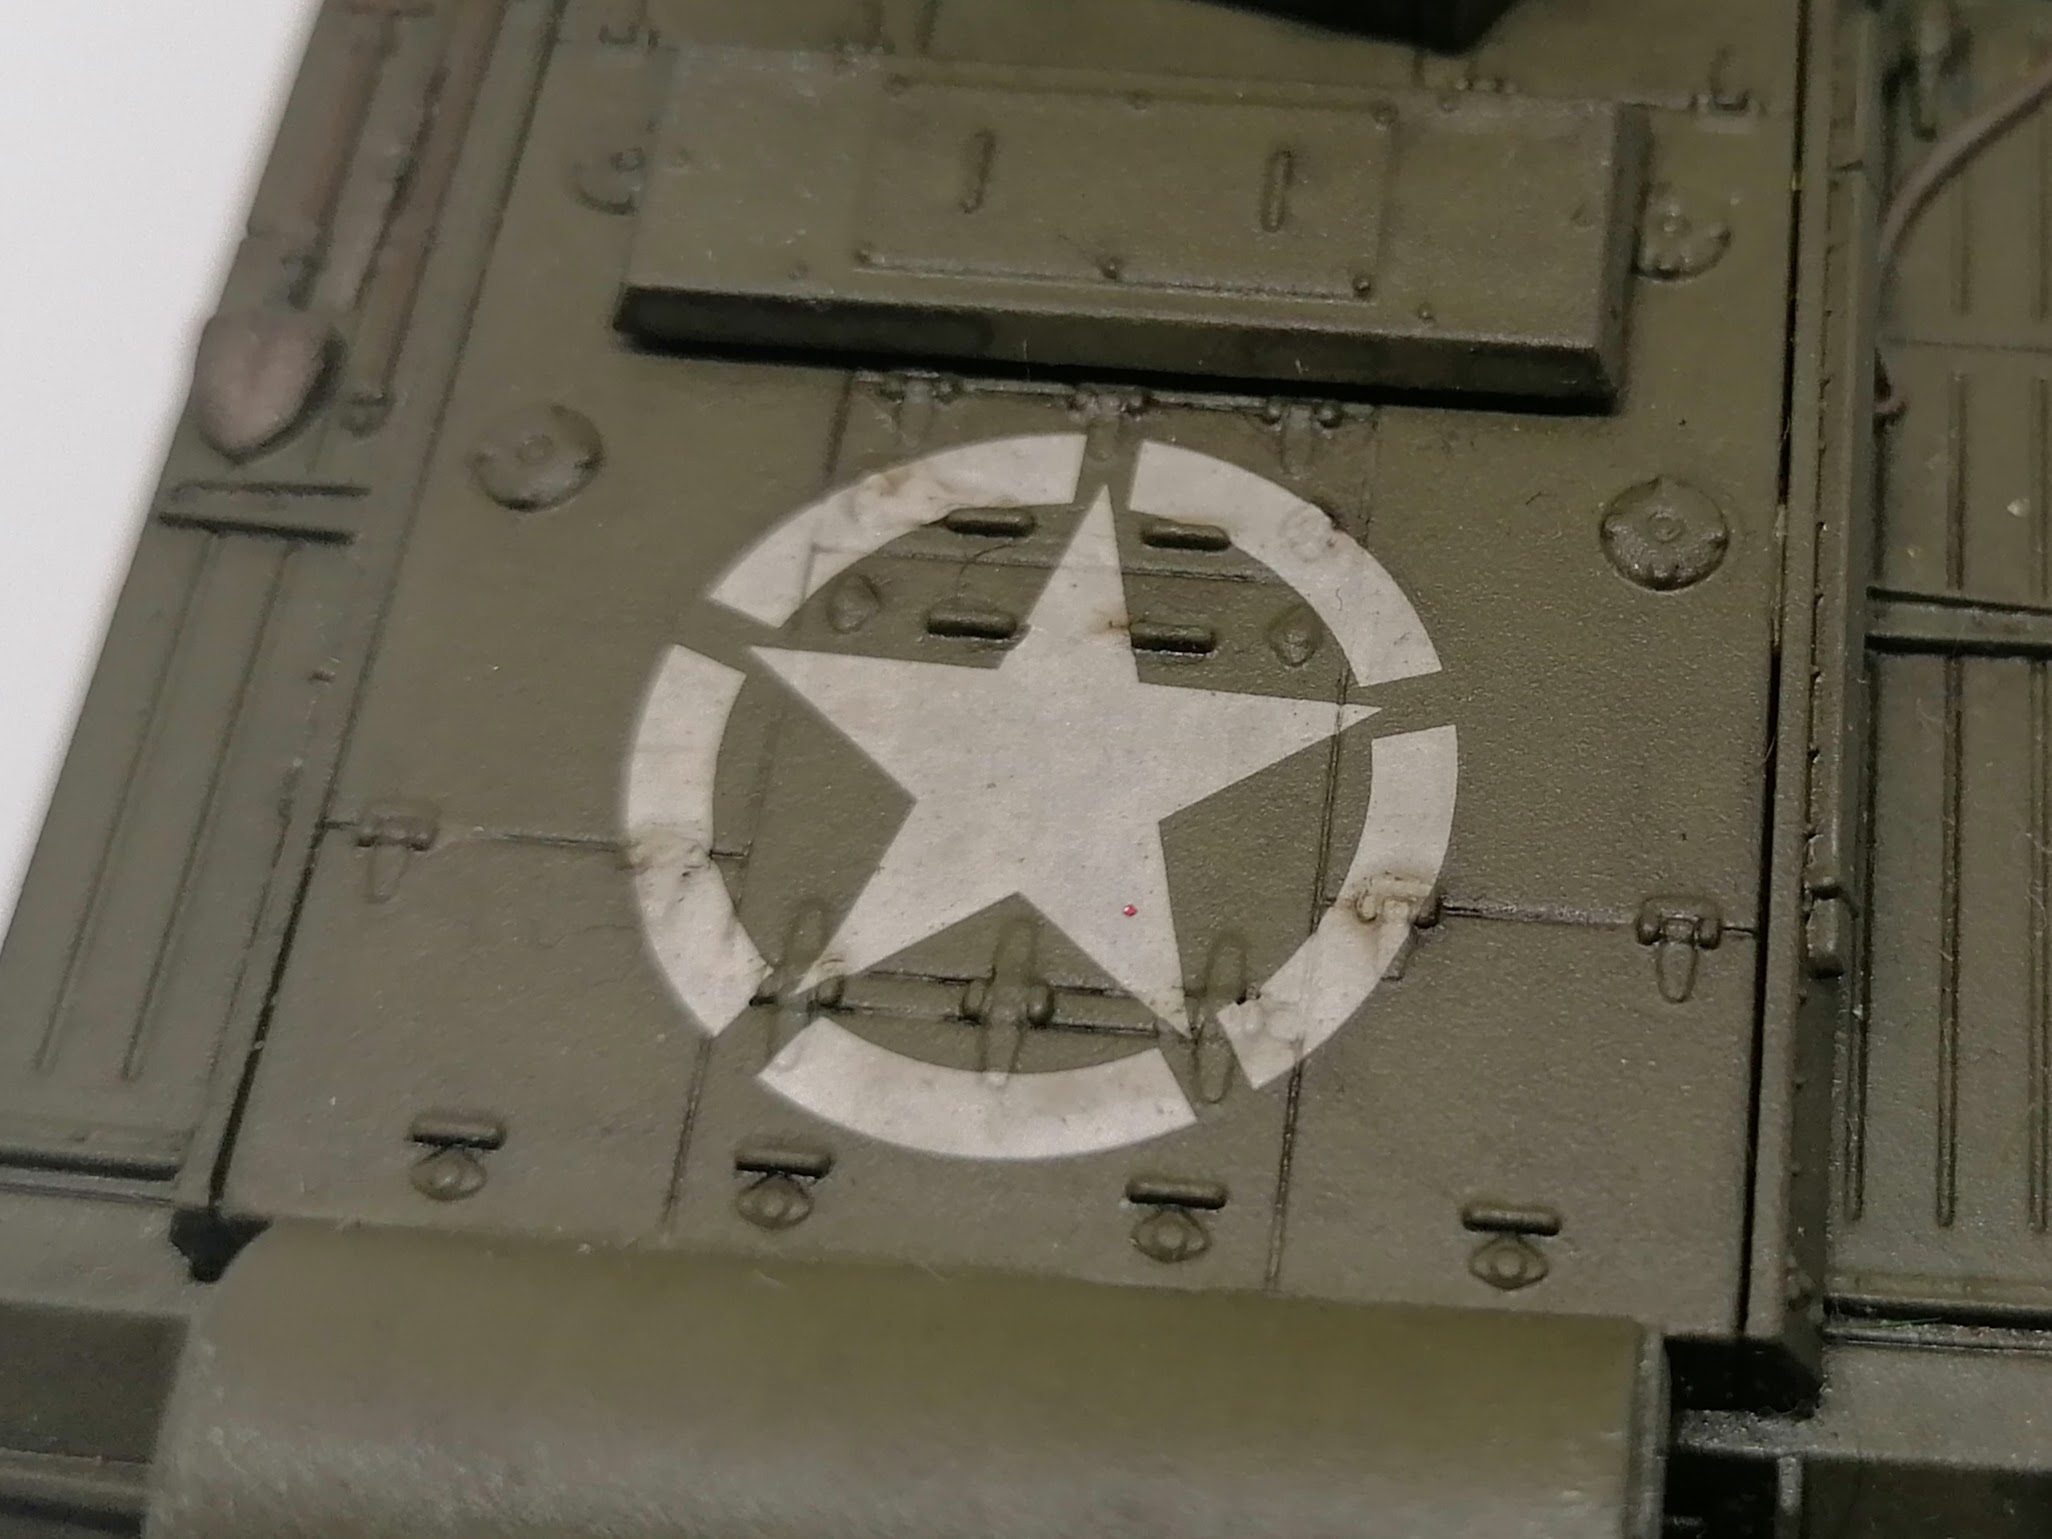
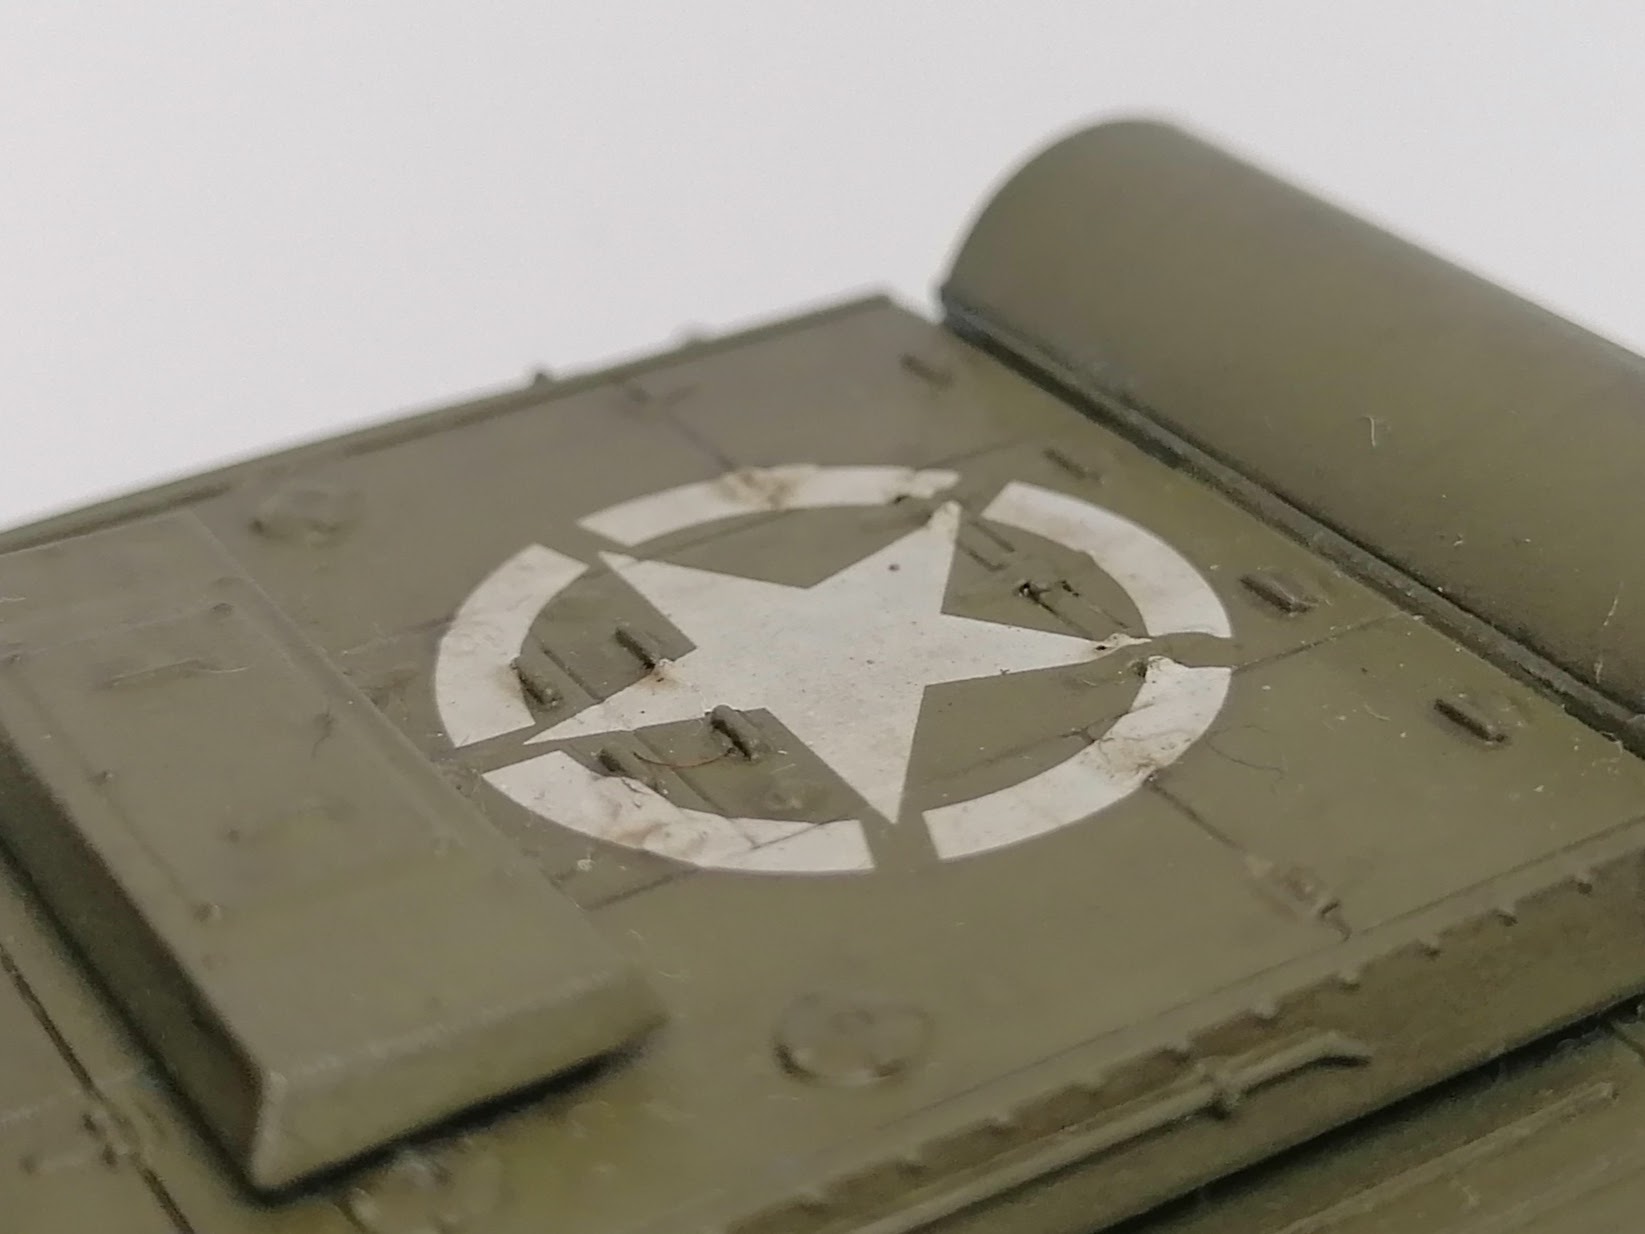
I did try to photograph a step-by-step guide to the process showing the effect of using or not using varnish and using or not using Micro Sol, but after several abortive attempts I just couldn't get it to work... so here's some more pics of the end result - on the lower-angled shots you can really get a sense of how much the decal has conformed to the complexity of the relief:
This is an older model - these days I might have pin-detailed the panel lines more starkly, or even cut the decal along them.
Both models, by the way, are 1-56 plastic kits from Warlord Games. And yes, I know the hull MG of the Panther is weirdly assembled.
Happy modelling!