Converting MDF
I’m currently working on some scenery to go with the game of Black Ops I’m running at Crisis 2015. The game I’ve planned is to be set ‘somewhere in the Middle East’ and I’m using the excellent 4Ground Crescent and Cross buildings. These are durable and light - essential as the entire demo needs to fit into a suitcase. I’ll be using a Cigar Box Battle desert mat too. Jasper also suggested that the table I had planned was ‘in danger’ of being a little flat, so I should have a strong ‘vertical component’ to make it look good. Okay then… challenge accepted!
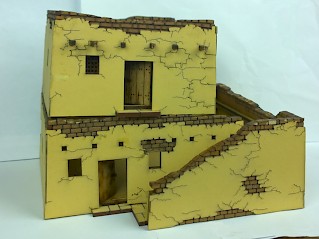
Sadly it wasn’t quite as easy as sticking one completed model on top of the other. No, some conversion work was required. I had a look at the buildings and realised that if I could shorten the smaller one by just a bit, the conversion might work well. Some careful measurement revealed that taking a few millimetres off the width of the smaller house would be enough to make them smoothly fit together. Even if I did accidently cut off the wrong piece or make a mistake in the conversion, the outer layer of plaster would, in the end, cover the majority of my errors.
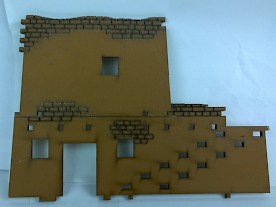
I measured the frames and worked out where I wanted the smaller house to fit. 4Ground buildings are made up of an inner and outer frame, which makes the models more sturdy and allows the inside to be painted. I started by converting the outside first, which in hindsight was a mistake.
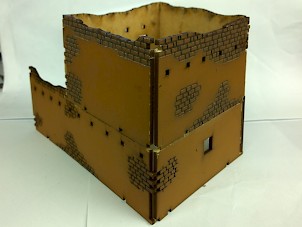
What I should have done initially, and what I ended up having to do anyway, was getting the inner frame ‘right’, then converting the outer frame to fit onto it.
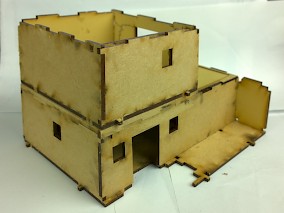
With the inner frame converted, I mounted the outer frame piece by piece, seeing where it fit and where it needed sections removed. Once the inner frame was glued together, I sanded it down to ensure the outer frame would fit smoothly. Some of the 4Ground ‘lugs’ from the upper storey also had to be removed to help the conversion. I also had to decide if I wanted the lower roof to come off. I thought it’d be impractical and would look better as one piece, so decided to permanently mate the two halves together.
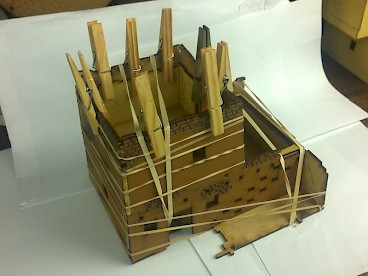
So then came the big moment, sticking it all together. Armed with wood glue, rubber bands and clothes pins (the later two kindly provided in the 4Ground packs), the model slowly took shape.
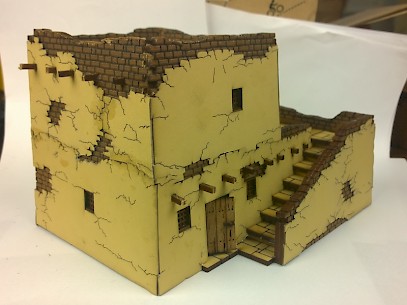
The final plaster walling is what ‘made’ the model, covering up all of my mistakes. I’m pretty happy with the finished results. The final model will look superb on the table at Crisis.
